

Oil hack kitchen appliances 鈥?ever heard of them? Probably not, but trust me, you’re about to! I’m about to let you in on a little secret that will revolutionize how you care for your beloved kitchen gadgets. We all know how frustrating it is when our appliances start sticking, squeaking, or just generally not performing like they used to. But before you resign yourself to replacing them, let’s explore a simple, cost-effective solution that’s been around for ages, though often overlooked.
The use of oil for lubrication and maintenance dates back centuries. From ancient Egyptians using oils to protect their tools to medieval blacksmiths relying on it to keep their machinery running smoothly, oil has always been a go-to for preserving and enhancing the lifespan of equipment. Now, we’re bringing that time-tested wisdom into the modern kitchen!
Why do you need these oil hack kitchen appliances tips? Because let’s face it, kitchen appliances are an investment. Replacing them every few years is expensive and wasteful. These simple oil hacks can extend the life of your blenders, food processors, coffee grinders, and more, saving you money and reducing your environmental impact. Plus, who doesn’t love a good DIY project that’s both practical and satisfying? So, grab your favorite oil (I’ll tell you which ones work best!), and let’s get started on making your kitchen appliances run like new again!
Revive Your Kitchen Appliances with This Simple Oil Hack!
Hey everyone! I’m so excited to share this amazing DIY hack that will breathe new life into your kitchen appliances. We all know how frustrating it is when our beloved gadgets start sticking, squeaking, or just generally not performing as smoothly as they used to. Before you rush out to buy replacements, try this simple, inexpensive, and surprisingly effective oil hack. It’s a game-changer!
This hack focuses on using food-grade mineral oil (you can find it at most pharmacies or online) to lubricate and maintain your appliances. It’s safe, odorless, and won’t leave a nasty residue. Plus, it’s a heck of a lot cheaper than replacing your appliances!
What You’ll Need:
* Food-grade mineral oil
* Clean cloths or paper towels
* Small brushes (like old toothbrushes or paintbrushes)
* Cotton swabs
* Screwdrivers (various sizes, depending on your appliances)
* A small bowl or container
* Safety glasses (optional, but recommended)
* Gloves (optional, but recommended)
Appliances That Can Benefit:
This hack works wonders on a variety of kitchen appliances, including:
* Food processors: Lubricate the blade shaft, motor shaft, and any moving parts in the base.
* Blenders: Similar to food processors, focus on the blade shaft and motor.
* Stand mixers: Lubricate the beater shaft, tilt-head mechanism, and any gears you can access.
* Meat grinders: Essential for keeping the grinding mechanism smooth and efficient.
* Can openers: A little oil can prevent sticking and ensure a clean cut.
* Ice cream makers: Lubricate the dasher and any moving parts in the motor housing.
* Juicers: Focus on the auger and any gears.
* Coffee grinders: While you shouldn’t oil the burrs directly (as it can affect the flavor of your coffee), you can lubricate the motor shaft and any other moving parts.
* Hand mixers: Lubricate the beater shafts and any gears you can access.
General Safety Precautions:
Before we dive in, let’s cover some important safety precautions:
* Unplug the appliance: This is absolutely crucial! Never work on an appliance while it’s plugged in.
* Read the manual: Consult your appliance’s manual for specific instructions on disassembly and maintenance.
* Work in a well-lit area: This will help you see what you’re doing and avoid accidents.
* Be careful with sharp parts: Many kitchen appliances have sharp blades or other components. Handle them with care.
* Don’t over-oil: A little oil goes a long way. Over-oiling can attract dust and debris, which can actually worsen the problem.
* Wipe up spills immediately: Oil spills can be slippery and dangerous.
Step-by-Step Guide: The Oil Hack Process
Okay, let’s get started! I’ll walk you through the general process, and then we’ll look at some specific examples.
1. Disassemble the Appliance: Carefully disassemble the appliance according to the manufacturer’s instructions. This usually involves removing screws, panels, or other components. Take pictures as you go so you remember how everything goes back together! I always find this super helpful.
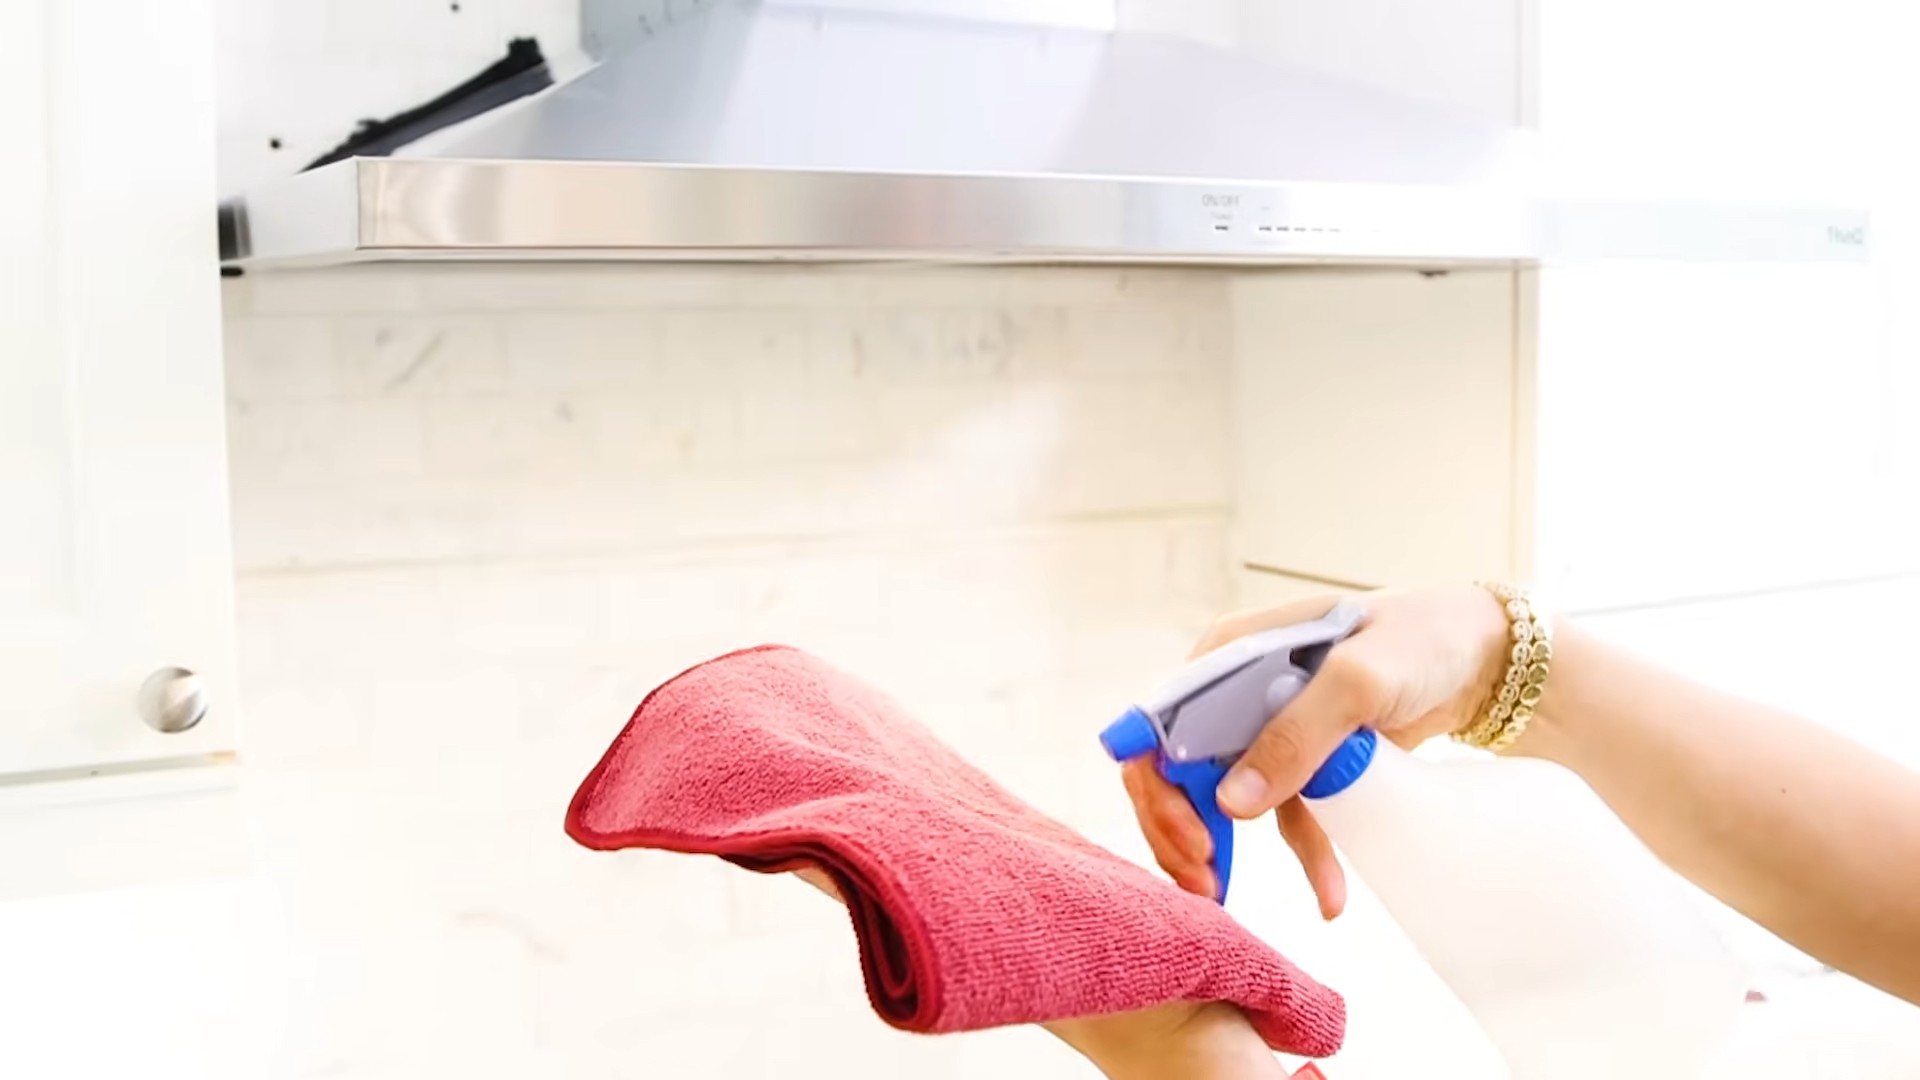
2. Clean the Parts: Use a clean cloth or paper towel to remove any dirt, grease, or debris from the parts you’ll be lubricating. You can also use a small brush to get into hard-to-reach areas. For stubborn grime, a mild detergent and warm water can be helpful, but make sure everything is completely dry before applying the oil.
3. Apply the Oil: Pour a small amount of mineral oil into your bowl or container. Using a small brush, cotton swab, or your fingertip (if you’re wearing gloves), apply a thin layer of oil to the moving parts of the appliance. Focus on areas where parts rub against each other, such as shafts, gears, and hinges. Remember, less is more!
4. Work the Oil In: After applying the oil, manually move the parts back and forth to work the oil into the mechanism. This will help distribute the oil evenly and ensure that it penetrates all the necessary areas.
5. Wipe Away Excess Oil: Use a clean cloth or paper towel to wipe away any excess oil. This will prevent the oil from dripping or attracting dust and debris.
6. Reassemble the Appliance: Carefully reassemble the appliance, referring to the pictures you took during disassembly. Make sure all the parts are properly aligned and securely fastened.
7. Test the Appliance: Plug in the appliance and test it to make sure it’s working properly. If it’s still sticking or squeaking, you may need to apply a little more oil.
Specific Appliance Examples:
Now, let’s look at some specific examples of how to apply this oil hack to different kitchen appliances.
Food Processor
1. Disassemble: Unplug the food processor and remove the bowl, lid, and blade.
2. Clean: Clean the blade shaft, motor shaft, and any moving parts in the base with a clean cloth.
3. Oil: Apply a thin layer of mineral oil to the blade shaft where it connects to the motor, the motor shaft itself, and any other moving parts in the base.
4. Work In: Manually rotate the blade shaft to work the oil into the mechanism.
5. Wipe: Wipe away any excess oil.
6. Reassemble: Reassemble the food processor.
7. Test: Test the food processor to make sure the blade spins smoothly.
Blender
1. Disassemble: Unplug the blender and remove the jar and blade assembly.
2. Clean: Clean the blade shaft and motor shaft with a clean cloth.
3. Oil: Apply a thin layer of mineral oil to the blade shaft where it connects to the motor and the motor shaft itself.
4. Work In: Manually rotate the blade shaft to work the oil into the mechanism.
5. Wipe: Wipe away any excess oil.
6. Reassemble: Reassemble the blender.
7. Test: Test the blender to make sure the blade spins smoothly.
Stand Mixer
This one can be a bit more involved, so take your time!
1. Disassemble: Unplug the stand mixer and remove the bowl and beater. Consult your manual for instructions on how to access the internal mechanisms. This may involve removing the tilt head or base.
2. Clean: Clean the beater shaft, tilt-head mechanism, and any gears you can access with a clean cloth.
3. Oil: Apply a thin layer of mineral oil to the beater shaft, the tilt-head mechanism, and any gears you can access. Be especially careful not to get oil on any electrical components.
4. Work In: Manually move the tilt head and rotate the beater shaft to work the oil into the mechanism.
5. Wipe: Wipe away any excess oil.
6. Reassemble: Reassemble the stand mixer.
7. Test: Test the stand mixer to make sure the beater moves smoothly and the tilt head locks securely.
Can Opener
This is a super simple one!
1. Clean: Clean the cutting wheel and gear with a clean cloth.
2. Oil: Apply a tiny drop of mineral oil to the cutting wheel and gear.
3. Work In: Manually rotate the cutting wheel to work the oil into the mechanism.
4. Wipe: Wipe away any excess oil.
5. Test: Test the can opener to make sure it cuts smoothly.
Troubleshooting:
Sometimes, even with the oil hack, your appliance might still have issues. Here are a few things to consider:
* Too much oil: If you’ve applied too much oil, it can attract dust and debris, which can actually worsen the problem. Wipe away any excess oil and try again.
* Worn parts: If the appliance is very old or has been heavily used, some of the parts may be worn out. In this case, you may need to replace the worn parts or consider replacing the appliance.
* Electrical issues: If the appliance is not working at all, it may have an electrical issue. In this case, you should consult a qualified electrician.
* Incorrect reassembly: Double-check that you have reassembled the appliance correctly. Refer to the pictures you took during disassembly.
Maintenance Tips:
To keep your appliances running smoothly for years to come, here are a few maintenance tips:
* Clean your
Conclusion
So, there you have it! This simple yet incredibly effective oil hack for kitchen appliances is a game-changer. We’ve walked you through the process, highlighting how a little bit of oil can breathe new life into your everyday tools, saving you money and reducing unnecessary waste. It’s not just about making your appliances look better; it’s about extending their lifespan and ensuring they operate at peak performance.
Think about it: how many times have you considered replacing a kitchen appliance simply because it looked worn or wasn’t functioning as smoothly as it used to? This oil hack offers a practical and affordable solution, allowing you to avoid costly replacements and contribute to a more sustainable lifestyle. By regularly applying this simple technique, you can keep your appliances looking and working like new for years to come.
But the benefits don’t stop there. This oil hack is incredibly versatile. While we’ve focused on kitchen appliances, the same principle can be applied to other household items, such as door hinges, garden tools, and even some automotive components. The key is to use the right type of oil and apply it sparingly, ensuring that you’re lubricating the moving parts without causing any damage.
Ready to take your kitchen appliance maintenance to the next level? We encourage you to try this oil hack and witness the transformative effects for yourself. Experiment with different types of oils to find what works best for your specific appliances. Consider using food-grade mineral oil for appliances that come into direct contact with food, ensuring safety and hygiene. You can also try adding a few drops of essential oil to the mineral oil for a pleasant scent. Lavender or lemon essential oils are great choices for a fresh and clean aroma.
Don’t be afraid to get creative and adapt the technique to suit your needs. The most important thing is to be consistent and make this oil hack a regular part of your kitchen maintenance routine.
We’re confident that you’ll be amazed by the results. Not only will your appliances look better, but they’ll also operate more smoothly and efficiently, saving you time and effort in the long run.
We’d love to hear about your experiences with this oil hack! Share your tips, tricks, and before-and-after photos in the comments below. Let’s create a community of DIY enthusiasts who are passionate about extending the lifespan of their appliances and reducing waste. Together, we can make a difference, one oiled appliance at a time. So go ahead, give it a try, and let us know what you think! Your feedback is invaluable and will help us refine and improve this technique for everyone.
Frequently Asked Questions (FAQ)
What type of oil is best for this hack?
The best type of oil depends on the appliance and its intended use. For appliances that come into direct contact with food, such as food processors or blenders, food-grade mineral oil is the safest and most recommended option. It’s odorless, tasteless, and won’t contaminate your food. For other appliances, such as toasters or coffee makers, you can use a light machine oil or even a silicone-based lubricant. Avoid using vegetable oils, as they can become rancid over time and attract pests. Always check the manufacturer’s recommendations for your specific appliance before applying any type of oil.
How often should I apply this oil hack?
The frequency of application depends on how often you use the appliance. For appliances that are used daily, such as blenders or coffee makers, you may want to apply the oil hack every few weeks. For appliances that are used less frequently, such as stand mixers or food processors, you can apply the oil hack every few months. A good rule of thumb is to apply the oil hack whenever you notice the appliance is starting to sound louder or operate less smoothly. Regular maintenance is key to extending the lifespan of your appliances.
Can I use this oil hack on all kitchen appliances?
While this oil hack is generally safe for most kitchen appliances, there are a few exceptions. Avoid using oil on appliances with electronic components, such as microwaves or ovens. Also, avoid using oil on appliances with rubber seals or gaskets, as the oil can degrade the rubber over time. Always check the manufacturer’s recommendations before applying any type of oil to your appliances. If you’re unsure, it’s always best to err on the side of caution and consult a professional.
What if I accidentally use too much oil?
If you accidentally use too much oil, simply wipe off the excess with a clean cloth. Be sure to remove any oil that has dripped onto the surrounding surfaces. Too much oil can attract dust and debris, which can actually hinder the performance of your appliance. It’s always better to use a small amount of oil and apply it sparingly. You can always add more oil if needed, but it’s difficult to remove excess oil once it’s been applied.
Will this oil hack void my appliance’s warranty?
In most cases, this oil hack will not void your appliance’s warranty, as long as you use the correct type of oil and apply it properly. However, it’s always a good idea to check your appliance’s warranty information before performing any type of maintenance. Some warranties may be voided if you use unauthorized parts or perform unauthorized repairs. If you’re unsure, contact the manufacturer or a qualified appliance repair technician.
How do I clean the appliance before applying the oil hack?
Before applying the oil hack, it’s important to clean the appliance thoroughly. Remove any food debris, dust, or grime that may be present. You can use a damp cloth or a mild detergent to clean the appliance. Be sure to dry the appliance completely before applying the oil. This will help the oil adhere properly and prevent rust or corrosion. A clean appliance will also operate more efficiently and last longer.
Is this oil hack safe for appliances used by children?
If you’re using this oil hack on appliances that are used by children, it’s especially important to use food-grade mineral oil. This will ensure that the appliance is safe for children to use, even if they accidentally ingest a small amount of oil. Also, be sure to store the oil in a safe place, out of reach of children. Always supervise children when they are using kitchen appliances.
Can I use this oil hack on my stainless steel appliances?
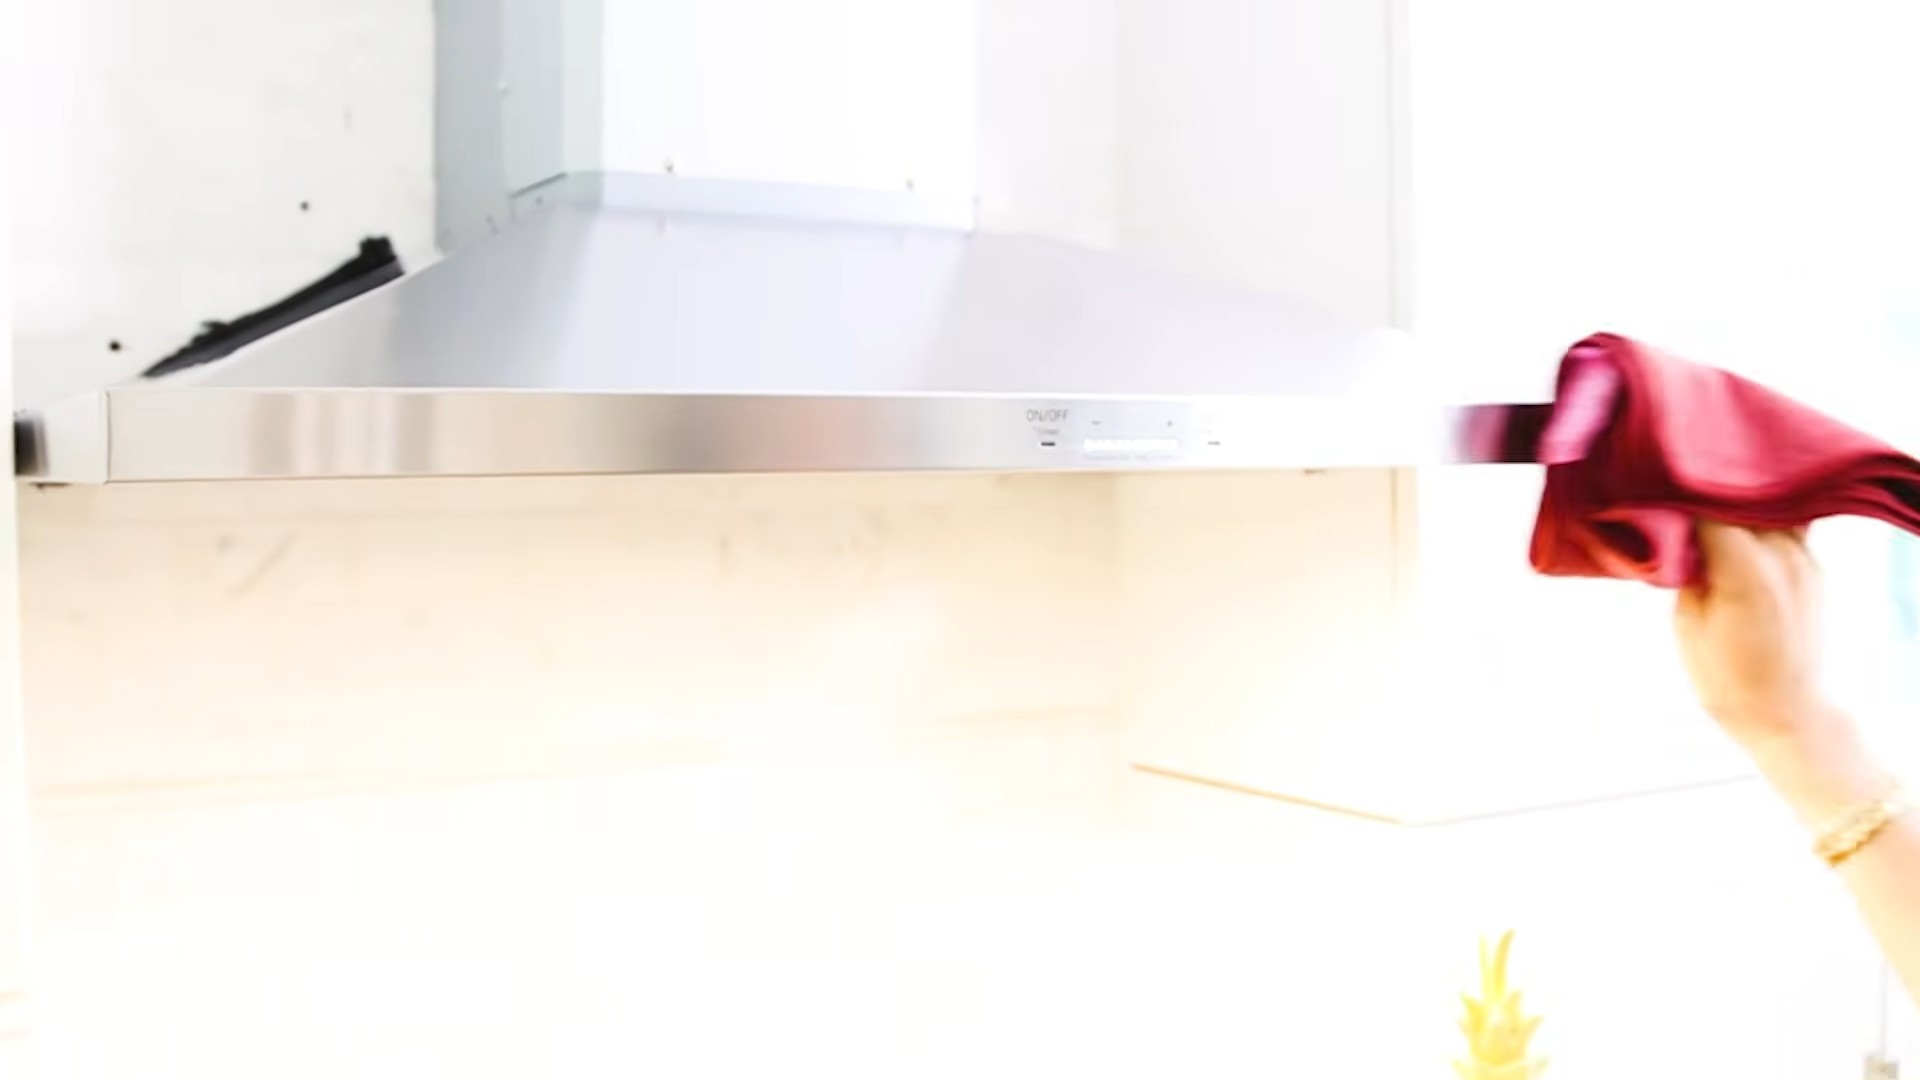
Yes, you can use this oil hack on your stainless steel appliances to help prevent rust and corrosion. However, it’s important to use a light oil and apply it sparingly. Too much oil can leave a greasy residue on the surface of the stainless steel. You can also use a stainless steel cleaner to help remove any fingerprints or smudges. Regular cleaning and maintenance will help keep your stainless steel appliances looking their best.
What are the benefits of using this oil hack?
The benefits of using this oil hack are numerous. It can help extend the lifespan of your appliances, improve their performance, prevent rust and corrosion, and save you money on repairs and replacements. It’s a simple and affordable way to keep your kitchen appliances in top condition. By incorporating this oil hack into your regular maintenance routine, you can ensure that your appliances will continue to serve you well for years to come. Plus, a well-maintained kitchen is a happy kitchen!


Leave a Comment