

Proven Cleaning Tips are the secret weapon every homeowner needs in their arsenal! Let’s face it, nobody *loves* cleaning, but a sparkling clean home is undeniably satisfying. Have you ever wondered how some people manage to keep their homes looking effortlessly pristine? It’s not magic, I promise! It’s all about knowing the right tricks and hacks, and that’s exactly what I’m here to share with you.
From ancient civilizations using natural remedies like vinegar and baking soda to modern-day innovations in cleaning technology, the quest for a spotless home has been a constant throughout history. But in today’s busy world, who has time to spend hours scrubbing? That’s where these DIY cleaning tips come in.
I’ve compiled a collection of my favorite, tried-and-true methods that will save you time, money, and a whole lot of elbow grease. Whether you’re battling stubborn stains, tackling grimy surfaces, or simply looking for ways to streamline your cleaning routine, these proven cleaning tips will transform the way you approach housework. Get ready to say goodbye to cleaning overwhelm and hello to a sparkling, stress-free home!
DIY Cleaning Hacks That Will Save You Time and Money!
Okay, friends, let’s dive into some seriously effective cleaning hacks that I’ve personally tested and swear by. Forget spending a fortune on fancy cleaning products – these DIY solutions use ingredients you probably already have in your pantry! Get ready to transform your cleaning routine.
Cleaning Your Microwave Like a Pro
Microwaves are notorious for splatters and grime. This hack uses the power of steam and lemon to loosen everything up, making it a breeze to wipe clean.
What You’ll Need:
* 1 cup of water
* 1 lemon, cut in half
* Microwave-safe bowl
* Sponge or cloth
Step-by-Step Instructions:
1. Prepare the Lemon Water: Fill your microwave-safe bowl with 1 cup of water. Squeeze the juice from both lemon halves into the water. Then, drop the lemon halves into the bowl as well. The lemon not only helps to loosen grime but also leaves a fresh, clean scent.
2. Microwave the Solution: Place the bowl in your microwave and heat it on high for 3-5 minutes. You want the water to boil and create a good amount of steam inside the microwave. The steam is key to loosening the stuck-on food particles.
3. Let it Sit: Once the timer goes off, don’t open the microwave immediately! Let the bowl sit inside for another 5-10 minutes. This allows the steam to continue working its magic.
4. Wipe it Clean: Carefully remove the bowl (it will be hot!). Use a sponge or cloth to easily wipe away the loosened grime. You’ll be amazed at how effortlessly everything comes off. For stubborn spots, you might need a little extra elbow grease, but overall, this method is incredibly effective.
5. Final Touches: Wipe down the turntable and the outside of the microwave with a clean, damp cloth. Your microwave should now be sparkling clean and smelling fresh!
De-Gunking Your Showerhead for Better Water Pressure
A clogged showerhead can significantly reduce water pressure and make showering less enjoyable. This vinegar soak is a simple and effective way to dissolve mineral buildup and restore your showerhead to its former glory.
What You’ll Need:
* White vinegar
* Plastic bag (gallon-sized is ideal)
* Rubber band or twist tie
* Old toothbrush
Step-by-Step Instructions:
1. Fill the Bag with Vinegar: Pour enough white vinegar into the plastic bag to completely submerge your showerhead.
2. Secure the Bag: Carefully position the bag over the showerhead, ensuring the showerhead is fully immersed in the vinegar. Use a rubber band or twist tie to securely fasten the bag to the showerhead neck. Make sure it’s tight enough to prevent leaks.
3. Soak Overnight: Let the showerhead soak in the vinegar overnight (or for at least several hours). This allows the vinegar to dissolve the mineral deposits that are clogging the spray nozzles.
4. Remove and Rinse: Remove the bag and discard the vinegar. Turn on the shower and let the water run for a few minutes to flush out any remaining vinegar and loosened debris.
5. Scrub Away Stubborn Residue: If you notice any stubborn residue around the spray nozzles, use an old toothbrush to gently scrub it away.
6. Enjoy Improved Water Pressure: Your showerhead should now be clean and your water pressure significantly improved!
Cleaning Your Grout Like a Pro
Dirty grout can make even the cleanest tiles look dingy. This baking soda and vinegar paste is a powerful and natural way to brighten your grout lines.
What You’ll Need:
* Baking soda
* White vinegar
* Old toothbrush or grout brush
* Spray bottle (optional)
* Water
Step-by-Step Instructions:
1. Create the Paste: In a small bowl, mix baking soda and white vinegar to form a paste. The mixture will fizz, which is perfectly normal. Aim for a consistency that’s thick enough to stick to the grout lines.
2. Apply the Paste: Using an old toothbrush or grout brush, apply the baking soda paste liberally to the grout lines. Make sure to cover all the dirty areas.
3. Let it Sit: Allow the paste to sit on the grout for 5-10 minutes. This gives the baking soda and vinegar time to work their magic and loosen the dirt and grime.
4. Scrub the Grout: Using the toothbrush or grout brush, scrub the grout lines vigorously. You’ll see the dirt and grime start to lift away.
5. Rinse Thoroughly: Rinse the grout lines thoroughly with water. You can use a spray bottle filled with water for easier rinsing.
6. Dry and Admire: Wipe the tiles and grout dry with a clean cloth. Your grout should now be noticeably brighter and cleaner!
Freshening Up Your Mattress Without Harsh Chemicals
Mattresses can harbor dust mites, dead skin cells, and odors. This simple baking soda treatment is a natural and effective way to freshen up your mattress and eliminate unwanted smells.
What You’ll Need:
* Baking soda
* Essential oil (optional, for added fragrance)
* Vacuum cleaner with upholstery attachment
* Sieve or strainer (optional, for even distribution)
Step-by-Step Instructions:
1. Strip the Bed: Remove all bedding, including sheets, blankets, and pillowcases. Wash them in hot water to kill any dust mites.
2. Sprinkle Baking Soda: Generously sprinkle baking soda over the entire surface of your mattress. If you want to add a pleasant scent, mix a few drops of your favorite essential oil (like lavender or eucalyptus) into the baking soda before sprinkling. A sieve or strainer can help distribute the baking soda evenly.
3. Let it Sit: Allow the baking soda to sit on the mattress for at least 30 minutes, or even better, for several hours. The longer it sits, the more effectively it will absorb odors and moisture.
4. Vacuum Thoroughly: Using the upholstery attachment of your vacuum cleaner, thoroughly vacuum the entire surface of the mattress. Make sure to get into all the nooks and crannies.
5. Flip and Repeat: Flip the mattress over and repeat steps 2-4 on the other side.
6. Put the Bedding Back On: Once you’ve vacuumed both sides of the mattress, put clean bedding back on. Your mattress should now be fresh, clean, and odor-free!
Cleaning Burnt Food from Pots and Pans
Burnt food stuck to the bottom of pots and pans can be a nightmare to clean. This baking soda and vinegar boil is a simple and effective way to loosen the burnt residue.
What You’ll Need:
* Baking soda
* White vinegar
* Water
* Sponge or scouring pad
Step-by-Step Instructions:
1. Cover the Burnt Area: Pour a generous amount of baking soda into the pot or pan, covering the burnt food.
2. Add Vinegar and Water: Pour in enough white vinegar to cover the baking soda. Then, add enough water to cover the burnt area completely.
3. Boil the Mixture: Bring the mixture to a boil on the stovetop. Let it simmer for 10-15 minutes. You’ll see the burnt food start to loosen and lift away from the bottom of the pan.
4. Let it Cool: Remove the pot or pan from the heat and let it cool slightly.
5. Scrub Away the Residue: Use a sponge or scouring pad to scrub away the remaining burnt residue. It should come off much more easily now. For stubborn spots, you might need to repeat the boiling process or use a more abrasive scouring pad.
6. Wash as Usual: Wash the pot or pan as usual with soap and water. It should now be clean and ready to use again!
Unclogging Drains Naturally
Chemical drain cleaners can be harsh and damaging to your pipes. This baking soda and vinegar flush is a natural and effective way to unclog drains.
What You’ll Need:
* Baking soda
* White vinegar
* Hot water
Step-by-Step Instructions:
1. Pour Baking Soda Down the Drain: Pour about 1 cup of baking soda down the clogged drain.
2. Add Vinegar: Immediately follow with 1 cup of white vinegar. The mixture will fizz and bubble.
3. Let it Fizz: Let the mixture fizz and bubble for about 30 minutes. This allows the baking soda and vinegar to break down the clog.
4. Flush with Hot Water: After 30 minutes, flush the drain with a pot of boiling hot water.
5. Repeat if Necessary: If the drain is still clogged,
Conclusion
So, there you have it! Mastering these proven cleaning tips isn’t just about achieving a spotless home; it’s about reclaiming your time, saving money, and creating a healthier, more enjoyable living space. We’ve explored a range of simple yet effective techniques, from harnessing the power of everyday ingredients like vinegar and baking soda to understanding the importance of proper ventilation and microfiber cloths.
The beauty of these DIY cleaning solutions lies in their adaptability. Feel free to experiment with different essential oils to personalize your cleaning sprays with your favorite scents. Lavender, lemon, and eucalyptus are all excellent choices known for their antibacterial and mood-boosting properties. For tougher stains, consider creating a paste of baking soda and water, applying it to the affected area, and letting it sit for a few hours before scrubbing. Remember to always test any cleaning solution on an inconspicuous area first to ensure it doesn’t damage the surface.
Beyond the specific techniques, remember that consistency is key. Incorporating these proven cleaning tips into your regular routine, even for just a few minutes each day, can prevent dirt and grime from building up and make your overall cleaning tasks much easier. Think of it as an investment in your well-being and the longevity of your home.
Don’t be intimidated by the idea of DIY cleaning. These methods are designed to be accessible and straightforward, even for beginners. The satisfaction of creating your own effective and eco-friendly cleaning products is truly rewarding. Plus, you’ll be reducing your reliance on harsh chemicals and contributing to a healthier environment.
We wholeheartedly encourage you to try these proven cleaning tips and discover the difference they can make in your home. Start with one or two techniques that resonate with you and gradually incorporate more into your routine. We’re confident that you’ll be amazed by the results.
But most importantly, we want to hear about your experience! Share your successes, your challenges, and any variations you’ve discovered in the comments below. What are your favorite DIY cleaning solutions? What tips have worked best for you? Your insights can help other readers on their journey to a cleaner, healthier home. Let’s create a community of cleaning enthusiasts who are passionate about sharing their knowledge and supporting each other. So go ahead, give these proven cleaning tips a try, and let us know what you think! Your feedback is invaluable and helps us continue to provide you with the best possible cleaning advice.
Frequently Asked Questions (FAQs)
Q: Are these DIY cleaning solutions safe for all surfaces?
A: While most of these proven cleaning tips are generally safe for a wide range of surfaces, it’s always best to test any new solution on an inconspicuous area first. This is especially important for delicate surfaces like marble, granite, or wood. Avoid using abrasive cleaners on these surfaces, as they can cause scratches or damage. For specific surface concerns, consult the manufacturer’s recommendations or a professional cleaning service. For example, vinegar, while a fantastic cleaner, can etch marble if left on for too long. Always dilute vinegar with water, especially when cleaning sensitive surfaces.
Q: Can I use essential oils other than lavender, lemon, and eucalyptus?
A: Absolutely! Feel free to experiment with different essential oils to find your favorite scents and benefit from their unique properties. Tea tree oil is known for its antibacterial and antifungal properties, while peppermint oil can help repel insects. Just be sure to research the safety of each essential oil before using it, especially if you have pets or small children. Some essential oils can be toxic to animals, so it’s important to exercise caution. Always use pure, therapeutic-grade essential oils for the best results.
Q: How often should I clean my home using these DIY methods?
A: The frequency of cleaning depends on your lifestyle, the size of your home, and your personal preferences. However, a good rule of thumb is to perform a quick cleaning of high-traffic areas, such as the kitchen and bathrooms, at least once a week. Deep cleaning tasks, such as cleaning carpets and upholstery, can be done less frequently, perhaps once or twice a year. Incorporating these proven cleaning tips into your regular routine, even for just a few minutes each day, can prevent dirt and grime from building up and make your overall cleaning tasks much easier.
Q: What if I don’t have all the ingredients listed in the recipes?
A: The beauty of DIY cleaning is that you can often substitute ingredients based on what you have on hand. For example, if you don’t have white vinegar, you can use apple cider vinegar instead. If you don’t have baking soda, you can try using washing soda. However, keep in mind that substitutions may affect the effectiveness of the cleaning solution. If you’re unsure about a particular substitution, it’s always best to err on the side of caution and use the recommended ingredients.
Q: Are these DIY cleaning solutions environmentally friendly?
A: Yes, one of the biggest advantages of using these proven cleaning tips is that they are much more environmentally friendly than conventional cleaning products. By using natural ingredients like vinegar, baking soda, and essential oils, you’re reducing your exposure to harsh chemicals and minimizing your impact on the environment. Plus, you can often reuse spray bottles and containers, further reducing waste. Look for sustainably sourced ingredients and eco-friendly packaging whenever possible.
Q: How do I store these DIY cleaning solutions?
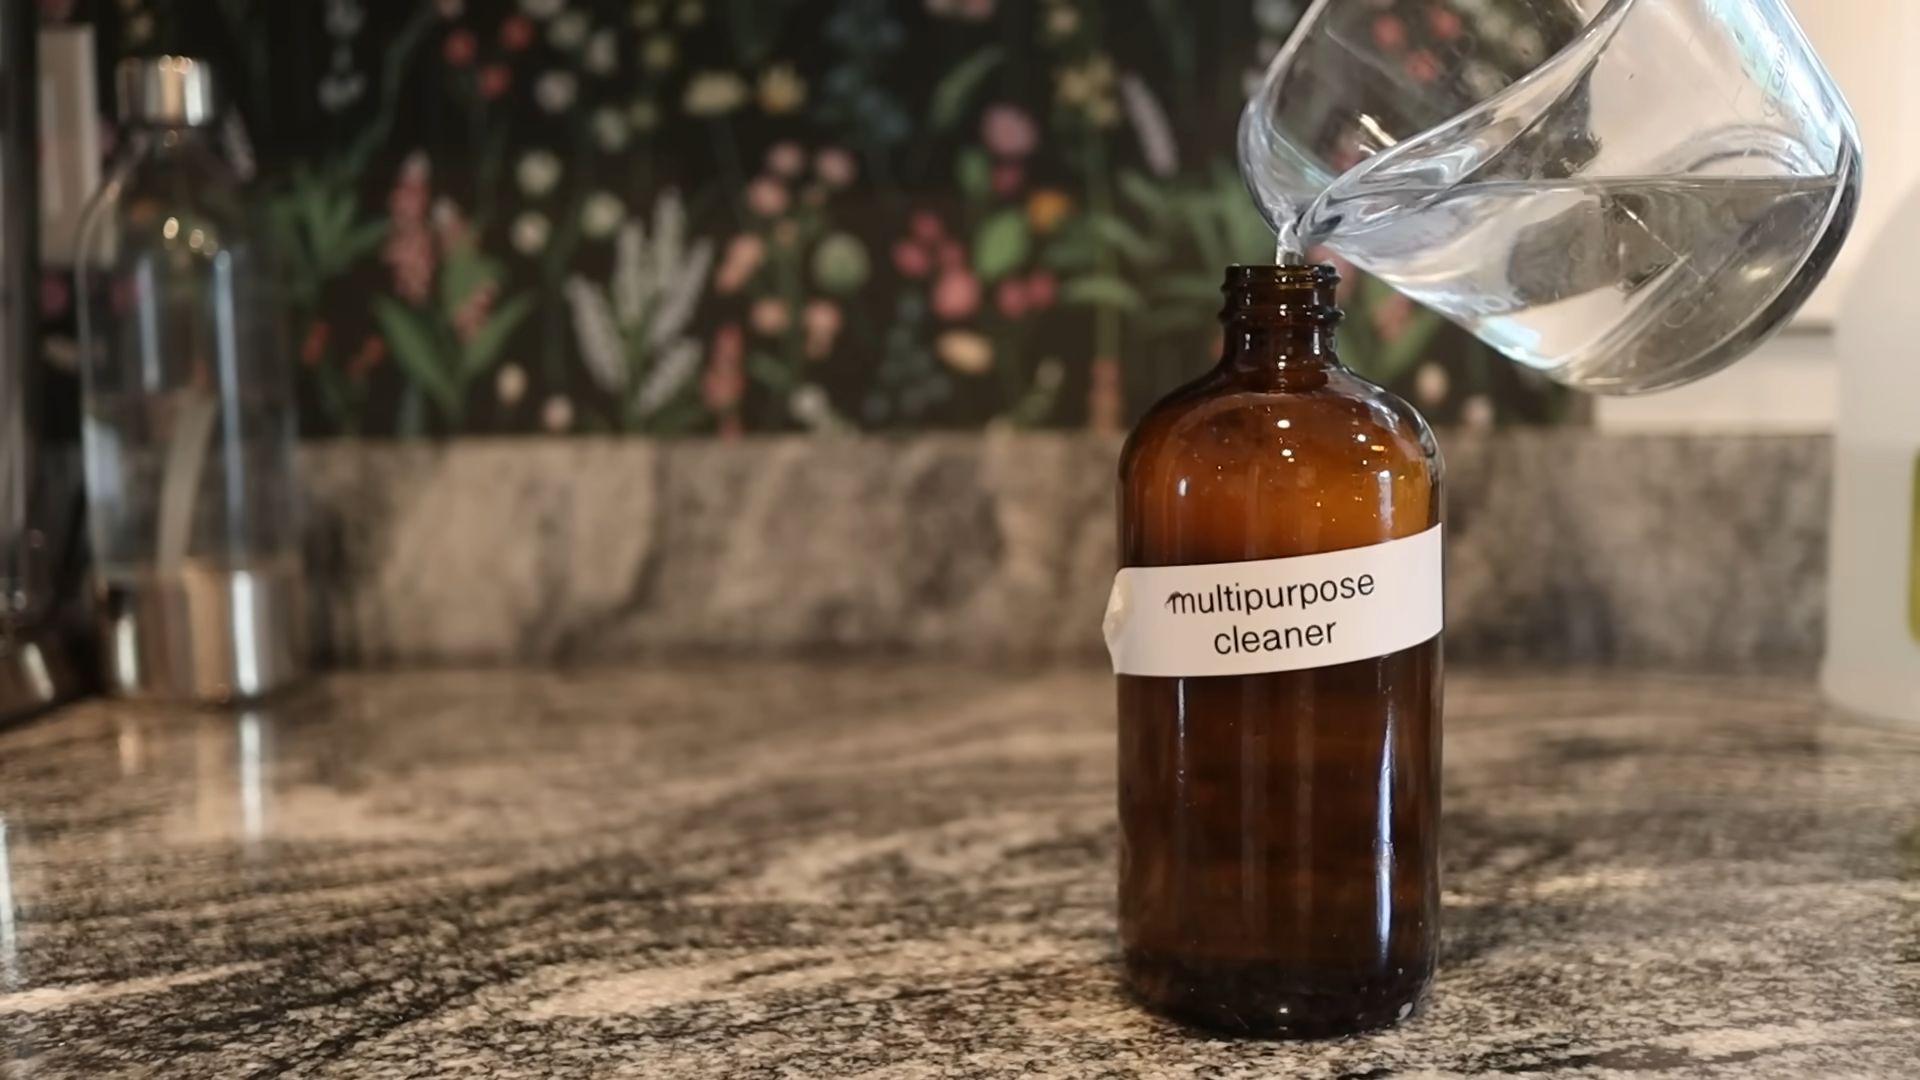
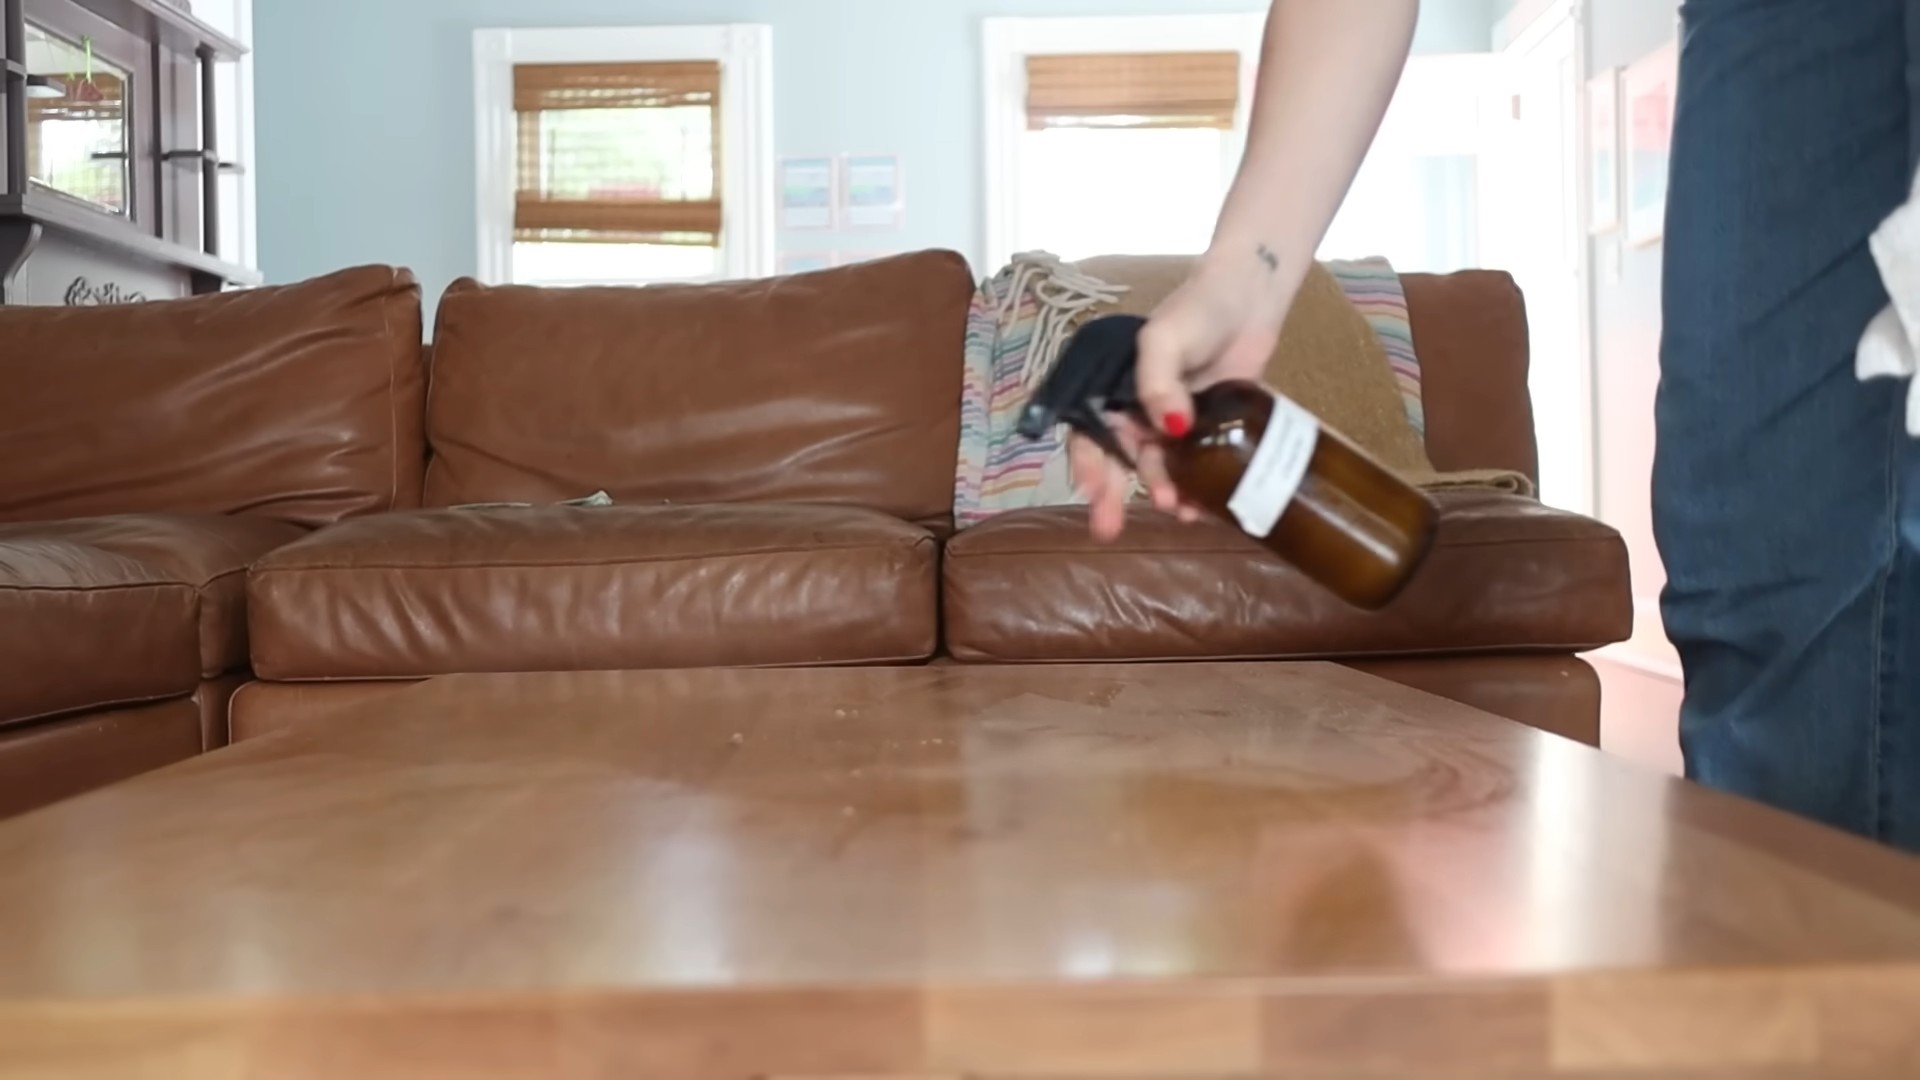
A: Store your DIY cleaning solutions in clean, airtight containers, preferably glass or BPA-free plastic. Label each container clearly with the name of the solution and the date it was made. Store the solutions in a cool, dark place away from direct sunlight and heat. Some solutions, such as those containing essential oils, may degrade over time, so it’s best to use them within a few months. Always keep cleaning solutions out of reach of children and pets.
Q: What are some tips for making cleaning more enjoyable?
A: Cleaning doesn’t have to be a chore! Here are a few tips for making it more enjoyable:
* Put on some music or a podcast while you clean.
* Break down cleaning tasks into smaller, more manageable chunks.
* Reward yourself after completing a cleaning task.
* Enlist the help of family members or roommates.
* Focus on the positive aspects of cleaning, such as creating a cleaner, healthier living space.
* Remember that incorporating these proven cleaning tips can make the process faster and more efficient.
Q: Where can I find more information about DIY cleaning?
A: There are many resources available online and in libraries that can provide you with more information about DIY cleaning. Search for reputable websites and blogs that offer evidence-based cleaning advice. Look for books on natural cleaning and home organization. You can also consult with a professional cleaning service for personalized recommendations. Don’t be afraid to experiment and find what works best for you and your home.

Leave a Comment