

Regrow Carrots From Scraps: Imagine turning kitchen waste into a vibrant, edible garden! It sounds like magic, right? Well, it’s not quite magic, but it’s definitely a super cool and surprisingly simple DIY project that anyone can tackle. For centuries, resourceful gardeners have found ways to extend the life of their produce, and this method of regrowing carrots is a modern twist on that age-old tradition.
Why toss those carrot tops when you can give them a second life? In today’s world, where sustainability and reducing waste are more important than ever, learning how to regrow carrots from scraps is a fantastic way to contribute to a greener lifestyle. Plus, it’s incredibly rewarding to watch something grow from what would otherwise be discarded.
This DIY trick isn’t just about saving money (though that’s a definite perk!). It’s about connecting with nature, learning about plant life cycles, and enjoying the satisfaction of growing your own food, even in a small space. I’m excited to share this easy-to-follow guide that will have you turning carrot tops into beautiful, leafy greens in no time!
Growing Carrots from Carrot Scraps: A DIY Guide for Your Windowsill Vegetable Garden
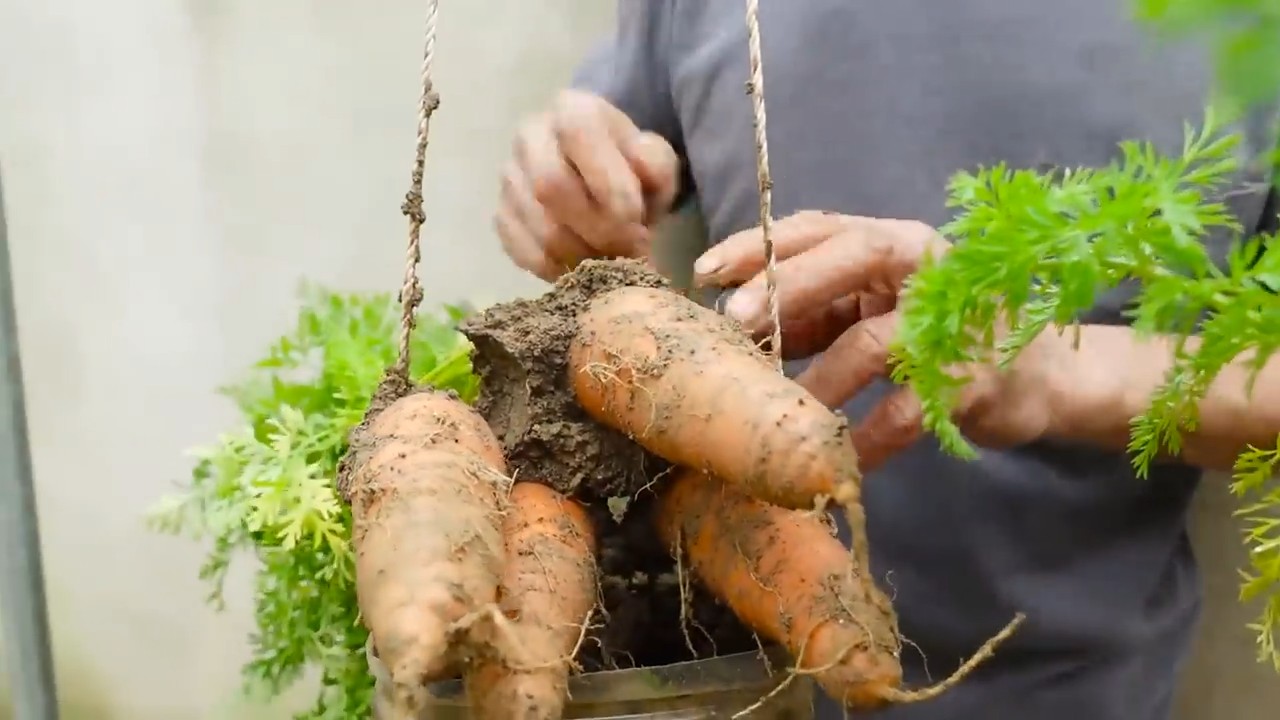
Hey gardening friends! Have you ever wondered if you can grow carrots from the little scraps left over when cooking? The answer is yes, you can! While you won’t get a full carrot from the ground, you can harvest the carrot greens and even try to collect seeds. Let me show you how it’s done!
What You Need
Before we start, it’s important to have the right materials. Here’s a list to make sure everything is ready:
- Carrot Scraps: About 2-5 cm long, with the top part where the greens were.
- A Sharp Knife
- A Container (bowl, plate, glass)
- Water
- Potting Soil
- Pots or Containers with Drainage Holes
- Optional: Liquid Fertilizer for Vegetables
The Basics: Preparing the Carrot Scraps
Before we dive in, it’s important to understand what we’re doing here. We’re trying to encourage the carrot scrap to grow new greens. The carrot itself won’t keep growing, but the top part will sprout new leaves.
- Choosing the Right Carrot: Not all carrot scraps are the same. Choose scraps that look fresh and have no signs of rot or mold. The fresher the scrap, the better your chances of success.
- Cleanliness is Key: Make sure your knife is clean to avoid infecting the carrot with bacteria.
Step-by-Step Guide: Bringing the Carrot Scraps to Life
- Preparing the Carrot Scraps:
- Cut the carrot scrap with a sharp knife. Remove any brown or soft spots.
- Leave about 2-5 cm of the top part. This part contains the buds from which the greens will grow.
- Rooting in Water:
- Fill a container with about 1-2 cm of water.
- Place the carrot scrap in the water with the cut surface facing down. Make sure only the cut surface is submerged, and the rest of the scrap stays dry to prevent rot.
- Place the container in a bright spot, but avoid direct sunlight. A windowsill is ideal.
- Change the water every 1-2 days to keep it fresh and to prevent algae from forming.
- Patience is Key:
- After a few days to two weeks, you should start to see small roots sprouting from the cut surface. At the same time, the greens will begin to grow.
- Once the roots are about 1-2 cm long, it’s time to transplant the carrot scraps into the soil.
Transplanting into Soil: The Next Step
Once the roots have grown, it’s time to move the scraps into the soil.
- Choosing the Right Pot:
- Choose a pot or container with drainage holes to allow excess water to drain out. Waterlogging can lead to rot.
- The size of the pot should be large enough to accommodate the carrot scrap and roots. A pot with a diameter of 10-15 cm is usually sufficient.
- Using the Right Soil:
- Use high-quality potting soil that drains well. You can add a bit of sand or perlite to improve drainage.
- Fill the pot with soil, leaving about 2-3 cm from the top.
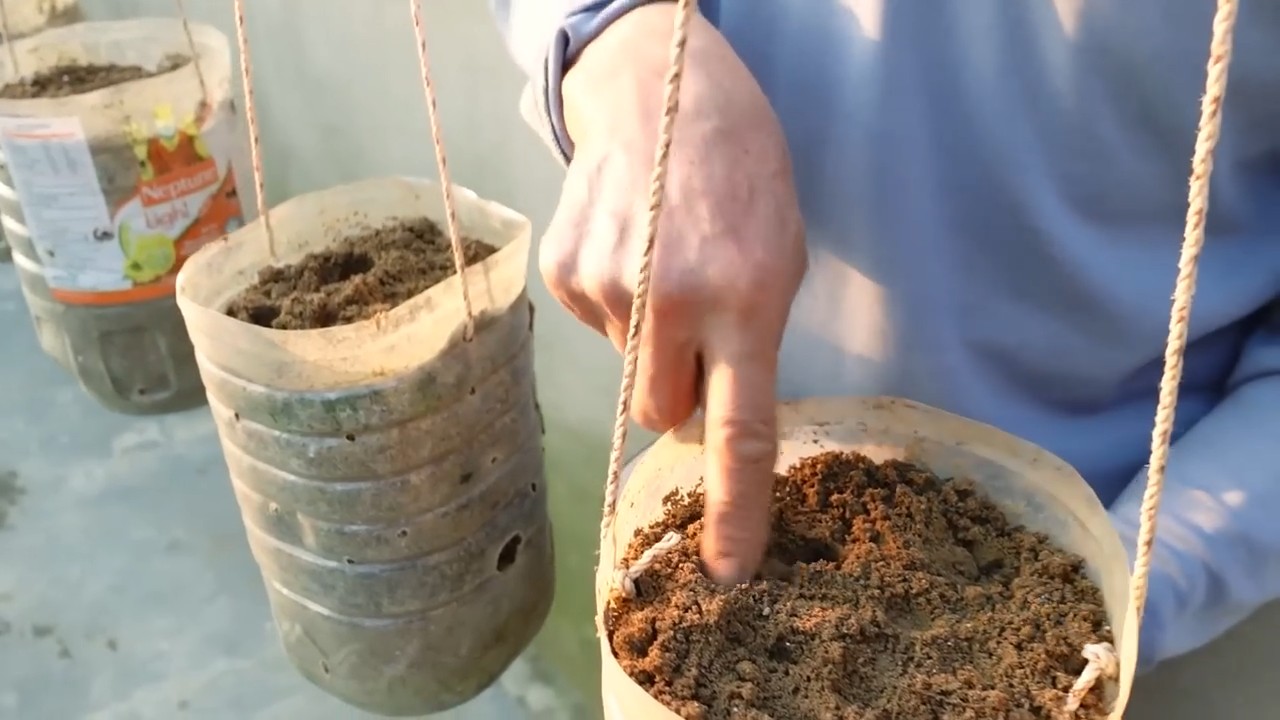
- Planting the Carrot Scraps:
- Dig a small hole large enough to fit the carrot scrap and its roots.
- Place the carrot scrap gently into the hole and cover the roots with soil. Be sure the top part of the scrap, where the greens grow, remains above the soil.
- Lightly press the soil down.
- Watering:
- Water the carrot scraps thoroughly after planting, ensuring the water drains out through the bottom holes.
- Make sure the soil stays moist but not soaked.
Caring for the Carrot Plants: Keeping Them Healthy and Happy
Once planted, proper care is crucial for the growth of your carrot plants.
- Location:
- Place the pots in a bright spot but avoid direct sunlight, especially during the hottest hours of the day.
- A windowsill with indirect light is ideal.
- Watering:
- Water the carrot plants regularly but not too much. The soil should remain moist but not soggy.
- Let the top layer of soil dry slightly between waterings.
- Check the moisture of the soil by sticking your finger about 2-3 cm into the soil. If it feels dry, it’s time to water.
- Fertilizing:
- Fertilize the carrot plants every 2-4 weeks with a liquid vegetable fertilizer.
- Follow the instructions on the fertilizer packaging.
- Over-fertilization can lead to leaf burns, so be cautious.
- Pests and Diseases:
- Watch for signs of pests like aphids or spider mites.
- Remove affected leaves immediately and treat the plants with an appropriate insecticide if necessary.
- Be aware of diseases like powdery mildew or root rot.
- Ensure good ventilation and avoid waterlogging to prevent diseases.
What You Can Expect: Carrot Greens and Maybe Even Seeds
As mentioned earlier, you won’t be able to harvest new carrots from the scraps. However, you can harvest the carrot greens and use them in salads, soups, or as garnish. The greens have a slightly bitter but still pleasant taste.
- Harvesting Carrot Greens: Once the outer leaves are big enough, you can cut them off. Let the inner leaves continue to grow so the plant can keep producing more greens.
- Getting Seeds (Optional): If you’re lucky, the carrot plants may flower and produce seeds. However, this doesn’t always happen and depends on the conditions. If the plants bloom, let the flower heads dry and harvest the seeds. Store the seeds in a cool, dry place until you’re ready to sow them.
Common Problems and Solutions
- Rot: If the carrot scrap rots, it’s usually due to too much moisture. Make sure only the cut surface is in the water, and the soil isn’t too wet.
- No Growth: If no roots or greens form after several weeks, the carrot scrap may not be viable. Try using a fresh scrap.
- Yellow Leaves: Yellow leaves can indicate overwatering, underwatering, or nutrient deficiencies. Check the moisture of the soil and consider fertilizing the plants if needed.
Additional Tips and Tricks
- Different Carrot Varieties: Try different carrot varieties to see which ones grow best.
- Creative Containers: Use recycled containers like yogurt cups or tin cans as pots. Just make sure they have drainage holes.
- Carrot Scraps as Decoration: The growing carrot scraps can also serve as a decorative element on the windowsill.
I hope this guide helps you bring your own carrot scraps to life! It’s a fun project that offers a lot of potential. Happy gardening!
Conclusion
So, there you have it! Regrowing carrots from scraps isn’t just a fun science experiment; it’s a fantastic way to reduce food waste, add a touch of green to your home, and even potentially harvest some delicious carrot greens. While you won’t get a full-sized carrot root from this process, the vibrant carrot tops are a delightful addition to salads, pesto, or as a garnish for your favorite dishes.
This simple DIY trick is a must-try for several reasons. First, it’s incredibly easy and requires minimal effort. You likely already have the necessary materials on hand: carrot tops, water, and a sunny windowsill. Second, it’s a sustainable practice that helps minimize food waste. Instead of tossing those carrot tops into the compost bin (although composting is great too!), you’re giving them a second life. Third, it’s a rewarding experience to watch something grow from what would otherwise be discarded. It’s a small but meaningful connection to the natural world.
Looking for variations? Consider experimenting with different types of carrots. You might find that some varieties sprout more readily than others. You can also try planting the sprouted carrot tops in soil to see if they develop further. While a full-sized carrot is unlikely, you might be surprised at what you can achieve with a little patience and care. Another fun variation is to involve children in the process. It’s a great way to teach them about plant life cycles and the importance of sustainability. Let them monitor the water level, observe the root growth, and help with planting.
Don’t be discouraged if your first attempt isn’t a resounding success. Like any gardening endeavor, regrowing carrots from scraps can be a bit unpredictable. The key is to be patient, provide the right conditions, and learn from your experiences.
We wholeheartedly encourage you to try this DIY trick and share your results with us! Post pictures of your regrowing carrot tops on social media using #RegrowCarrots and let us know what you’ve learned. We’re eager to see your green thumbs in action and hear about your creative ways to use those delicious carrot greens. This is a simple, sustainable, and satisfying way to engage with nature and reduce food waste. So, grab those carrot tops and get growing! You might just be surprised at what you can achieve with a little water, sunlight, and a touch of green ingenuity. Remember, even small steps can make a big difference in creating a more sustainable future. Embrace the joy of regrowing carrots from scraps and discover the magic of turning kitchen waste into something beautiful and useful.
Frequently Asked Questions (FAQ)
Will I get a full-sized carrot from regrowing carrot tops?
No, you will not get a full-sized carrot root from regrowing carrot tops. The process primarily focuses on regrowing the carrot greens, which are the leafy tops of the carrot. The carrot root itself is a storage organ for the plant, and it requires the entire plant’s energy and resources to develop properly. When you regrow carrot tops, you’re essentially giving the plant a second chance to produce more foliage, not to recreate the root. Think of it like cutting back herbs – you get more leaves, but not a whole new plant.
How long does it take for carrot tops to start regrowing?
You should start to see new growth within a week or two. The exact timeframe depends on factors like the freshness of the carrot tops, the amount of sunlight they receive, and the water quality. Keep the carrot tops consistently moist, and place them in a bright, sunny location. Be patient, and you’ll soon notice small green shoots emerging from the top of the carrot scrap.
What kind of water should I use?
Tap water is generally fine, but if your tap water is heavily chlorinated, it’s best to let it sit out for 24 hours before using it. This allows the chlorine to dissipate. Filtered water or rainwater are also excellent options. Avoid using softened water, as it can contain high levels of sodium, which can be harmful to plants.
How much sunlight do the carrot tops need?
Carrot tops need plenty of sunlight to thrive. Aim for at least 6 hours of direct sunlight per day. A south-facing windowsill is usually ideal. If you don’t have a sunny windowsill, you can supplement with a grow light. Insufficient sunlight can lead to leggy, weak growth.
Can I plant the regrown carrot tops in soil?
Yes, you can plant the regrown carrot tops in soil. Once the roots have developed sufficiently (about an inch or two long), you can transplant them into a pot filled with well-draining potting mix. Be gentle when transplanting to avoid damaging the delicate roots. Keep the soil consistently moist, and continue to provide plenty of sunlight. While you still won’t get a full-sized carrot root, planting in soil can encourage more robust foliage growth.
What can I do with the carrot greens?
Carrot greens are edible and can be used in a variety of ways. They have a slightly bitter, earthy flavor that complements many dishes. You can add them to salads, use them to make pesto, blend them into smoothies, or use them as a garnish for soups and other dishes. Before using carrot greens, be sure to wash them thoroughly to remove any dirt or debris.
Are all carrot tops suitable for regrowing?
Ideally, you should use carrot tops that are fresh and haven’t started to dry out. The fresher the carrot top, the better the chances of successful regrowth. Avoid using carrot tops that are slimy, moldy, or have a foul odor. These are signs of decay and are unlikely to sprout.
How often should I change the water?
Change the water every 1-2 days to prevent the growth of bacteria and algae. Stagnant water can create an unhealthy environment for the carrot tops and hinder their growth. When changing the water, gently rinse the carrot tops to remove any debris.
What if my carrot tops start to rot?
If your carrot tops start to rot, it’s likely due to overwatering or poor water quality. Remove the rotting carrot tops immediately to prevent the spread of decay. Start with fresh carrot tops and be sure to change the water regularly. Also, ensure that the carrot tops are not sitting in too much water. Only the bottom portion should be submerged.
Is regrowing carrots from scraps a good way to save money?
While you won’t be saving a significant amount of money, regrowing carrots from scraps is a great way to reduce food waste and get a small supply of fresh carrot greens. It’s more about the sustainability aspect and the joy of growing something from what would otherwise be discarded. Think of it as a bonus – a little bit of free greenery from your kitchen scraps.
Can I regrow carrot tops indoors year-round?
Yes, you can regrow carrot tops indoors year-round as long as you provide them with sufficient light and water. The process is not dependent on the season. However, growth may be slower during the winter months due to reduced sunlight.
What are the benefits of eating carrot greens?
Carrot greens are packed with nutrients, including vitamins A, C, and K, as well as minerals like calcium and potassium. They also contain antioxidants, which can help protect your body against damage from free radicals. While they have a slightly bitter taste, they offer a healthy and flavorful addition to your diet.
My carrot tops are growing mold. What should I do?
Mold growth indicates a problem with the environment. Discard the moldy carrot tops. Thoroughly clean the container you were using with soap and water. Start again with fresh carrot tops, ensuring you change the water frequently and avoid overcrowding the container. Good air circulation can also help prevent mold growth.
Can I use this method to regrow other vegetables?
Yes, you can use similar methods to regrow other vegetables from scraps, such as lettuce, celery, green onions, and basil. Each vegetable has its own specific requirements, so it’s best to research the best practices for each one. Regrowing vegetables from scraps is a fun and rewarding way to reduce food waste and enjoy fresh produce.
Leave a Comment