

Rescue Burnt Cookware Easily – sounds like a magic trick, right? Well, it’s not magic, but it’s pretty darn close! We’ve all been there: distracted by a phone call, engrossed in a good book, or simply lost in thought, only to be jolted back to reality by the acrid smell of something burning on the stove. Ugh! That sinking feeling when you realize your favorite pot is now sporting a stubborn, blackened layer of burnt food.
For generations, resourceful cooks have passed down clever tips and tricks for dealing with kitchen mishaps. From grandma’s secret ingredient to ancient remedies, the quest to save scorched cookware is a tale as old as cooking itself. But let’s face it, scrubbing until your arms ache is not how anyone wants to spend their afternoon. That’s where these DIY hacks come in!
I’m here to tell you that you don’t need harsh chemicals or endless elbow grease to restore your cookware to its former glory. This article is packed with simple, effective, and budget-friendly methods to rescue burnt cookware easily. These DIY tricks will not only save you money on replacing pots and pans but also save you precious time and energy. So, ditch the frustration and get ready to learn how to banish those burnt bits for good!
Rescue Your Burnt Cookware: A DIY Guide to Sparkling Clean Pots and Pans
Okay, so you’ve done it. We’ve all been there. You got distracted, the phone rang, the kids needed something, and now your favorite pot is sporting a lovely layer of burnt-on gunk. Don’t despair! Before you resign yourself to scrubbing for hours (or worse, throwing it away!), try these tried-and-true DIY methods. I’ve personally used these techniques countless times, and they’ve saved me a fortune in replacement cookware. Let’s get started!
Understanding the Enemy: Burnt-On Food
Before we dive into the solutions, it’s helpful to understand what we’re dealing with. Burnt food is essentially carbonized organic matter. It’s tough, stubborn, and clings like crazy to the surface of your pots and pans. The key to removing it is to loosen its grip, either through chemical reactions or physical abrasion (or a combination of both!).
Method 1: The Baking Soda and Vinegar Power Couple
This is my go-to method for most burnt-on messes. It’s gentle, effective, and uses ingredients you probably already have in your pantry.
Materials You’ll Need:
* Baking soda
* White vinegar
* Water
* A non-abrasive sponge or scrub brush
* A pot or pan large enough to hold the burnt cookware
Step-by-Step Instructions:
1. Assess the Damage: Take a good look at the burnt area. How thick is the layer? This will help you determine how long to soak and simmer.
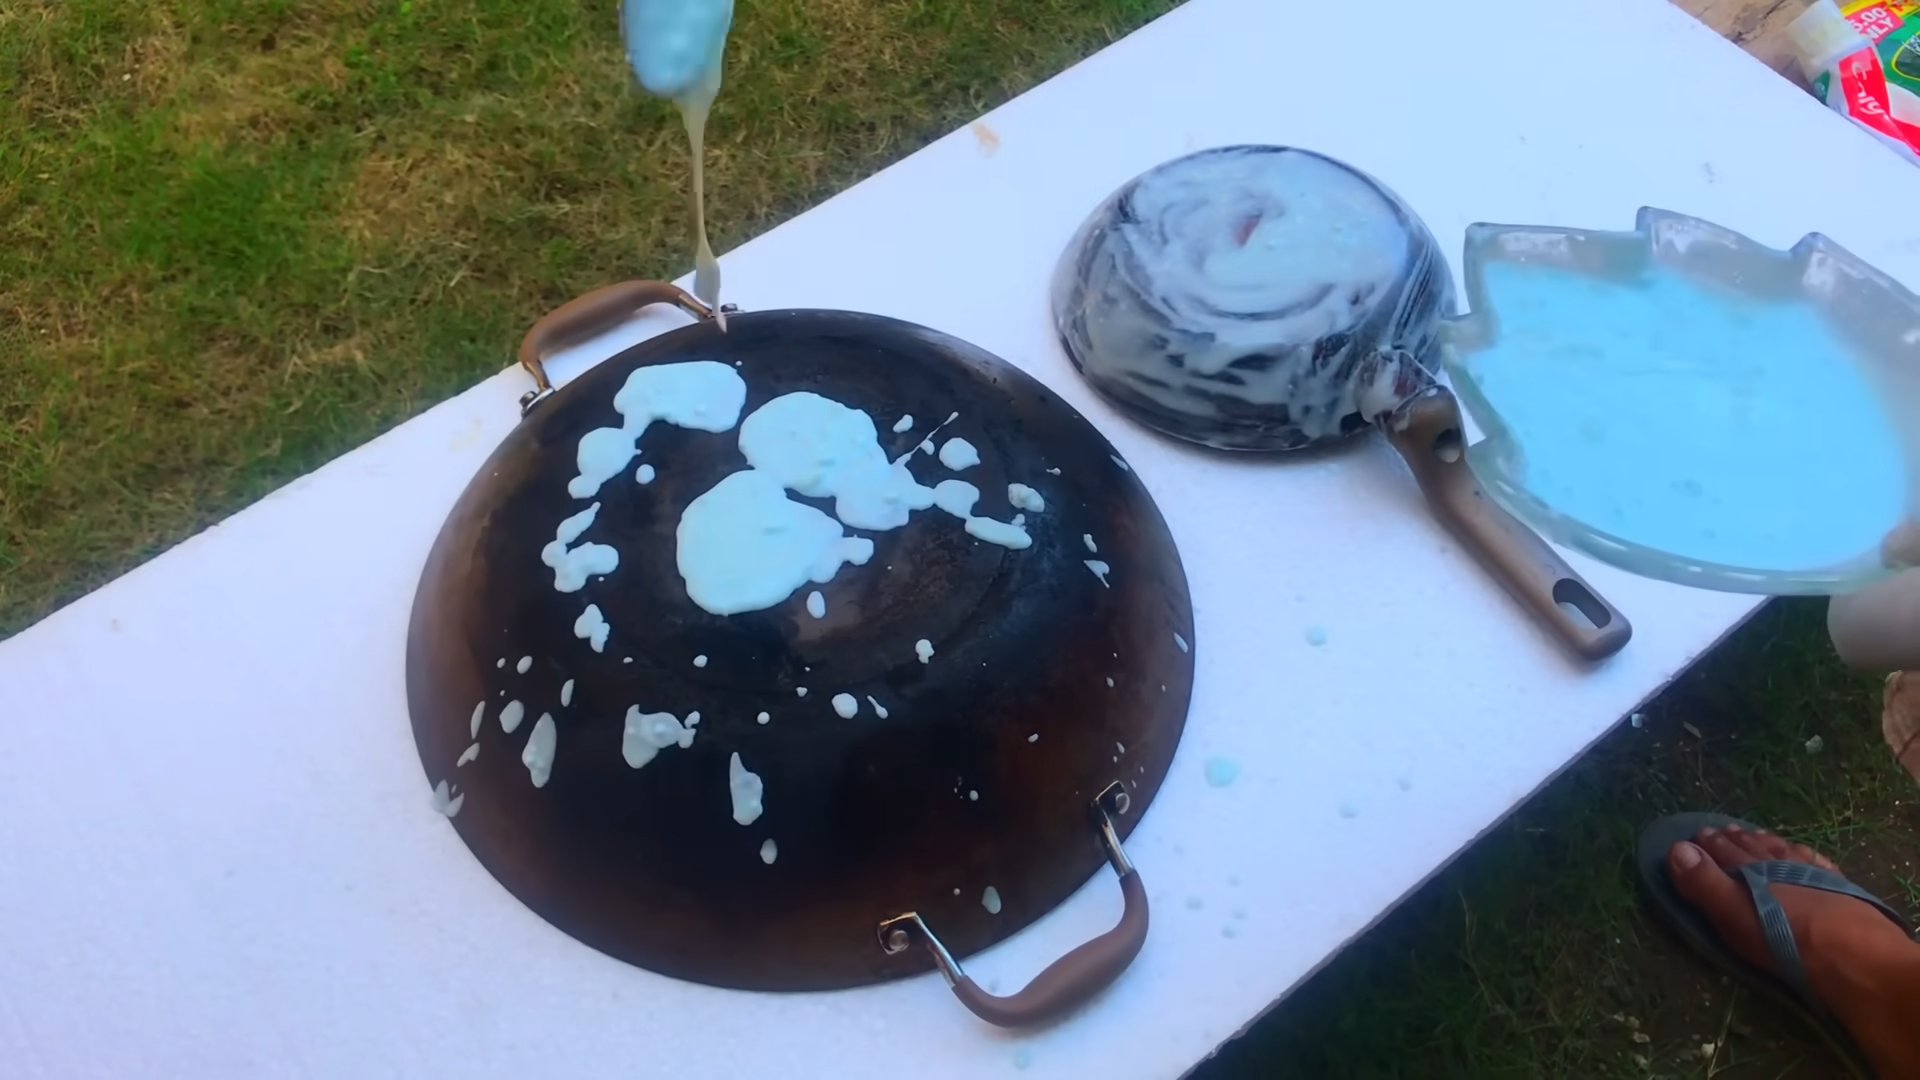
2. Cover the Burnt Area: Pour a generous layer of baking soda directly onto the burnt food. You want to completely cover it. Don’t be shy!
3. Add Vinegar: Slowly pour white vinegar over the baking soda. You’ll see it fizz – that’s the magic happening! The chemical reaction between the baking soda and vinegar helps to loosen the burnt food.
4. Let it Fizz: Allow the mixture to fizz and bubble for about 30 minutes. This gives the baking soda and vinegar time to work their magic. For really stubborn burns, you can let it sit for an hour or even overnight.
5. Add Water and Simmer: After the fizzing has subsided, add enough water to cover the burnt area. Place the pot or pan on the stove and bring it to a simmer.
6. Simmer Gently: Let the mixture simmer for 10-15 minutes. Keep an eye on it to make sure it doesn’t boil over. The simmering helps to further loosen the burnt food.
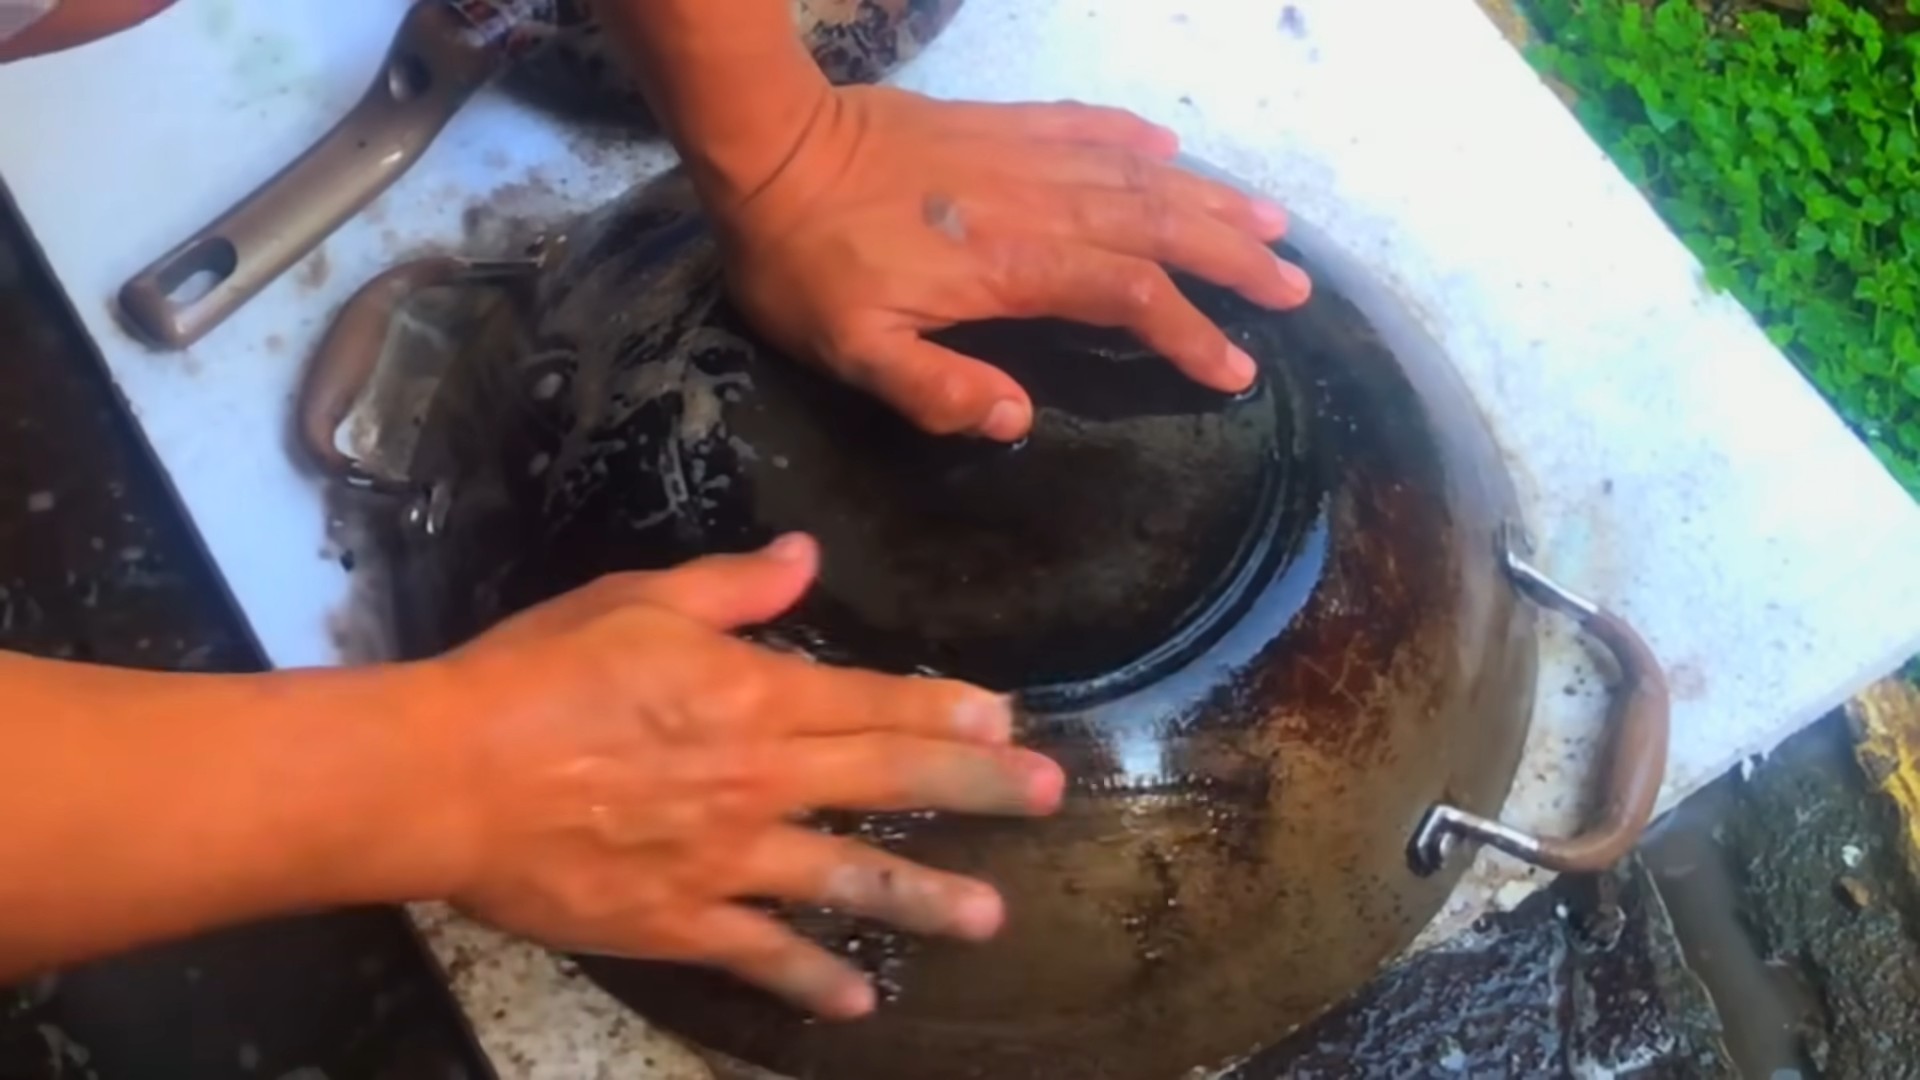
7. Cool and Scrub: Remove the pot or pan from the heat and let it cool slightly. Once it’s cool enough to handle, use a non-abrasive sponge or scrub brush to gently scrub away the burnt food. You should find that it comes off much easier than before.
8. Repeat if Necessary: If some stubborn bits remain, repeat the process. You might need to add a little more baking soda and vinegar and simmer for a bit longer.
9. Wash and Dry: Once you’ve removed all the burnt food, wash the pot or pan with soap and water as usual. Dry thoroughly to prevent rust.
Method 2: The Boiling Water and Dish Soap Solution
This method is great for lighter burns or for giving your cookware a general deep clean.
Materials You’ll Need:
* Dish soap
* Water
* A non-abrasive sponge or scrub brush
Step-by-Step Instructions:
1. Fill with Water: Fill the burnt pot or pan with water, making sure to cover the burnt area completely.
2. Add Dish Soap: Add a generous squirt of dish soap to the water.
3. Boil: Bring the water to a boil on the stovetop.
4. Boil Gently: Let the mixture boil gently for 15-20 minutes. The boiling water and soap will help to loosen the burnt food.
5. Cool and Scrub: Remove the pot or pan from the heat and let it cool slightly. Once it’s cool enough to handle, use a non-abrasive sponge or scrub brush to gently scrub away the burnt food.
6. Repeat if Necessary: If some stubborn bits remain, repeat the boiling and scrubbing process.
7. Wash and Dry: Wash the pot or pan with soap and water as usual. Dry thoroughly.
Method 3: The Salt Scrub
This method is a bit more abrasive, so use it with caution on delicate surfaces. It’s best for stainless steel or cast iron.
Materials You’ll Need:
* Coarse salt (like kosher salt or sea salt)
* Water
* A non-abrasive sponge or scrub brush
Step-by-Step Instructions:
1. Dampen the Surface: Lightly dampen the burnt area with water.
2. Apply Salt: Sprinkle a generous amount of coarse salt over the burnt area.
3. Scrub Gently: Using a non-abrasive sponge or scrub brush, gently scrub the burnt food in a circular motion. The salt acts as a mild abrasive to help lift the burnt food.
4. Rinse and Repeat: Rinse the pot or pan with water and repeat the scrubbing process if necessary.
5. Wash and Dry: Wash the pot or pan with soap and water as usual. Dry thoroughly.
Method 4: The Dryer Sheet Trick (Yes, Really!)
This one sounds crazy, but it works surprisingly well! It’s best for lighter burns.
Materials You’ll Need:
* Dryer sheet (used or new)
* Water
Step-by-Step Instructions:
1. Place Dryer Sheet: Place a dryer sheet in the burnt pot or pan.
2. Add Water: Fill the pot or pan with water, making sure the dryer sheet is submerged.
3. Soak Overnight: Let the pot or pan soak overnight.
4. Scrub Gently: In the morning, remove the dryer sheet and gently scrub away the burnt food with a sponge or scrub brush. You’ll be amazed at how easily it comes off!
5. Wash and Dry: Wash the pot or pan with soap and water as usual. Dry thoroughly.
Method 5: The Lemon Juice Solution
Lemon juice is a natural acid that can help to break down burnt food.
Materials You’ll Need:
* Lemon juice
* Water
* A non-abrasive sponge or scrub brush
Step-by-Step Instructions:
1. Mix Lemon Juice and Water: Mix equal parts lemon juice and water in the burnt pot or pan.
2. Boil: Bring the mixture to a boil on the stovetop.
3. Boil Gently: Let the mixture boil gently for 10-15 minutes.
4. Cool and Scrub: Remove the pot or pan from the heat and let it cool slightly. Once it’s cool enough to handle, use a non-abrasive sponge or scrub brush to gently scrub away the burnt food.
5. Wash and Dry: Wash the pot or pan with soap and water as usual. Dry thoroughly.
Important Considerations and Tips:
* Material Matters: Be mindful of the material of your cookware. Some methods are better suited for certain materials than others. For example, avoid using abrasive methods on non-stick surfaces.
* Test in an Inconspicuous Area: If you’re unsure about a particular method, test it in a small, inconspicuous area first to make sure it doesn’t damage the cookware.
* Avoid Abrasive Cleaners: Harsh abrasive cleaners like steel wool can scratch and damage your cookware. Stick to non-abrasive sponges and scrub brushes.
* Prevention is Key: The best way to deal with burnt cookware is to prevent it from happening in the first place! Keep a close eye on your cooking, stir frequently, and use the correct heat settings.
* Don’t Give Up: Sometimes, it takes a little persistence to remove stubborn burnt food. Don’t be afraid to try different methods or repeat the same method several times.
* For Cast Iron: If you’re dealing with burnt food on cast iron, be sure to re-season the pan after cleaning to protect it from rust.
* Safety First: Always wear gloves when working with cleaning solutions, and be careful when handling hot pots and pans.
Dealing with Specific Types of Cookware:
* Non-Stick Cookware: Be extra gentle with non-stick cookware. Avoid abrasive methods and stick to the baking soda and vinegar method or the dish soap and water method.
* Stainless Steel Cookware: Stainless steel is fairly durable and can withstand most cleaning methods. However
Conclusion
So, there you have it! No more agonizing over scorched pots and pans. This simple, yet incredibly effective, DIY trick to rescue burnt cookware is a game-changer for any home cook. Forget spending hours scrubbing, potentially damaging your precious cookware, or worse, throwing them away altogether. This method is not only cost-effective, utilizing ingredients you likely already have in your pantry, but it’s also gentle on your pots and pans, preserving their longevity and ensuring they remain a staple in your kitchen for years to come.
Why is this a must-try? Because it works! It’s a proven method that tackles even the most stubborn burnt-on food residue, leaving your cookware looking almost brand new. Imagine the satisfaction of effortlessly removing that blackened mess and restoring your favorite pan to its former glory. Think of the money you’ll save by avoiding costly replacements. And consider the peace of mind knowing you have a reliable solution at your fingertips whenever culinary mishaps occur.
But the beauty of this DIY trick lies not only in its effectiveness but also in its adaptability. Feel free to experiment with variations to suit your specific needs and preferences. For instance, if you’re dealing with particularly stubborn burnt residue, you can increase the amount of baking soda or vinegar used in the solution. Alternatively, you can add a few drops of lemon juice for an extra boost of cleaning power and a refreshing scent. Some people have also found success by gently simmering the solution for a longer period, allowing the ingredients to work their magic even more effectively.
Don’t be afraid to get creative and tailor the method to your unique situation. The key is to observe how your cookware responds and adjust the process accordingly. Remember, patience is key. While this trick is highly effective, it may require a little time and effort, especially for heavily burnt cookware. But trust us, the results are well worth it.
We wholeheartedly encourage you to try this DIY trick to rescue your burnt cookware. It’s a simple, affordable, and effective solution that will save you time, money, and frustration. And more importantly, it will allow you to continue enjoying your culinary adventures without the fear of ruining your favorite pots and pans.
Once you’ve tried this method, we’d love to hear about your experience! Share your before-and-after photos, tips, and variations in the comments below. Let’s create a community of resourceful cooks who are passionate about rescuing their burnt cookware and sharing their knowledge with others. Your insights could be invaluable to someone struggling with a similar problem. So, go ahead, give it a try, and let us know how it goes! Happy cooking!
Frequently Asked Questions (FAQ)
What kind of cookware can I use this method on?
This DIY trick is generally safe for most types of cookware, including stainless steel, enamel-coated cast iron, and even some non-stick surfaces. However, it’s always a good idea to test a small, inconspicuous area first, especially if you’re unsure about the material of your cookware. Avoid using abrasive scrubbers on non-stick surfaces, as this can damage the coating. For delicate materials like copper, use a gentler approach and avoid prolonged soaking.
How long should I simmer the solution?
The simmering time will depend on the severity of the burn. For lightly burnt cookware, 15-20 minutes may be sufficient. For more heavily burnt pots and pans, you may need to simmer the solution for up to 30-45 minutes, or even longer. Keep an eye on the water level and add more water as needed to prevent the pot from drying out. The goal is to loosen the burnt residue, so it can be easily scrubbed away.
What if the burnt residue is still stuck after simmering?
If the burnt residue is still stubborn after simmering, don’t despair! First, allow the pot or pan to cool slightly. Then, use a non-abrasive sponge or scrubber to gently scrub the affected areas. You can also try making a paste of baking soda and water and applying it to the burnt residue. Let the paste sit for a few minutes before scrubbing. For particularly tough stains, you may need to repeat the simmering and scrubbing process a few times.
Can I use this method on non-stick cookware?
Yes, you can use this method on non-stick cookware, but with caution. Avoid using abrasive scrubbers, as they can damage the non-stick coating. Instead, use a soft sponge or cloth to gently scrub the burnt residue. You may also want to reduce the amount of baking soda used in the solution, as it can be slightly abrasive. If the burnt residue is particularly stubborn, consider using a non-stick safe cleaner specifically designed for burnt food.
Is vinegar safe for all types of cookware?
Vinegar is generally safe for most types of cookware, but it can react with certain metals, such as aluminum. If you’re using this method on aluminum cookware, it’s best to use a diluted vinegar solution and avoid prolonged soaking. Also, be sure to rinse the cookware thoroughly after cleaning to remove any traces of vinegar.
Can I use this method to clean burnt food from the oven?
While this method is primarily designed for cookware, you can adapt it to clean burnt food from the oven. Simply mix baking soda and water to form a paste and apply it to the burnt areas in the oven. Let the paste sit overnight, then scrub it away with a damp sponge or cloth. For particularly stubborn stains, you can add a little vinegar to the paste.
What are some other variations of this DIY trick?
There are several variations of this DIY trick that you can try. Some people add a few drops of dish soap to the solution for extra cleaning power. Others use lemon juice instead of vinegar for a more pleasant scent. You can also try using a combination of baking soda, vinegar, and salt to create a powerful cleaning paste. Experiment with different variations to find what works best for your specific needs and cookware.
How can I prevent food from burning in the first place?
Prevention is always better than cure! To prevent food from burning, use the correct heat setting for the type of food you’re cooking. Stir food frequently to prevent it from sticking to the bottom of the pot or pan. Use enough liquid to prevent the food from drying out. And most importantly, pay attention to what you’re cooking! Don’t leave food unattended on the stove or in the oven.
What if I don’t have baking soda or vinegar?
While baking soda and vinegar are the key ingredients in this DIY trick, you can try using other alternatives if you don’t have them on hand. For example, you can use cream of tartar or lemon juice instead of vinegar. You can also try using a commercial oven cleaner or a specialized cookware cleaner. However, these alternatives may not be as effective as baking soda and vinegar.
How often can I use this method to clean my cookware?
You can use this method as often as needed to clean your cookware. However, it’s important to avoid using abrasive scrubbers or harsh chemicals, as these can damage the surface of your pots and pans. If you’re using this method frequently, consider using a gentler approach and avoiding prolonged soaking. With proper care and maintenance, your cookware will last for years to come.


Leave a Comment