

Tire grape growing method: Ever dreamt of plucking juicy, sun-ripened grapes straight from your own backyard? Imagine the satisfaction of creating your own mini-vineyard, bursting with flavor, without breaking the bank or dedicating acres of land! Well, you can stop dreaming and start doing! This DIY guide unveils a surprisingly simple and effective technique – using old tires to cultivate thriving grapevines.
Grape cultivation has a rich history, dating back thousands of years to ancient civilizations like the Egyptians and Romans, who revered grapes for their delicious fruit and the wine they produced. While traditional vineyards require extensive space and specialized knowledge, this tire grape growing method brings the joy of grape growing to even the smallest urban gardens.
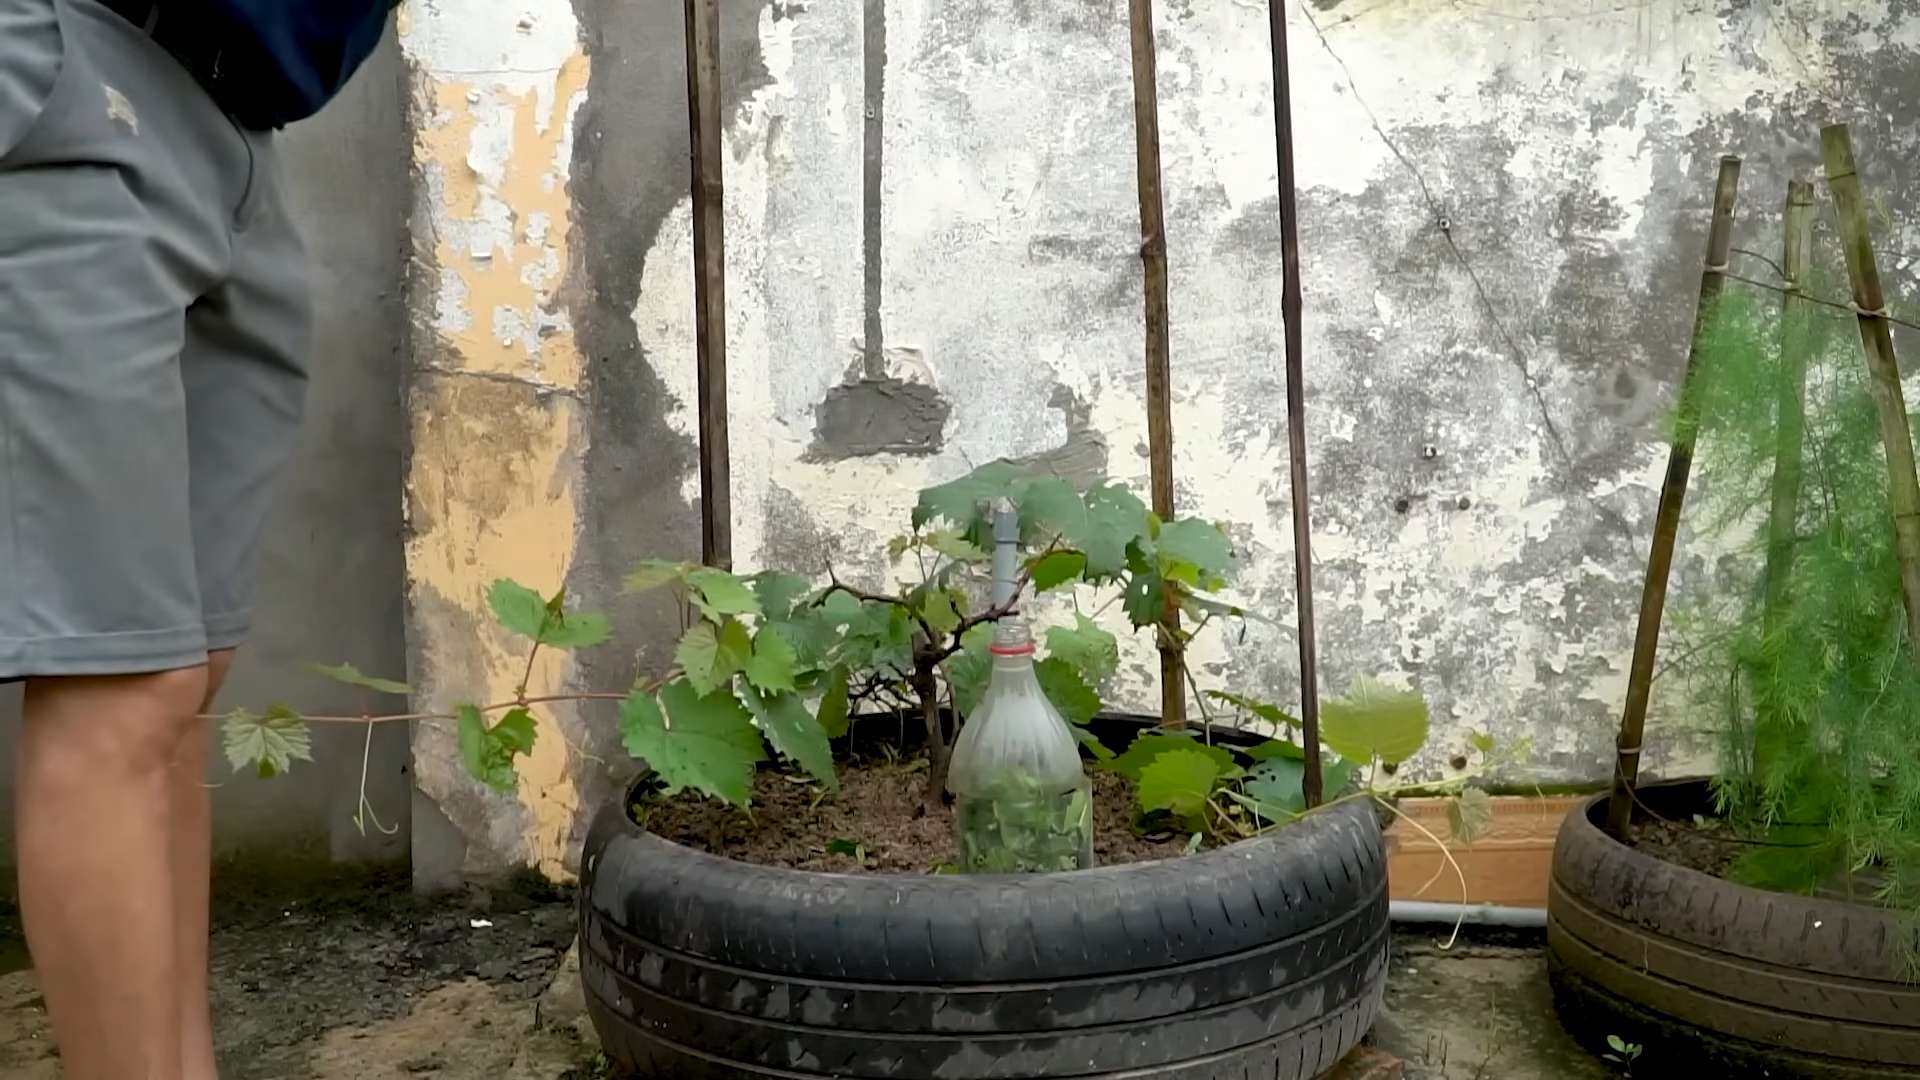
Why tires, you ask? They act as mini-raised beds, providing excellent drainage, retaining heat to extend the growing season, and offering protection for young vines. Plus, it’s a fantastic way to recycle and give those old tires a new lease on life! I’m going to show you how this simple upcycling project can transform your outdoor space and provide you with a bountiful harvest of delicious grapes. So, grab your gloves, gather your tires, and let’s get started on your very own tire grape growing method adventure!
DIY Tire Grape Trellis: Upcycling for a Bountiful Harvest
Hey there, fellow gardeners! I’m so excited to share this super cool and eco-friendly project with you: building a grape trellis using old tires! Not only is this a fantastic way to recycle those discarded tires, but it also creates a unique and functional structure for your grapevines to thrive. Plus, it adds a touch of rustic charm to your garden. Let’s get started!
Why Use Tires for a Grape Trellis?
Before we dive in, you might be wondering, “Why tires?” Well, there are several great reasons:
* Upcycling: We’re giving old tires a new life, keeping them out of landfills.
* Durability: Tires are incredibly durable and weather-resistant, meaning your trellis will last for years.
* Cost-Effective: This project is super budget-friendly, especially if you can get your hands on free or cheap used tires.
* Unique Aesthetic: Let’s be honest, a tire trellis is a conversation starter! It adds a unique and quirky element to your garden.
* Heat Retention: The black rubber absorbs heat, which can be beneficial for grapevines, especially in cooler climates.
Materials You’ll Need
Okay, let’s gather our supplies. Here’s what you’ll need:
* Used Tires: The number of tires depends on how tall you want your trellis to be. I recommend at least 3-4 tires per trellis. Make sure they are clean!
* Heavy-Duty Landscape Fabric: This will line the inside of the tires to prevent soil from leaching out and to help with drainage.
* Soil: A good quality potting mix or garden soil amended with compost.
* Gravel or Rocks: For drainage at the bottom of the tires.
* Grapevine: Choose a variety that’s suitable for your climate.
* Gloves: To protect your hands.
* Safety Glasses: To protect your eyes.
* Utility Knife or Heavy-Duty Scissors: For cutting the landscape fabric.
* Measuring Tape: For accurate measurements.
* Optional: Paint: If you want to add some color to your trellis. Use exterior paint that is safe for plants.
* Optional: Drill and Screws: For extra stability, you can screw the tires together.
* Optional: Metal Stakes or Rebar: For added support, especially for taller trellises.
Step-by-Step Instructions: Building Your Tire Grape Trellis
Alright, let’s get our hands dirty! Here’s how to build your tire grape trellis:
1. Preparing the Tires
* Cleaning: This is crucial! Thoroughly clean the tires with soap and water. Remove any dirt, debris, or loose rubber. A pressure washer can be helpful if you have one.
* Optional: Painting: If you want to paint your tires, now’s the time to do it. Choose a color that complements your garden. Let the paint dry completely before moving on to the next step. I personally like to leave them black for that rustic look.
2. Preparing the Base
* Choosing the Location: Select a sunny spot in your garden with well-drained soil. Grapevines need at least 6-8 hours of sunlight per day.
* Leveling the Ground: Make sure the ground is relatively level where you’ll be placing the trellis. This will prevent the tires from wobbling.
* Optional: Weed Barrier: Consider laying down a weed barrier fabric to prevent weeds from growing around the base of the trellis.
3. Assembling the Tire Stack
* First Tire: Place the first tire on the prepared ground.
* Lining with Landscape Fabric: Cut a piece of landscape fabric that’s large enough to line the inside of the tire, leaving some overlap. This will prevent soil from escaping.
* Adding Drainage: Pour a layer of gravel or rocks into the bottom of the tire for drainage. This is important to prevent the roots of your grapevine from sitting in water.
* Filling with Soil: Fill the tire with soil, leaving a few inches of space at the top.
* Second Tire: Carefully place the second tire on top of the first. Make sure it’s centered.
* Repeat: Repeat the process of lining with landscape fabric, adding drainage, and filling with soil for each additional tire.
* Securing the Tires (Optional): For added stability, especially if you’re building a tall trellis, you can drill holes through the sidewalls of the tires and secure them together with screws. Use exterior-grade screws that are long enough to penetrate both tires. You can also use metal stakes or rebar driven through the center of the tires into the ground for extra support.
4. Planting Your Grapevine
* Digging the Hole: Dig a hole in the top tire that’s large enough to accommodate the root ball of your grapevine.
* Planting: Carefully remove the grapevine from its container and place it in the hole. Make sure the top of the root ball is level with the soil surface.
* Filling and Watering: Fill the hole with soil and gently pat it down. Water thoroughly.
5. Training Your Grapevine
* Initial Training: As your grapevine grows, you’ll need to train it to climb the trellis. Use soft plant ties to attach the main stem to the tires.
* Pruning: Regular pruning is essential for grapevines to produce fruit. Prune in late winter or early spring, before new growth begins. Research the specific pruning requirements for your grape variety.
* Ongoing Support: Continue to monitor your grapevine and provide support as needed. You may need to add additional ties or stakes to keep it growing in the right direction.
Tips for Success
Here are a few extra tips to help you succeed with your tire grape trellis:
* Choose the Right Grape Variety: Select a grape variety that’s well-suited to your climate and growing conditions. Consider factors like cold hardiness, disease resistance, and fruit ripening time.
* Proper Drainage is Key: Make sure your trellis has good drainage to prevent root rot. The gravel or rocks at the bottom of the tires are essential for this.
* Water Regularly: Grapevines need consistent watering, especially during dry periods. Water deeply and thoroughly, but avoid overwatering.
* Fertilize Sparingly: Grapevines don’t need a lot of fertilizer. A light application of compost or a balanced fertilizer in the spring is usually sufficient.
* Protect from Pests and Diseases: Monitor your grapevine for pests and diseases. Take action promptly if you notice any problems.
* Be Patient: It takes time for grapevines to mature and produce fruit. Don’t get discouraged if you don’t see results right away. With proper care, your tire grape trellis will provide you with years of delicious grapes.
* Consider the Tire Size: Larger tires will create a wider base and more planting space, while smaller tires will be easier to handle and stack.
* Safety First: Always wear gloves and safety glasses when working with tires and tools. Be careful when lifting heavy tires.
* Get Creative: Don’t be afraid to experiment with different tire arrangements and painting techniques to create a unique and personalized trellis.
Alternative Designs and Ideas
* Tiered Trellis: Create a tiered trellis by stacking the tires in a pyramid shape.
* Hanging Baskets: Attach hanging baskets to the sides of the tires for added visual interest.
* Vertical Garden: Use the tires to create a vertical garden by planting herbs or flowers in the sidewalls.
* Combine with Other Materials: Incorporate other materials like wood or metal to create a more elaborate trellis design.
Troubleshooting
* Tires are Wobbling: Make sure the ground is level and the tires are stacked evenly. Use screws or stakes to secure the tires together.
* Soil is Leaching Out: Make sure the landscape fabric is properly installed and covers the entire inside of the tire.
* Grapevine is Not Growing: Check the soil pH and nutrient levels. Make sure the grapevine is getting enough sunlight and water.
* Pests or Diseases: Identify the pest or disease and take appropriate action. Consult with your local nursery or extension office for advice.
I hope you found this guide helpful! Building a tire grape trellis is a fun and rewarding project that’s good for the environment and good for your garden. Happy gardening!
Conclusion
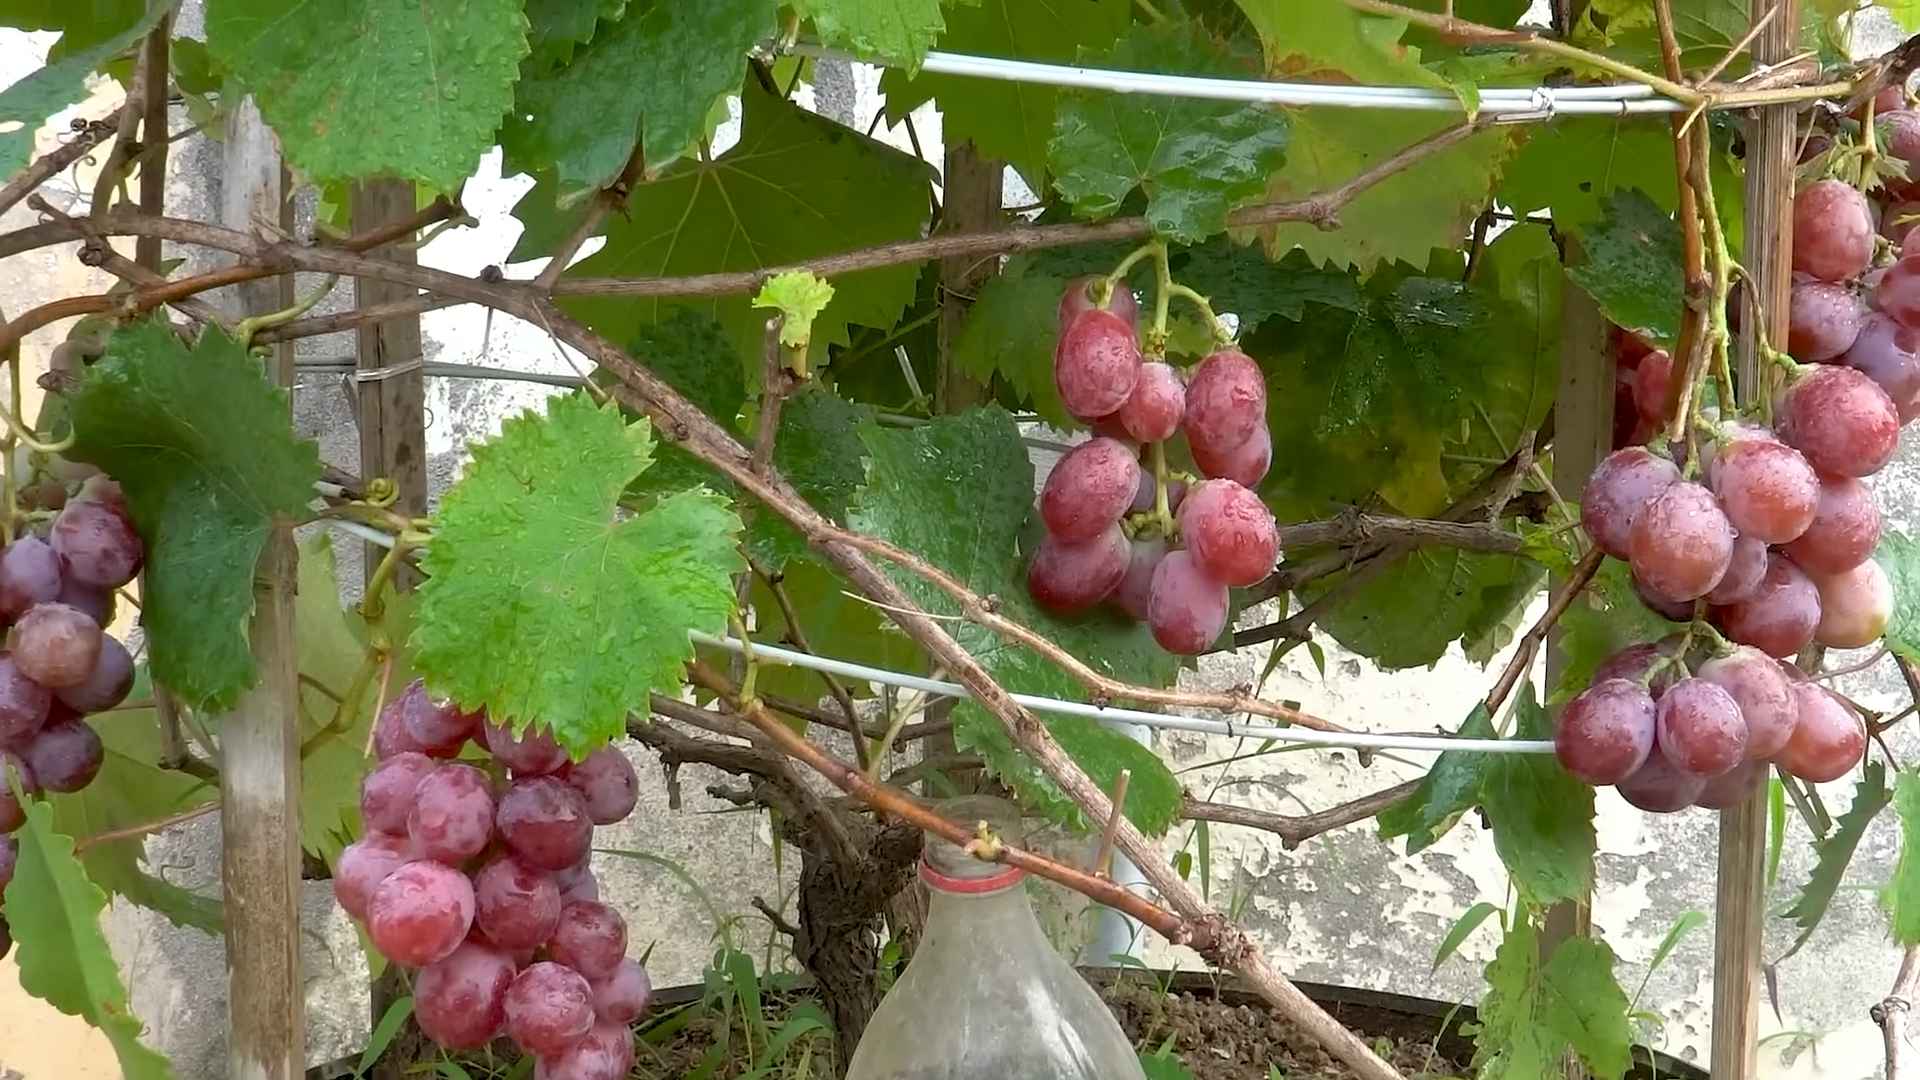
So, there you have it! The tire grape growing method isn’t just a quirky gardening hack; it’s a game-changer for anyone looking to maximize their grape yield, extend their growing season, and add a touch of rustic charm to their garden. We’ve explored how this simple DIY project can transform old tires into miniature greenhouses, providing the warmth and protection your grapevines need to thrive, especially in cooler climates or shorter growing seasons.
But why is this method a must-try? It’s about more than just recycling old tires (though that’s a fantastic bonus!). It’s about creating a microclimate that nurtures your grapes, allowing them to ripen earlier and produce sweeter, more abundant fruit. The dark color of the tire absorbs heat from the sun, warming the soil and creating a cozy environment for your vines. This is particularly beneficial for grape varieties that require a longer growing season or struggle in cooler temperatures.
Beyond the basic setup, there’s plenty of room for experimentation and customization. Consider painting the tires a lighter color if you live in a particularly hot climate to prevent overheating. You could also add a layer of mulch inside the tire to help retain moisture and suppress weeds. For an even more sophisticated setup, think about incorporating a simple irrigation system to ensure your vines receive consistent watering.
Variations to consider:
* Stacked Tires: For larger grape varieties or to provide even more insulation, stack two or three tires on top of each other. Just be sure to secure them properly.
* Tire Color: While black tires absorb the most heat, you can paint them white or a light color to reflect sunlight in hotter climates.
* Drainage: Ensure proper drainage by drilling holes in the bottom of the tire before filling it with soil.
* Companion Planting: Plant herbs like basil or rosemary around the base of the tire to deter pests and attract beneficial insects.
The beauty of this DIY trick lies in its simplicity and adaptability. It’s a project that anyone can tackle, regardless of their gardening experience. And the rewards – a bountiful harvest of delicious, homegrown grapes – are well worth the effort.
We’re confident that once you try the tire grape growing method, you’ll be amazed by the results. It’s a sustainable, cost-effective, and incredibly rewarding way to cultivate your own grapes. So, gather your old tires, choose your favorite grape variety, and get ready to experience the joy of homegrown grapes like never before.
Don’t just take our word for it! We encourage you to try this DIY trick for yourself and share your experiences with us. Let us know what grape varieties you’re growing, what modifications you’ve made to the setup, and what kind of results you’re seeing. Your insights and feedback will help other gardeners discover the magic of the tire grape growing method. Share your photos and stories on social media using #TireGrapeGrowing and let’s build a community of grape-growing enthusiasts!
Frequently Asked Questions (FAQ)
What type of tires are best to use for growing grapes?
Ideally, you should use tires that are free from steel belts protruding and are in relatively good condition. Passenger car tires are generally a good size. Avoid using tires that are heavily damaged or have exposed steel wires, as these could pose a safety hazard. Also, ensure the tires are clean before use. Scrub them down with soap and water to remove any dirt or debris.
Are there any safety concerns with using tires in the garden?
There are some concerns about chemicals leaching from tires into the soil. However, the amount of leaching is generally considered to be minimal, especially with older tires. To minimize any potential risk, you can line the inside of the tire with a plastic liner or landscape fabric before adding soil. This will create a barrier between the tire and the soil, preventing any direct contact. Also, avoid using tires that are visibly oily or have a strong chemical odor.
What kind of soil should I use in the tire?
Grapes thrive in well-draining soil that is rich in organic matter. A good mix would be equal parts garden soil, compost, and sand or perlite. This will provide the necessary nutrients and drainage for your grapevines. You can also add a slow-release fertilizer to the soil to provide a steady supply of nutrients throughout the growing season.
How many grapevines can I plant in one tire?
It’s best to plant only one grapevine per tire. This will give the vine enough space to grow and develop a strong root system. Planting multiple vines in one tire can lead to overcrowding and competition for resources, which can ultimately reduce your grape yield.
How often should I water my grapevines in tires?
The watering frequency will depend on the climate and the type of soil you’re using. Generally, you should water your grapevines deeply whenever the top inch of soil feels dry to the touch. Avoid overwatering, as this can lead to root rot. During hot, dry weather, you may need to water more frequently. Consider using a soaker hose or drip irrigation system to provide consistent watering directly to the roots.
How do I protect my grapevines from frost in the tire?
The tire itself provides some protection from frost, but you may need to take additional measures during particularly cold nights. You can cover the grapevine with a frost blanket or burlap sack to insulate it from the cold. You can also wrap the tire with insulation material to further protect the roots. If you live in an area with severe winters, you may need to move the tire to a sheltered location, such as a garage or shed.
Can I grow any type of grape in a tire?
While the tire grape growing method can be used for a variety of grape types, it’s best suited for grape varieties that are well-suited to your local climate and growing conditions. Consider choosing disease-resistant varieties to minimize the risk of problems. Research the specific needs of the grape variety you choose to ensure it will thrive in the tire environment.
How do I prune my grapevines grown in tires?
Pruning is essential for maintaining the health and productivity of your grapevines. The best time to prune is in late winter or early spring, before the vines begin to grow. Remove any dead, damaged, or diseased wood. Also, prune back the previous year’s growth to encourage new growth and fruit production. Consult a grape-growing guide or local expert for specific pruning recommendations for your grape variety.
How long does it take for grapevines grown in tires to produce fruit?
It typically takes 2-3 years for grapevines to start producing fruit. The first year, the vine will focus on establishing its root system. In the second year, you may see some flowers, but it’s best to remove them to encourage further root development. By the third year, you should start to see a significant amount of fruit. Be patient and provide your vines with proper care, and you’ll be rewarded with a bountiful harvest.
What are the benefits of using the tire grape growing method compared to traditional methods?
The tire grape growing method offers several advantages over traditional methods. It provides a warmer microclimate for the vines, extending the growing season and allowing you to grow grapes in cooler climates. It also helps to retain moisture and suppress weeds. Additionally, it’s a sustainable and cost-effective way to recycle old tires. The raised bed created by the tire also makes it easier to manage the vines and harvest the grapes.


Leave a Comment