

Smart DIY project advice is something we all crave, isn’t it? Let’s face it, the internet is overflowing with DIY ideas, but sifting through them to find genuinely *smart* ones can feel like searching for a needle in a haystack. I’m here to tell you, your search ends now! This isn’t just another list of projects; it’s a curated collection of clever hacks and time-saving tips designed to elevate your DIY game.
From upcycling forgotten treasures to creating stunning home décor on a budget, DIY projects have a rich history. Think back to the “make do and mend” ethos of past generations, where resourcefulness was a necessity. Today, while necessity might not always be the driving force, the desire to personalize our spaces, express our creativity, and save money remains strong. That’s where smart DIY project advice comes in handy.
Why do you need these tricks and hacks? Because time is precious! We all want to create beautiful, functional things, but nobody wants to spend hours struggling with complicated instructions or wasting money on failed attempts. These projects are designed to be efficient, effective, and, most importantly, enjoyable. So, get ready to unlock your inner DIY master and transform your home with these brilliant ideas!
Transform Your Old Bookshelves into a Stylish Rolling Bar Cart
Okay, friends, let’s face it: we all have that old bookshelf lurking in a corner, gathering dust and silently judging our questionable reading habits. Instead of letting it continue its reign of shame, let’s give it a fabulous makeover and turn it into a chic rolling bar cart! This project is surprisingly easy, incredibly rewarding, and will definitely impress your guests. Plus, it’s a fantastic way to upcycle and give new life to something you already own. So, grab your tools, put on some tunes, and let’s get started!
What You’ll Need:
Before we dive in, let’s gather our supplies. Here’s a comprehensive list to ensure a smooth crafting experience:
* An old bookshelf (preferably sturdy and with shelves that can handle some weight)
* Four heavy-duty casters (with brakes are a plus!)
* Wood screws (appropriate length for your bookshelf thickness)
* Drill with various drill bits
* Screwdriver (or drill with screwdriver bits)
* Sandpaper (various grits, from coarse to fine)
* Primer (optional, but recommended for a smoother finish)
* Paint or stain (your choice of color and finish)
* Paintbrushes or rollers
* Painter’s tape
* Wood filler (for filling any holes or imperfections)
* Measuring tape
* Pencil
* Level
* Safety glasses
* Gloves
* Optional: Decorative hardware (drawer pulls, knobs, etc.)
* Optional: Wine glass rack
* Optional: Bottle holders
Phase 1: Preparation is Key!
This is where we lay the groundwork for our masterpiece. Don’t skip these steps; they’re crucial for a professional-looking final product.
1. Empty and Clean the Bookshelf: First things first, completely empty the bookshelf. Remove all books, knick-knacks, and anything else that might be hanging out inside. Then, give it a good cleaning. Wipe down all surfaces with a damp cloth to remove dust, dirt, and grime. Let it dry completely before moving on.
2. Assess and Repair: Take a close look at your bookshelf. Are there any loose joints, cracks, or holes? Now’s the time to fix them! Use wood filler to fill any imperfections. Let the filler dry completely according to the manufacturer’s instructions, and then sand it smooth. If any joints are wobbly, reinforce them with wood glue and clamps.
3. Sanding Time: This is arguably the most tedious part, but trust me, it’s worth it! Start with a coarser grit sandpaper (like 80 or 120) to remove any existing finish or rough spots. Then, gradually move to finer grits (like 180 or 220) to create a smooth surface for painting or staining. Remember to sand with the grain of the wood. Wipe away the sanding dust with a tack cloth or damp cloth.
4. Taping Off: If you’re planning on painting different sections of the bookshelf different colors, now’s the time to use painter’s tape to mask off the areas you want to protect. Make sure the tape is firmly pressed down to prevent paint from bleeding underneath.
Phase 2: Painting or Staining – Let’s Get Colorful!
Now for the fun part – adding color and personality to our bar cart!
1. Prime Time (Optional but Recommended): Applying a coat of primer before painting or staining is always a good idea, especially if your bookshelf has a dark finish or is made of a porous material. Primer helps the paint or stain adhere better, provides a more uniform finish, and can even help prevent bleed-through. Apply a thin, even coat of primer and let it dry completely according to the manufacturer’s instructions.
2. Painting or Staining: Choose your paint or stain color and finish. For a bar cart, I personally love a rich, dark stain for a sophisticated look, or a bold, vibrant color for a more playful vibe. Apply the paint or stain in thin, even coats, following the grain of the wood. Let each coat dry completely before applying the next. You’ll likely need two or three coats for full coverage.
3. Remove the Tape (Carefully!): Once the paint is completely dry, carefully remove the painter’s tape. Pull the tape away from the painted surface at a 45-degree angle to prevent chipping.
Phase 3: Rolling into Action – Attaching the Casters
This is where our bookshelf starts to transform into a functional bar cart!
1. Measure and Mark: Turn the bookshelf upside down. Measure and mark the locations for the casters. You’ll want to position them near the corners of the bookshelf for maximum stability. Make sure the casters are evenly spaced and aligned.
2. Pre-Drill Pilot Holes: Before attaching the casters, pre-drill pilot holes. This will prevent the wood from splitting and make it easier to screw in the screws. Use a drill bit that is slightly smaller than the diameter of the screws.
3. Attach the Casters: Now, attach the casters to the bookshelf using wood screws. Make sure the screws are long enough to securely attach the casters, but not so long that they poke through the top of the bookshelf. Tighten the screws firmly, but don’t overtighten them.
4. Test the Roll: Flip the bookshelf right-side up and test the roll. Make sure the casters are rolling smoothly and that the bookshelf is stable. If any of the casters are wobbly, tighten the screws or adjust their position.
Phase 4: Adding the Finishing Touches – Personalize Your Cart!
This is where you can really let your creativity shine and make your bar cart truly unique.
1. Decorative Hardware (Optional): Consider adding decorative hardware, such as drawer pulls or knobs, to the shelves or sides of the bar cart. This can add a touch of elegance and personality.
2. Wine Glass Rack (Optional): If you’re a wine lover, consider adding a wine glass rack to the underside of one of the shelves. This is a great way to store your wine glasses and keep them within easy reach. You can find pre-made wine glass racks online or at home improvement stores.
3. Bottle Holders (Optional): Similarly, you can add bottle holders to the sides or shelves of the bar cart to keep your liquor bottles organized and secure.
4. Organize and Style: Now for the best part – styling your new bar cart! Arrange your liquor bottles, glassware, bar tools, and other accessories in an aesthetically pleasing way. Consider adding some decorative items, such as plants, candles, or coasters, to complete the look.
5. Level Check: Use a level to ensure your bar cart is perfectly level. If not, you can use shims under the casters to adjust the height.
Extra Tips and Tricks:
* Consider adding a removable tray to the top shelf. This will make it easier to serve drinks and snacks.
* Line the shelves with decorative paper or fabric. This can add a pop of color and protect the shelves from spills.
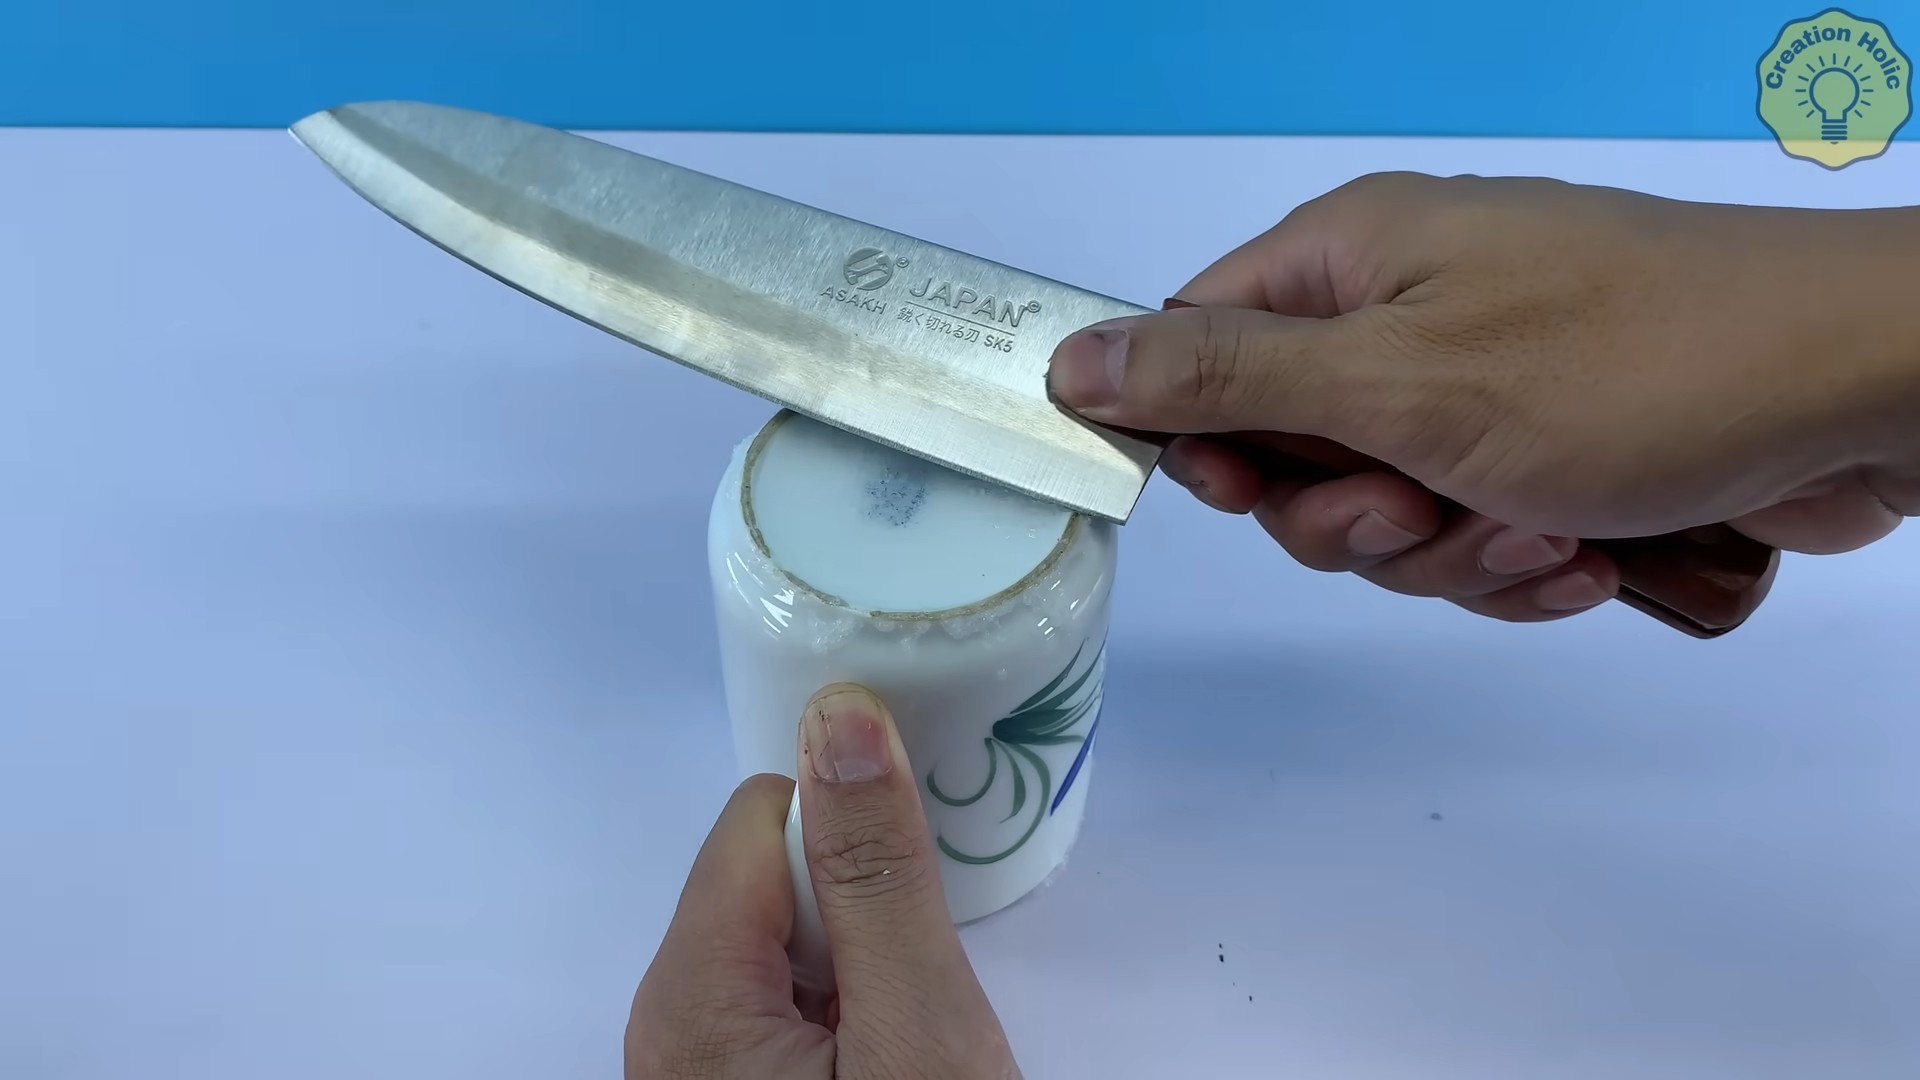
* Add a small cutting board and knife for preparing garnishes.
* Don’t forget the ice bucket!
* If your bookshelf is particularly tall, you might want to consider adding a safety strap to secure it to the wall. This will prevent it from tipping over.
* Get creative with the paint or stain! Try using different colors or techniques, such as ombre or stenciling, to create a unique look.
* Have fun with it! This is your chance to create a bar cart that reflects your personal style.
And there you have it! Your old bookshelf has been transformed into a stylish and functional rolling bar cart. Now, invite your friends over, mix up some cocktails, and enjoy your new creation! Cheers!
Conclusion
So, there you have it! This simple yet incredibly effective DIY trick is more than just a clever hack; it’s a game-changer for anyone looking to streamline their life and save money. We’ve walked you through the process, highlighting its ease of execution and the significant benefits it offers. From reducing waste to personalizing your belongings, the advantages are undeniable.
But why is this particular DIY project a must-try? Because it empowers you to take control. In a world of mass-produced items and fleeting trends, this method allows you to create something unique, something tailored to your specific needs and preferences. It’s about reclaiming agency and fostering a sense of accomplishment. Plus, let’s be honest, who doesn’t love the satisfaction of saying, “I made this myself!”?
Beyond the core method we’ve outlined, there’s ample room for experimentation and personalization. Consider these variations to truly make it your own:
* Flavor Infusions: If you’re using this trick in the kitchen, experiment with different herbs, spices, or citrus peels to infuse your creations with unique flavors. Rosemary and thyme are excellent additions to homemade oils, while a touch of chili flakes can add a delightful kick to vinegars.
* Aromatic Enhancements: For non-food applications, explore the world of essential oils. Lavender, eucalyptus, and peppermint can transform ordinary items into aromatherapy powerhouses, promoting relaxation, focus, or invigoration.
* Color Customization: Don’t be afraid to play with colors! Natural dyes, such as beet juice or turmeric, can add a vibrant touch to your DIY projects, making them even more visually appealing.
* Material Exploration: While we’ve focused on specific materials, feel free to adapt the technique to other mediums. The underlying principles of resourcefulness and creativity can be applied to a wide range of DIY endeavors.
Ultimately, the success of this DIY trick lies in your willingness to embrace experimentation and adapt it to your individual circumstances. Don’t be afraid to make mistakes – they’re valuable learning opportunities. The most important thing is to have fun and enjoy the process of creating something new.
We firmly believe that this DIY project is a valuable addition to anyone’s repertoire of skills. It’s a testament to the power of ingenuity and the satisfaction of creating something with your own two hands. So, go ahead, give it a try! We’re confident that you’ll be amazed by the results.
And now, we want to hear from you! Share your experiences, variations, and tips in the comments section below. Let’s build a community of DIY enthusiasts and inspire each other to create amazing things. What unique twists did you add? What challenges did you overcome? Your insights could be invaluable to others embarking on their own DIY journeys. Let’s make this a collaborative effort and unlock the full potential of this fantastic DIY trick together!
Frequently Asked Questions (FAQ)
What exactly is a “DIY trick,” and why should I bother with it?
A “DIY trick,” in the context of this article, refers to a clever and resourceful method for creating or modifying something yourself, typically using readily available materials and simple techniques. The benefits are numerous: it saves money by reducing reliance on store-bought products, it minimizes waste by repurposing existing items, it allows for personalization and customization to suit your specific needs, and it fosters a sense of accomplishment and creativity. In essence, it’s about taking control and becoming a more resourceful and self-sufficient individual.
Is this DIY trick really that easy to do? I’m not very crafty.
Absolutely! We’ve designed this DIY trick to be accessible to everyone, regardless of their crafting experience. The steps are straightforward, the materials are easily obtainable, and the techniques are simple to master. We’ve also included detailed instructions and helpful tips to guide you through the process. Even if you’ve never attempted a DIY project before, we’re confident that you’ll be able to successfully execute this one. Don’t be intimidated – embrace the challenge and surprise yourself with your newfound abilities!
What if I don’t have all the exact materials listed? Can I substitute them?
In most cases, yes, you can substitute materials. The key is to understand the function of each material and find a suitable alternative that serves the same purpose. For example, if you don’t have a specific type of container, you can use any clean, airtight container of a similar size. If you’re working with liquids, make sure the substitute container is food-grade and safe for contact with the liquid. Similarly, if you don’t have a particular tool, you can often use a similar tool or even improvise with household items. The beauty of DIY is its flexibility – don’t be afraid to experiment and find creative solutions!
How long will it take to complete this DIY project?
The time required to complete this DIY project will vary depending on the specific application and your level of experience. However, in most cases, it should take no more than an hour or two. The preparation time is minimal, and the actual execution is relatively quick. The longest part of the process may be waiting for certain elements to dry or set, but this usually requires minimal active involvement. Overall, it’s a relatively quick and easy project that can be completed in a single afternoon.
Are there any safety precautions I should be aware of?
Yes, safety should always be a top priority when undertaking any DIY project. Before you begin, carefully read all instructions and warnings associated with the materials and tools you’ll be using. Wear appropriate protective gear, such as gloves, safety glasses, and a mask, if necessary. Work in a well-ventilated area to avoid inhaling fumes or dust. Be mindful of sharp objects and hot surfaces. If you’re unsure about any aspect of the project, consult with a more experienced DIYer or seek professional advice. Remember, it’s always better to be safe than sorry.
How can I ensure that my DIY project turns out well?
The key to a successful DIY project is careful planning and execution. Start by thoroughly reading the instructions and gathering all the necessary materials and tools. Take your time and follow the steps carefully, paying attention to detail. Don’t be afraid to ask for help if you’re unsure about something. If you make a mistake, don’t get discouraged – simply correct it and move on. Most importantly, have fun and enjoy the process of creating something with your own two hands. With a little patience and effort, you’ll be amazed by what you can accomplish.
What are some common mistakes to avoid when attempting this DIY trick?
Some common mistakes to avoid include: using the wrong materials, not following the instructions carefully, rushing through the process, and neglecting safety precautions. To avoid these mistakes, take your time, read the instructions thoroughly, use the correct materials, and prioritize safety. If you’re unsure about something, ask for help or consult with a more experienced DIYer. Remember, patience and attention to detail are key to a successful outcome.
Can I scale this DIY trick up or down? For example, can I make a larger or smaller batch?
Yes, in most cases, you can easily scale this DIY trick up or down to suit your specific needs. Simply adjust the quantities of the materials accordingly, keeping the ratios consistent. For example, if you want to make a larger batch, double or triple the amount of each ingredient. If you want to make a smaller batch, halve or quarter the amount of each ingredient. Be mindful of any limitations imposed by the size of your containers or equipment.
How do I properly store my finished DIY product?
The proper storage method will depend on the specific type of product you’ve created. In general, it’s best to store your DIY product in a clean, airtight container in a cool, dry place away from direct sunlight. If the product is perishable, such as food or cosmetics, store it in the refrigerator. Be sure to label the container with the date of creation and any relevant information, such as ingredients or instructions. Regularly inspect the product for signs of spoilage or degradation.
What if I have more questions or need further assistance?
We’re here to help! Feel free to leave your questions or comments in the comments section below. We’ll do our best to answer them promptly and provide you with the assistance you need. You can also search online for additional resources or consult with a more experienced DIYer. Remember, the DIY community is a supportive and collaborative environment, so don’t hesitate to reach out for help.


Leave a Comment