

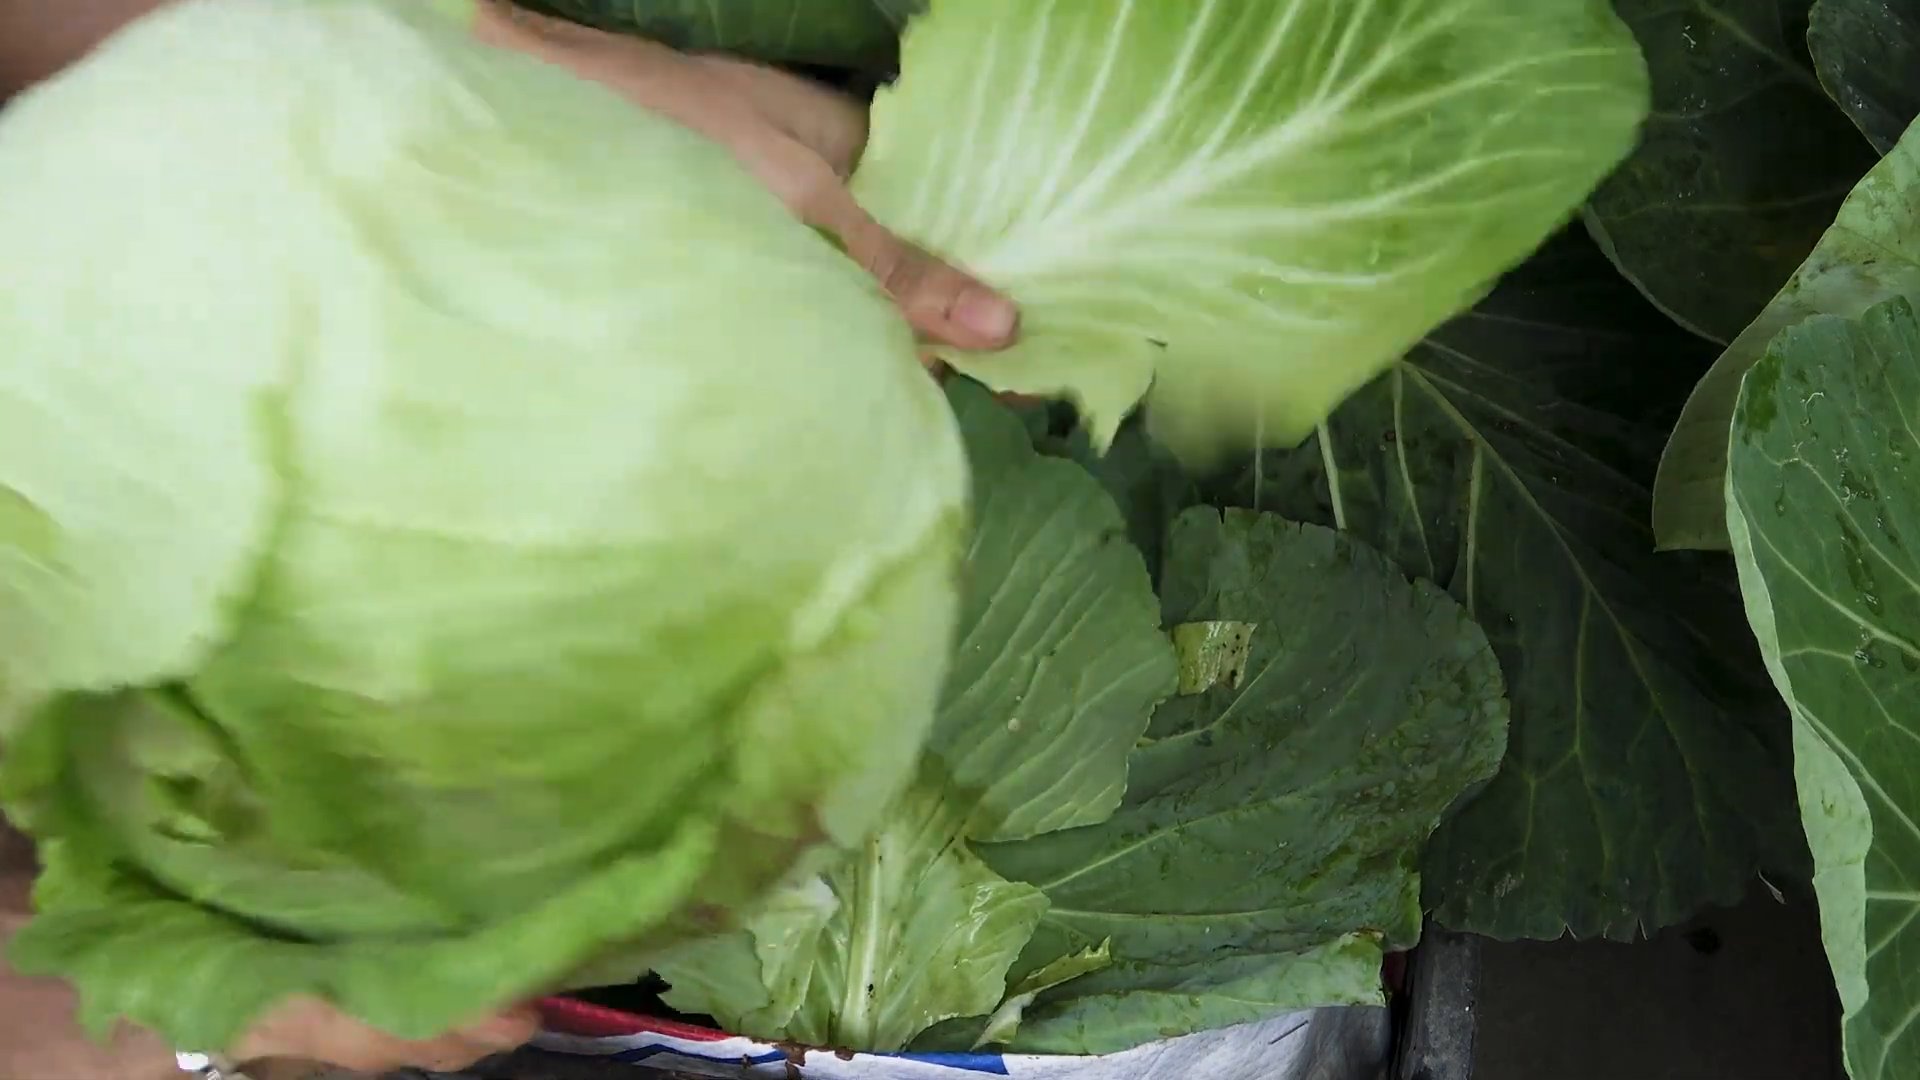
Starting Cabbage Seeds Indoors might seem daunting, but trust me, it’s easier than you think! Imagine biting into a crisp, homegrown cabbage, knowing you nurtured it from a tiny seed. That’s the magic of home gardening, and I’m here to guide you through the process.
For centuries, cabbage has been a staple in diets worldwide, from sauerkraut in Eastern Europe to kimchi in Korea. Growing your own connects you to this rich culinary history and offers a satisfying sense of self-sufficiency. But let’s face it, buying seedlings can be expensive, and sometimes the selection is limited. That’s where this DIY guide comes in!
I’m going to show you simple, effective tricks to successfully starting cabbage seeds indoors. This not only saves you money but also gives you control over the varieties you grow and ensures healthier, stronger plants ready to thrive in your garden. Plus, you’ll get a head start on the growing season, meaning earlier and bigger harvests. So, grab your seeds, and let’s get started on this rewarding gardening adventure!
Starting Cabbage Seeds Indoors: A Gardener’s Guide
Hey there, fellow garden enthusiasts! I’m so excited to share my tried-and-true method for starting cabbage seeds indoors. It’s a fantastic way to get a head start on the growing season, especially if you live in an area with a shorter growing period. Trust me, nothing beats the satisfaction of harvesting your own homegrown cabbage!
Why Start Cabbage Seeds Indoors?
Before we dive in, let’s quickly touch on why starting cabbage seeds indoors is beneficial:
* Extended Growing Season: Gives you a significant head start, allowing you to harvest earlier.
* Control Over Environment: You can provide optimal conditions for germination and early growth, protecting seedlings from harsh weather.
* Stronger Plants: Indoor-started seedlings tend to be stronger and more resilient when transplanted outdoors.
* Reduced Pest and Disease Pressure: You can monitor and address any issues early on, before they become major problems.
Materials You’ll Need
Alright, let’s gather our supplies. Here’s what you’ll need to successfully start your cabbage seeds indoors:
* Cabbage Seeds: Choose a variety that suits your climate and preferences. I personally love ‘Early Jersey Wakefield’ for its early maturity and sweet flavor.
* Seed Starting Trays or Pots: I prefer using seed starting trays with individual cells, but small pots work just as well. Make sure they have drainage holes!
* Seed Starting Mix: This is crucial! Don’t use regular garden soil, as it’s too heavy and can harbor diseases. Seed starting mix is light, airy, and sterile.
* Watering Can or Spray Bottle: For gentle watering.
* Heat Mat (Optional but Recommended): Cabbage seeds germinate best with consistent warmth.
* Grow Lights (Essential): Seedlings need plenty of light to prevent them from becoming leggy.
* Plant Labels: To keep track of your different cabbage varieties.
* Small Trowel or Spoon: For handling the seed starting mix.
* Spray bottle with water: To keep the soil moist.
Step-by-Step Instructions: Sowing the Seeds
Now for the fun part! Let’s get those cabbage seeds planted.
1. Prepare Your Seed Starting Trays/Pots:
* Moisten the seed starting mix with water. It should be damp but not soggy.
* Fill each cell or pot with the moistened mix, leaving about half an inch of space at the top.
* Gently tap the trays or pots to settle the mix.
2. Sow the Seeds:
* Make a small indentation (about ¼ inch deep) in the center of each cell or pot. I use the eraser end of a pencil for this.
* Place 2-3 cabbage seeds in each indentation. This increases the chances of at least one seed germinating.
* Cover the seeds with a thin layer of seed starting mix.
* Gently water the surface with a spray bottle to avoid disturbing the seeds.
3. Provide Warmth and Moisture:
* Place the seed starting trays or pots on a heat mat, if using. Set the heat mat to a temperature between 75-80°F (24-27°C).
* Cover the trays or pots with a clear plastic dome or plastic wrap to create a humid environment. This helps with germination.
* Place the trays or pots under grow lights. Position the lights a few inches above the surface of the soil.
4. Monitor Germination:
* Check the trays or pots daily for moisture. Keep the seed starting mix consistently moist, but not waterlogged.
* Remove the plastic dome or plastic wrap once the seeds start to germinate (usually within 5-10 days).
Caring for Your Cabbage Seedlings
Once your cabbage seeds have germinated, it’s time to focus on providing them with the care they need to grow into strong, healthy seedlings.
1. Provide Adequate Light:
* Keep the grow lights on for 14-16 hours per day.
* Adjust the height of the lights as the seedlings grow, keeping them a few inches above the plants.
* If your seedlings start to look leggy (tall and spindly), it means they’re not getting enough light. Lower the lights or provide additional light.
2. Watering:
* Water the seedlings when the top inch of soil feels dry to the touch.
* Water gently to avoid disturbing the roots. I prefer using a watering can with a fine rose or a spray bottle.
* Avoid overwatering, as this can lead to root rot.
3. Thinning:
* Once the seedlings have developed their first true leaves (the second set of leaves), it’s time to thin them.
* Select the strongest seedling in each cell or pot and gently snip off the others at the soil line with small scissors. Don’t pull them out, as this can disturb the roots of the remaining seedling.
4. Fertilizing:
* Start fertilizing the seedlings with a diluted liquid fertilizer (such as fish emulsion or seaweed extract) about 2 weeks after germination.
* Follow the instructions on the fertilizer label for dilution rates. I usually use half the recommended strength.
* Fertilize every 1-2 weeks.
5. Hardening Off:
* About a week before you plan to transplant the seedlings outdoors, you’ll need to “harden them off.” This process gradually acclimates the seedlings to outdoor conditions, reducing transplant shock.
* Start by placing the seedlings outdoors in a sheltered location (such as a porch or patio) for a few hours each day.
* Gradually increase the amount of time they spend outdoors each day, and expose them to more sunlight and wind.
* After a week, the seedlings should be ready to be transplanted into your garden.
Transplanting Your Cabbage Seedlings Outdoors
The moment we’ve been waiting for! Transplanting your cabbage seedlings into the garden.
1. Choose a Sunny Location:
* Cabbage needs at least 6 hours of sunlight per day.
* Choose a location with well-drained soil.
2. Prepare the Soil:
* Amend the soil with compost or other organic matter to improve drainage and fertility.
* Cabbage prefers a slightly acidic soil pH (around 6.0-6.8). You can test your soil pH with a soil testing kit.
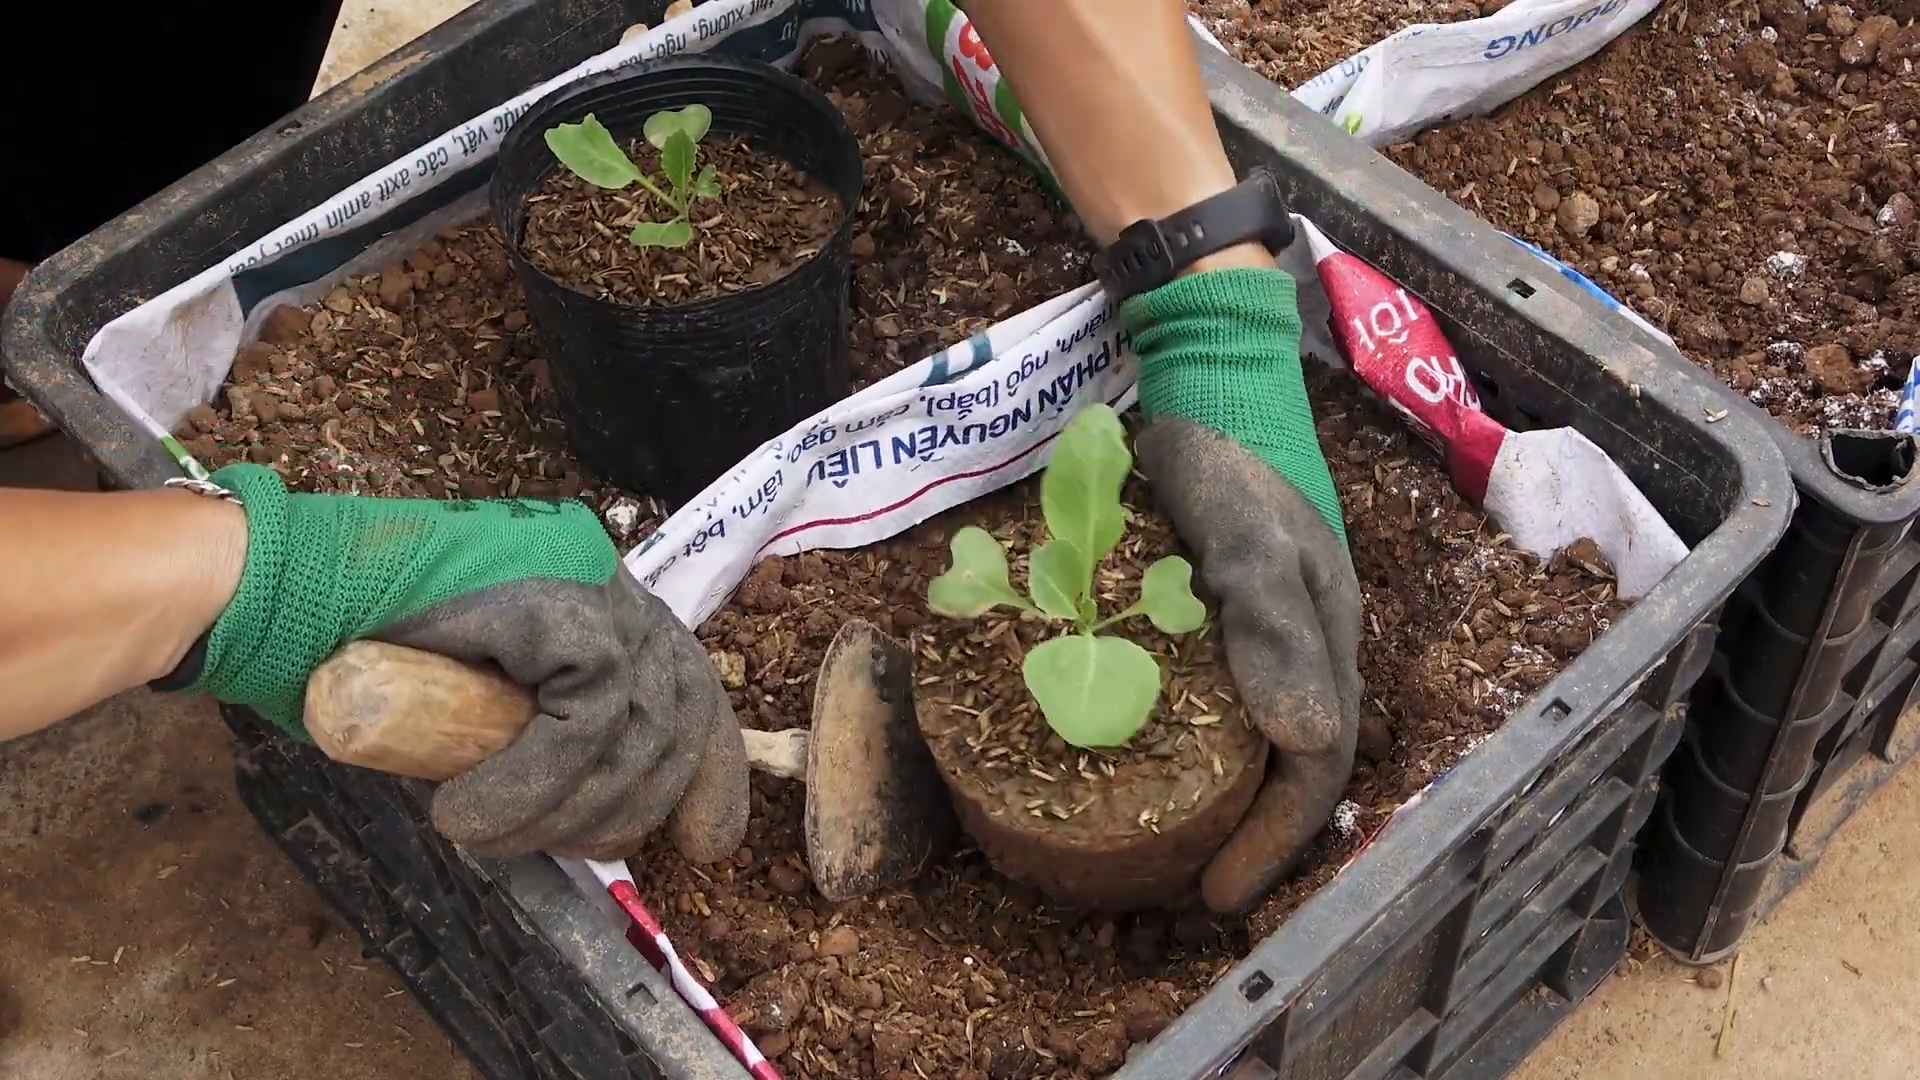
3. Planting:
* Dig holes that are slightly larger than the root balls of the seedlings.
* Gently remove the seedlings from their cells or pots.
Hey there, fellow garden enthusiasts! I’m so excited to share my tried-and-true method for starting cabbage seeds indoors. It’s a fantastic way to get a head start on the growing season, especially if you live in an area with a shorter growing period. Trust me, nothing beats the satisfaction of harvesting your own homegrown cabbage!
Why Start Cabbage Seeds Indoors?
Before we dive in, let’s quickly touch on why starting cabbage seeds indoors is beneficial:
* Extended Growing Season: Gives you a significant head start, allowing you to harvest earlier.
* Control Over Environment: You can provide optimal conditions for germination and early growth, protecting seedlings from harsh weather.
* Stronger Plants: Indoor-started seedlings tend to be stronger and more resilient when transplanted outdoors.
* Reduced Pest and Disease Pressure: You can monitor and address any issues early on, before they become major problems.
Materials You’ll Need
Alright, let’s gather our supplies. Here’s what you’ll need to successfully start your cabbage seeds indoors:
* Cabbage Seeds: Choose a variety that suits your climate and preferences. I personally love ‘Early Jersey Wakefield’ for its early maturity and sweet flavor.
* Seed Starting Trays or Pots: I prefer using seed starting trays with individual cells, but small pots work just as well. Make sure they have drainage holes!
* Seed Starting Mix: This is crucial! Don’t use regular garden soil, as it’s too heavy and can harbor diseases. Seed starting mix is light, airy, and sterile.
* Watering Can or Spray Bottle: For gentle watering.
* Heat Mat (Optional but Recommended): Cabbage seeds germinate best with consistent warmth.
* Grow Lights (Essential): Seedlings need plenty of light to prevent them from becoming leggy.
* Plant Labels: To keep track of your different cabbage varieties.
* Small Trowel or Spoon: For handling the seed starting mix.
* Spray bottle with water: To keep the soil moist.
Step-by-Step Instructions: Sowing the Seeds
Now for the fun part! Let’s get those cabbage seeds planted.
1. Prepare Your Seed Starting Trays/Pots:
* Moisten the seed starting mix with water. It should be damp but not soggy.
* Fill each cell or pot with the moistened mix, leaving about half an inch of space at the top.
* Gently tap the trays or pots to settle the mix.
2. Sow the Seeds:
* Make a small indentation (about ¼ inch deep) in the center of each cell or pot. I use the eraser end of a pencil for this.
* Place 2-3 cabbage seeds in each indentation. This increases the chances of at least one seed germinating.
* Cover the seeds with a thin layer of seed starting mix.
* Gently water the surface with a spray bottle to avoid disturbing the seeds.
3. Provide Warmth and Moisture:
* Place the seed starting trays or pots on a heat mat, if using. Set the heat mat to a temperature between 75-80°F (24-27°C).
* Cover the trays or pots with a clear plastic dome or plastic wrap to create a humid environment. This helps with germination.
* Place the trays or pots under grow lights. Position the lights a few inches above the surface of the soil.
4. Monitor Germination:
* Check the trays or pots daily for moisture. Keep the seed starting mix consistently moist, but not waterlogged.
* Remove the plastic dome or plastic wrap once the seeds start to germinate (usually within 5-10 days).
Caring for Your Cabbage Seedlings
Once your cabbage seeds have germinated, it’s time to focus on providing them with the care they need to grow into strong, healthy seedlings.
1. Provide Adequate Light:
* Keep the grow lights on for 14-16 hours per day.
* Adjust the height of the lights as the seedlings grow, keeping them a few inches above the plants.
* If your seedlings start to look leggy (tall and spindly), it means they’re not getting enough light. Lower the lights or provide additional light.
2. Watering:
* Water the seedlings when the top inch of soil feels dry to the touch.
* Water gently to avoid disturbing the roots. I prefer using a watering can with a fine rose or a spray bottle.
* Avoid overwatering, as this can lead to root rot.
3. Thinning:
* Once the seedlings have developed their first true leaves (the second set of leaves), it’s time to thin them.
* Select the strongest seedling in each cell or pot and gently snip off the others at the soil line with small scissors. Don’t pull them out, as this can disturb the roots of the remaining seedling.
4. Fertilizing:
* Start fertilizing the seedlings with a diluted liquid fertilizer (such as fish emulsion or seaweed extract) about 2 weeks after germination.
* Follow the instructions on the fertilizer label for dilution rates. I usually use half the recommended strength.
* Fertilize every 1-2 weeks.
5. Hardening Off:
* About a week before you plan to transplant the seedlings outdoors, you’ll need to “harden them off.” This process gradually acclimates the seedlings to outdoor conditions, reducing transplant shock.
* Start by placing the seedlings outdoors in a sheltered location (such as a porch or patio) for a few hours each day.
* Gradually increase the amount of time they spend outdoors each day, and expose them to more sunlight and wind.
* After a week, the seedlings should be ready to be transplanted into your garden.
Transplanting Your Cabbage Seedlings Outdoors
The moment we’ve been waiting for! Transplanting your cabbage seedlings into the garden.
1. Choose a Sunny Location:
* Cabbage needs at least 6 hours of sunlight per day.
* Choose a location with well-drained soil.
2. Prepare the Soil:
* Amend the soil with compost or other organic matter to improve drainage and fertility.
* Cabbage prefers a slightly acidic soil pH (around 6.0-6.8). You can test your soil pH with a soil testing kit.
3. Planting:
* Dig holes that are slightly larger than the root balls of the seedlings.
* Gently remove the seedlings from their cells or pots.
* Place the seedlings in the holes, making sure the top of the root ball is level with the soil surface.
* Space the seedlings about 12-18 inches apart, depending on the variety.
* Fill in the holes with soil and gently firm the soil around the seedlings.
4. Watering:
* Water the seedlings thoroughly after planting.
5. Mulching:
* Apply a layer of mulch (such as straw or wood chips) around the seedlings to help retain moisture, suppress weeds, and regulate soil temperature.
6. Protecting from Pests:
* Cabbage is susceptible to several pests, including cabbage worms, aphids, and flea beetles.
* Consider using row covers to protect the seedlings from pests.
* Regularly inspect the plants for pests and take appropriate action if necessary. I like using organic pest control methods, such as insecticidal soap or neem oil.
Troubleshooting
Even with the best planning, sometimes things don’t go exactly as expected. Here are a few common issues you might encounter and how to address them:
* Poor Germination:
* Make sure your seeds are fresh. Cabbage seeds have a relatively short shelf life.
* Ensure the soil is warm enough for germination. Use a heat mat if necessary.
* Don’t overwater the seeds, as this can cause them to rot.
* Leggy Seedlings:
* Provide more light. Lower the grow lights or provide additional light.
* Make sure the seedlings are not too crowded. Thin them out if necessary.
* Yellowing Leaves:
* This could be a sign of nutrient deficiency. Fertilize the seedlings with a diluted liquid fertilizer.
* It could also be a sign of overwatering. Allow the soil to dry out slightly between waterings.
* Damping Off:
* This is a fungal disease that can cause seedlings to collapse and die.
* Use a sterile seed starting mix.
* Avoid over
Conclusion
So, there you have it! Starting cabbage seeds indoors might seem like a small step, but it’s a giant leap towards a thriving, bountiful garden. We’ve walked through the process, highlighting the benefits of this simple DIY trick and equipping you with the knowledge to nurture your cabbage seedlings from tiny sprouts to robust plants ready for transplant.
Why is this a must-try? Because it gives you control. Control over the timing of your harvest, control over the health of your plants, and control over the varieties you grow. No longer are you limited to what’s available at the local nursery. You can explore heirloom varieties, experiment with different colors and textures, and tailor your cabbage crop to your specific culinary needs. Plus, starting your own seeds is incredibly rewarding. There’s a unique satisfaction in watching something grow from a tiny seed into a plant that provides nourishment.
But the benefits don’t stop there. Starting cabbage seeds indoors extends your growing season, allowing you to harvest earlier and potentially even enjoy a second crop. It also protects your young plants from pests and diseases that might be prevalent outdoors in the early spring. This translates to healthier, stronger plants that are better equipped to withstand the challenges of the garden.
Ready to take your cabbage growing to the next level? Consider these variations to personalize your experience:
* **Succession Planting:** Start a new batch of seeds every few weeks to ensure a continuous harvest throughout the season.
* **Companion Planting:** When transplanting your seedlings outdoors, consider planting them alongside beneficial companion plants like dill, chamomile, or rosemary to deter pests and attract pollinators.
* **Different Varieties:** Don’t be afraid to experiment with different cabbage varieties! Try red cabbage for vibrant salads, Savoy cabbage for its delicate flavor, or Napa cabbage for Asian-inspired dishes.
* Seed Starting Mix Experimentation: While we recommend a standard seed starting mix, try adding a small amount of compost to one batch and compare the growth to a batch using only seed starting mix. This can help you determine what works best for your specific growing conditions.
Ultimately, the best way to learn is by doing. So, grab your seeds, gather your supplies, and get started! We’re confident that you’ll be amazed at the results. Don’t be discouraged if you encounter a few bumps along the way. Gardening is a learning process, and every mistake is an opportunity to grow (pun intended!).
We encourage you to try this DIY trick for starting cabbage seeds indoors and share your experience with us. Let us know what varieties you’re growing, what challenges you’ve faced, and what successes you’ve celebrated. Share your photos, tips, and tricks in the comments below. Let’s build a community of cabbage enthusiasts and learn from each other! Happy gardening!
Frequently Asked Questions (FAQ)
What is the best time to start cabbage seeds indoors?
The ideal time to start cabbage seeds indoors is typically 4-6 weeks before the last expected frost in your area. This allows the seedlings to develop a strong root system and several sets of true leaves before being transplanted outdoors. To determine the last frost date for your region, consult your local weather service or agricultural extension office. A general rule of thumb is to count back 4-6 weeks from that date and begin your indoor seed starting then. Remember that different cabbage varieties may have slightly different maturity times, so factor that into your calculations as well. Starting too early can result in leggy, weak seedlings, while starting too late may delay your harvest.
What kind of seed starting mix should I use?
A high-quality seed starting mix is crucial for successful germination and seedling development. Avoid using garden soil, as it can be too heavy and may contain pathogens that can harm young plants. Look for a seed starting mix that is lightweight, well-draining, and sterile. These mixes typically contain a blend of peat moss, vermiculite, and perlite. The peat moss helps retain moisture, while the vermiculite and perlite improve drainage and aeration. You can also make your own seed starting mix by combining equal parts peat moss, vermiculite, and perlite. Ensure that the mix is thoroughly moistened before sowing your seeds.
How often should I water my cabbage seedlings?
Watering is essential for healthy seedling growth, but overwatering can be just as detrimental as underwatering. The goal is to keep the soil consistently moist but not soggy. Water your seedlings when the top inch of soil feels dry to the touch. Use a gentle watering can or spray bottle to avoid disturbing the delicate seedlings. Water slowly and evenly, allowing the water to soak into the soil. Avoid watering from overhead, as this can increase the risk of fungal diseases. As the seedlings grow, they will require more water, so monitor the soil moisture regularly and adjust your watering schedule accordingly.
How much light do cabbage seedlings need?
Cabbage seedlings require plenty of light to grow strong and healthy. Insufficient light can result in leggy, weak seedlings that are more susceptible to disease. Ideally, seedlings should receive 14-16 hours of light per day. If you don’t have a sunny windowsill that provides adequate light, consider using grow lights. Fluorescent grow lights or LED grow lights are both excellent options. Position the lights a few inches above the seedlings and adjust the height as the plants grow. Rotate the seedlings regularly to ensure that they receive even light exposure on all sides.
When and how should I transplant my cabbage seedlings outdoors?
Transplant your cabbage seedlings outdoors when they have developed several sets of true leaves and the risk of frost has passed. Before transplanting, harden off the seedlings by gradually exposing them to outdoor conditions for a week or two. Start by placing them in a sheltered location for a few hours each day, gradually increasing the amount of time they spend outdoors. This will help them acclimate to the sun, wind, and temperature fluctuations. Choose a sunny location with well-drained soil for your cabbage plants. Space the seedlings 12-18 inches apart, depending on the variety. Dig a hole slightly larger than the root ball and gently remove the seedling from its container. Place the seedling in the hole and backfill with soil, gently firming it around the base of the plant. Water thoroughly after transplanting.
What are some common pests and diseases that affect cabbage plants?
Cabbage plants are susceptible to a variety of pests and diseases, including cabbage worms, aphids, flea beetles, clubroot, and black rot. Regularly inspect your plants for signs of infestation or disease. Cabbage worms can be controlled by handpicking them off the plants or by using Bacillus thuringiensis (Bt), a natural insecticide. Aphids can be washed off with a strong stream of water or controlled with insecticidal soap. Flea beetles can be deterred by using row covers. Clubroot is a soilborne disease that can be prevented by practicing crop rotation and maintaining a soil pH of 6.5-7.0. Black rot is a bacterial disease that can be prevented by using disease-free seeds and avoiding overhead watering.
Can I grow cabbage in containers?
Yes, you can successfully grow cabbage in containers, especially smaller varieties. Choose a container that is at least 12 inches in diameter and depth to provide adequate space for the roots to grow. Use a well-draining potting mix and ensure that the container has drainage holes. Water regularly and fertilize every few weeks with a balanced fertilizer. Place the container in a sunny location that receives at least 6 hours of sunlight per day. Container-grown cabbage may require more frequent watering and fertilization than cabbage grown in the ground.
How do I know when my cabbage is ready to harvest?
Cabbage is ready to harvest when the head is firm and solid to the touch. The size of the head will vary depending on the variety. To harvest, use a sharp knife to cut the head from the stem, leaving a few outer leaves attached. You can also harvest individual leaves from the plant as needed, but this will reduce the overall size of the head. Harvest cabbage on a cool, dry day to prevent spoilage.

Leave a Comment