

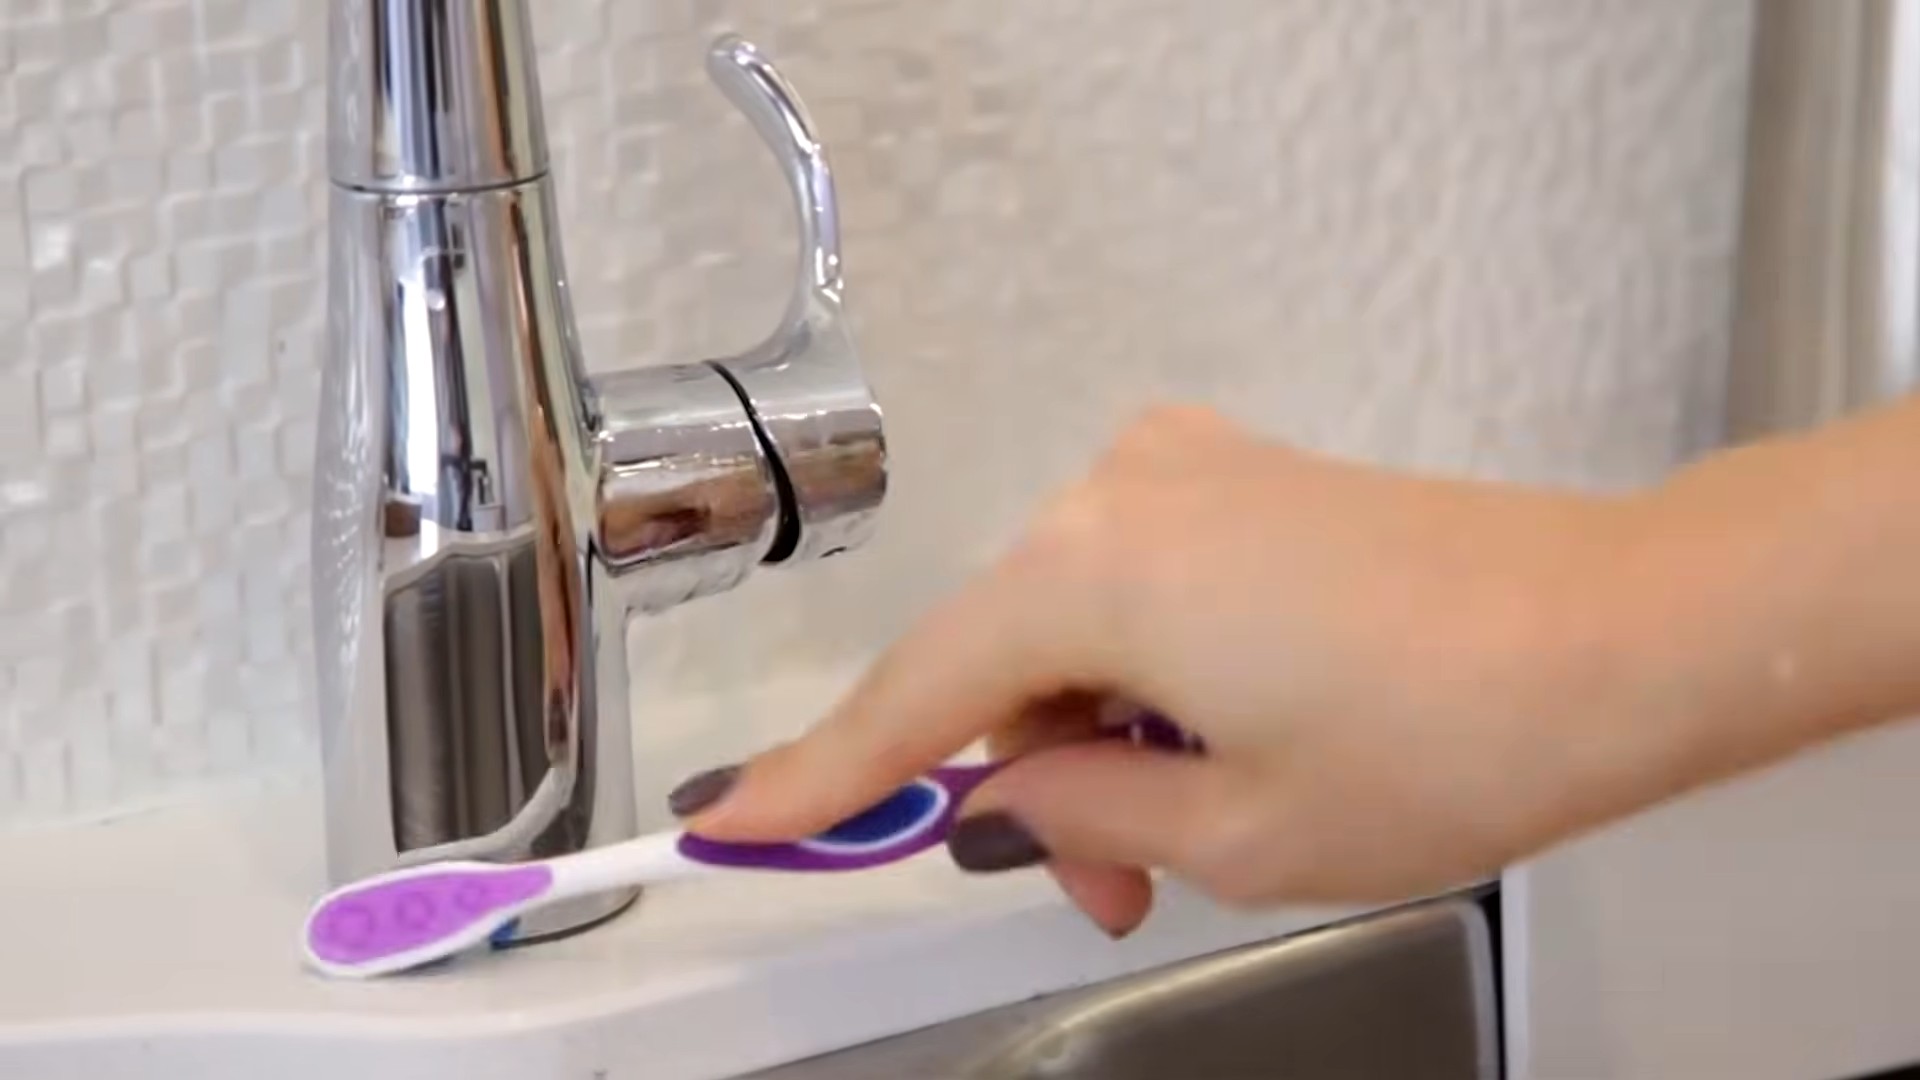
Toothbrush cleaning hacks 鈥?who knew such a small tool could have so many secrets? I’m willing to bet you’re not thinking about your toothbrush beyond a quick rinse after brushing, right? But what if I told you that little brush is a breeding ground for bacteria and deserves a little more TLC?
For centuries, humans have sought ways to maintain oral hygiene. From chewing on twigs to using elaborate dental tools, the quest for a clean mouth is deeply ingrained in our history. While the modern toothbrush is a relatively recent invention, the need to keep it clean is just as old as the practice of brushing itself! Think about it 鈥?your toothbrush is constantly battling plaque and food particles, and if not properly cleaned, it can reintroduce those nasties back into your mouth. Yikes!
That’s where these amazing toothbrush cleaning hacks come in. In this article, I’m going to share some simple, effective, and often surprising DIY methods to keep your toothbrush sparkling clean and extend its lifespan. We’ll explore everything from natural disinfectants to easy storage solutions. Because let’s face it, a clean toothbrush means a healthier mouth, and a healthier mouth means a happier you! So, ditch the germs and get ready to discover the secrets to a truly clean toothbrush!
DIY Toothbrush Cleaning Hacks: Keep Your Smile Sparkling!
Hey there, fellow DIY enthusiasts! I’m super excited to share some awesome toothbrush cleaning hacks that will not only keep your pearly whites shining but also extend the life of your trusty toothbrush. We all know how important oral hygiene is, and a clean toothbrush is the first step! Let’s dive in!
Why Clean Your Toothbrush?
Before we get started, let’s quickly chat about why cleaning your toothbrush is so crucial. Think about it: your toothbrush goes into your mouth twice (or more!) a day, battling bacteria, food particles, and plaque. Over time, these nasties can accumulate on the bristles, making your toothbrush a breeding ground for germs. Yuck! Cleaning your toothbrush regularly helps:
* Prevent the spread of bacteria: A clean toothbrush means fewer germs going back into your mouth.
* Extend the life of your toothbrush: Removing debris helps prevent the bristles from wearing down prematurely.
* Maintain optimal oral hygiene: A clean toothbrush is more effective at removing plaque and keeping your gums healthy.
Hack 1: The Baking Soda Bath
Baking soda is a fantastic natural cleaner and deodorizer. This method is super easy and effective for removing surface stains and bacteria.
Materials You’ll Need:
* Baking soda
* Water
* A small glass or cup
Step-by-Step Instructions:
1. Prepare the Baking Soda Paste: In your small glass or cup, mix about 1 teaspoon of baking soda with enough water to form a thick paste. You want it to be spreadable but not too runny. I usually start with a few drops of water and add more gradually until I get the right consistency.
2. Coat the Toothbrush Bristles: Generously coat the bristles of your toothbrush with the baking soda paste. Make sure to get it in between the bristles as well.
3. Let it Soak: Allow the toothbrush to soak in the baking soda paste for at least 15 minutes. For a deeper clean, you can even let it soak overnight. I find that a longer soak really helps to lift away any stubborn stains or buildup.
4. Rinse Thoroughly: After soaking, rinse the toothbrush thoroughly under running water. Make sure to remove all traces of the baking soda paste. You can use your fingers to gently scrub the bristles while rinsing to ensure everything is gone.
5. Air Dry: Allow the toothbrush to air dry completely in an upright position. This helps prevent bacteria from growing in the damp bristles. I usually place mine in a toothbrush holder where it can get plenty of air circulation.
Hack 2: The Vinegar Soak
Vinegar is another excellent natural cleaner with antibacterial properties. This method is great for disinfecting your toothbrush and removing any lingering odors.
Materials You’ll Need:
* White vinegar
* A small glass or cup
Step-by-Step Instructions:
1. Prepare the Vinegar Solution: Pour enough white vinegar into your small glass or cup to fully submerge the head of your toothbrush. I usually use about half a cup, but you may need more or less depending on the size of your glass.
2. Soak the Toothbrush: Submerge the toothbrush head in the vinegar and let it soak for at least 30 minutes. For a more thorough disinfection, you can soak it for up to a few hours. Just be careful not to soak it for too long, as the vinegar can eventually damage the bristles.
3. Rinse Thoroughly: After soaking, rinse the toothbrush thoroughly under running water. Make sure to remove all traces of the vinegar. You might notice a slight vinegar smell, but it should dissipate quickly.
4. Air Dry: Allow the toothbrush to air dry completely in an upright position. Again, this helps prevent bacteria growth.
Hack 3: The Hydrogen Peroxide Dip
Hydrogen peroxide is a powerful disinfectant that can kill bacteria and viruses. This method is perfect for a quick and effective toothbrush cleaning.
Materials You’ll Need:
* 3% hydrogen peroxide
* A small glass or cup
Step-by-Step Instructions:
1. Prepare the Hydrogen Peroxide Solution: Pour enough 3% hydrogen peroxide into your small glass or cup to fully submerge the head of your toothbrush. Remember, we’re using 3% hydrogen peroxide, which is the standard concentration you find at the drugstore. Higher concentrations can be harmful.
2. Dip the Toothbrush: Dip the toothbrush head into the hydrogen peroxide and let it sit for about 5-10 minutes. Don’t soak it for too long, as hydrogen peroxide can be a bit harsh on the bristles.
3. Rinse Thoroughly: After dipping, rinse the toothbrush thoroughly under running water. Make sure to remove all traces of the hydrogen peroxide.
4. Air Dry: Allow the toothbrush to air dry completely in an upright position.
Hack 4: The Boiling Water Method (Use with Caution!)
Boiling water can effectively kill bacteria on your toothbrush, but it’s important to use this method with caution, as it can damage the bristles if done incorrectly or too often.
Materials You’ll Need:
* Boiling water
* A heat-resistant glass or cup
Step-by-Step Instructions:
1. Boil the Water: Bring water to a rolling boil in a kettle or pot.
2. Pour into Glass: Carefully pour the boiling water into your heat-resistant glass or cup.
3. Dip the Toothbrush: Dip the head of your toothbrush into the boiling water for only a few seconds (no more than 30 seconds). Prolonged exposure to boiling water can melt or warp the bristles.
4. Remove and Rinse: Carefully remove the toothbrush from the boiling water and rinse it thoroughly under running water.
5. Air Dry: Allow the toothbrush to air dry completely in an upright position.
Important Note: I only recommend using this method occasionally, as frequent exposure to boiling water can shorten the lifespan of your toothbrush.
Hack 5: The Mouthwash Soak
Your trusty mouthwash isn’t just for rinsing your mouth; it can also be used to disinfect your toothbrush!
Materials You’ll Need:
* Mouthwash (alcohol-based is best)
* A small glass or cup
Step-by-Step Instructions:
1. Prepare the Mouthwash Solution: Pour enough mouthwash into your small glass or cup to fully submerge the head of your toothbrush. I prefer using an alcohol-based mouthwash for its antibacterial properties.
2. Soak the Toothbrush: Submerge the toothbrush head in the mouthwash and let it soak for about 15-30 minutes.
3. Rinse Thoroughly: After soaking, rinse the toothbrush thoroughly under running water.
4. Air Dry: Allow the toothbrush to air dry completely in an upright position.
Bonus Tips for Toothbrush Care:
* Replace Your Toothbrush Regularly: Even with regular cleaning, you should replace your toothbrush every 3-4 months, or sooner if the bristles are frayed or worn.
* Don’t Share Toothbrushes: Sharing toothbrushes can spread germs and bacteria. Each person should have their own toothbrush.
* Store Your Toothbrush Properly: Store your toothbrush in an upright position in a well-ventilated area. Avoid storing it in a closed container, as this can promote bacteria growth.
* Rinse After Each Use: After each use, rinse your toothbrush thoroughly under running water to remove any food particles or toothpaste residue.
* Consider a Toothbrush Sanitizer: If you’re concerned about germs, you can invest in a toothbrush sanitizer, which uses UV light to kill bacteria.
Choosing the Right Cleaning Method:
The best cleaning method for you will depend on your personal preferences and the level of cleaning you desire. I like to rotate between the baking soda bath, vinegar soak, and hydrogen peroxide dip to keep my toothbrush extra clean. The mouthwash soak is a great option for a quick and easy clean. And remember, the boiling water method should be used sparingly.
So there you have it 鈥?five awesome DIY toothbrush cleaning hacks to keep your smile sparkling and your toothbrush germ-free! I hope you found these tips helpful. Happy brushing!
Conclusion
So, there you have it! Transforming your cleaning routine with these simple, yet incredibly effective toothbrush cleaning hacks is not just about maintaining a sparkling smile; it’s about safeguarding your overall health and well-being. We’ve explored methods that are not only easy to implement but also utilize ingredients you likely already have in your pantry. From the powerful disinfecting properties of vinegar to the refreshing zest of baking soda, each technique offers a unique approach to banishing bacteria and keeping your toothbrush in tip-top shape.
But why is this so important? Think about it: your toothbrush is your first line of defense against plaque and germs every single morning and night. If it’s harboring its own colony of bacteria, you’re essentially reintroducing those unwanted guests back into your mouth. Regular cleaning, therefore, is non-negotiable.
This isn’t just a suggestion; it’s a necessity.
Beyond the basic methods, feel free to experiment and find what works best for you. For instance, if you’re a fan of essential oils, adding a drop or two of tea tree oil or peppermint oil to your cleaning solution can provide an extra boost of antibacterial power and leave your toothbrush with a pleasant, refreshing scent. Just be sure to use essential oils safely and in moderation. Another variation involves using denture cleaning tablets. Simply dissolve one tablet in water and soak your toothbrush for the recommended time. This is particularly useful for those who want a more hands-off approach.
And remember, while these toothbrush cleaning hacks are fantastic for maintaining hygiene, they are not a substitute for replacing your toothbrush regularly. Dentists recommend replacing your toothbrush every three to four months, or sooner if the bristles are frayed or you’ve been sick.
We truly believe that incorporating these simple steps into your daily or weekly routine will make a significant difference in your oral hygiene. It’s a small investment of time that yields significant returns in terms of health and confidence.
So, what are you waiting for? Give these toothbrush cleaning hacks a try! We’re confident that you’ll be amazed at how easy and effective they are. And more importantly, we’d love to hear about your experience. Share your results, your preferred methods, and any variations you discover in the comments below. Let’s create a community of healthy smiles, one clean toothbrush at a time! Your feedback will not only help others but also inspire us to continue sharing valuable tips and tricks for a healthier, happier you. Let us know which of these toothbrush cleaning hacks worked best for you!
Frequently Asked Questions (FAQ)
Why is it so important to clean my toothbrush regularly?
Cleaning your toothbrush regularly is crucial for maintaining good oral hygiene and preventing the spread of bacteria. Your toothbrush can harbor millions of bacteria, fungi, and viruses from your mouth, the environment, and even from handling. If you don’t clean your toothbrush, you’re essentially reintroducing these microorganisms back into your mouth every time you brush, which can lead to various oral health problems like gum disease, bad breath, and even systemic infections. Regular cleaning helps to reduce the bacterial load on your toothbrush, ensuring that you’re actually cleaning your teeth effectively and not just spreading germs around.
How often should I clean my toothbrush?
Ideally, you should rinse your toothbrush thoroughly with water after each use to remove any food particles and toothpaste residue. However, for a more thorough cleaning, aim to disinfect your toothbrush at least once a week. If you’ve been sick, it’s especially important to disinfect your toothbrush more frequently, perhaps even daily, to prevent reinfection.
What are the best methods for cleaning a toothbrush?
There are several effective methods for cleaning a toothbrush, including:
* **Rinsing with hot water:** After each use, rinse your toothbrush thoroughly with hot water to remove debris and some bacteria.
* **Soaking in mouthwash:** Soak your toothbrush in antibacterial mouthwash for a few minutes a week. This helps to kill bacteria and freshen the bristles.
* **Using hydrogen peroxide:** Soak your toothbrush in a 3% hydrogen peroxide solution for a few minutes. Hydrogen peroxide is a powerful disinfectant that can kill bacteria and viruses.
* **Vinegar soak:** Soak your toothbrush in white vinegar for 30 minutes. Vinegar is a natural disinfectant that can help to remove bacteria and mineral deposits.
* **Baking soda paste:** Make a paste of baking soda and water and rub it onto your toothbrush bristles. Baking soda is a mild abrasive that can help to remove stains and bacteria.
* **UV sanitizers:** Consider using a UV toothbrush sanitizer, which uses ultraviolet light to kill bacteria on your toothbrush.
Can I use dish soap to clean my toothbrush?
While dish soap is effective at killing bacteria on dishes, it’s not recommended for cleaning your toothbrush. Dish soap can be harsh and may leave a residue that can irritate your gums or alter the taste of your toothpaste. Stick to methods specifically designed for toothbrush cleaning, such as those mentioned above.
Is it safe to put my toothbrush in the dishwasher?
While some people suggest putting toothbrushes in the dishwasher, it’s generally not recommended. The high heat of the dishwasher can damage the bristles of your toothbrush, making it less effective at cleaning your teeth. Additionally, the dishwasher may contain food particles and detergents that can contaminate your toothbrush.
How do I store my toothbrush properly?
Proper storage is essential for preventing bacterial growth on your toothbrush. After cleaning, store your toothbrush upright in a holder that allows it to air dry. Avoid storing your toothbrush in a closed container, as this can create a moist environment that promotes bacterial growth. Also, keep your toothbrush separate from other toothbrushes to prevent cross-contamination.
When should I replace my toothbrush?
You should replace your toothbrush every three to four months, or sooner if the bristles are frayed or you’ve been sick. Frayed bristles are less effective at cleaning your teeth and can also harbor more bacteria. If you’ve been sick, replacing your toothbrush can help to prevent reinfection.
Can I clean my electric toothbrush head the same way as a manual toothbrush?
Yes, you can clean your electric toothbrush head using the same methods as a manual toothbrush. However, be sure to remove the toothbrush head from the handle before cleaning and avoid submerging the handle in water. Follow the manufacturer’s instructions for cleaning your specific electric toothbrush model.
Are there any natural alternatives for cleaning my toothbrush?
Yes, there are several natural alternatives for cleaning your toothbrush, including:
* **Tea tree oil:** Add a drop or two of tea tree oil to your toothbrush after rinsing. Tea tree oil has antibacterial and antifungal properties.
* **Apple cider vinegar:** Soak your toothbrush in apple cider vinegar for 30 minutes. Apple cider vinegar is a natural disinfectant that can help to remove bacteria and mineral deposits.
* **Essential oil blend:** Create a blend of essential oils with antibacterial properties, such as tea tree, peppermint, and eucalyptus, and add a few drops to your cleaning solution.
Will cleaning my toothbrush get rid of all the bacteria?
While cleaning your toothbrush regularly can significantly reduce the bacterial load, it’s impossible to eliminate all bacteria completely. However, by following the recommended cleaning methods and replacing your toothbrush regularly, you can minimize the risk of oral health problems associated with bacterial contamination.

Leave a Comment