

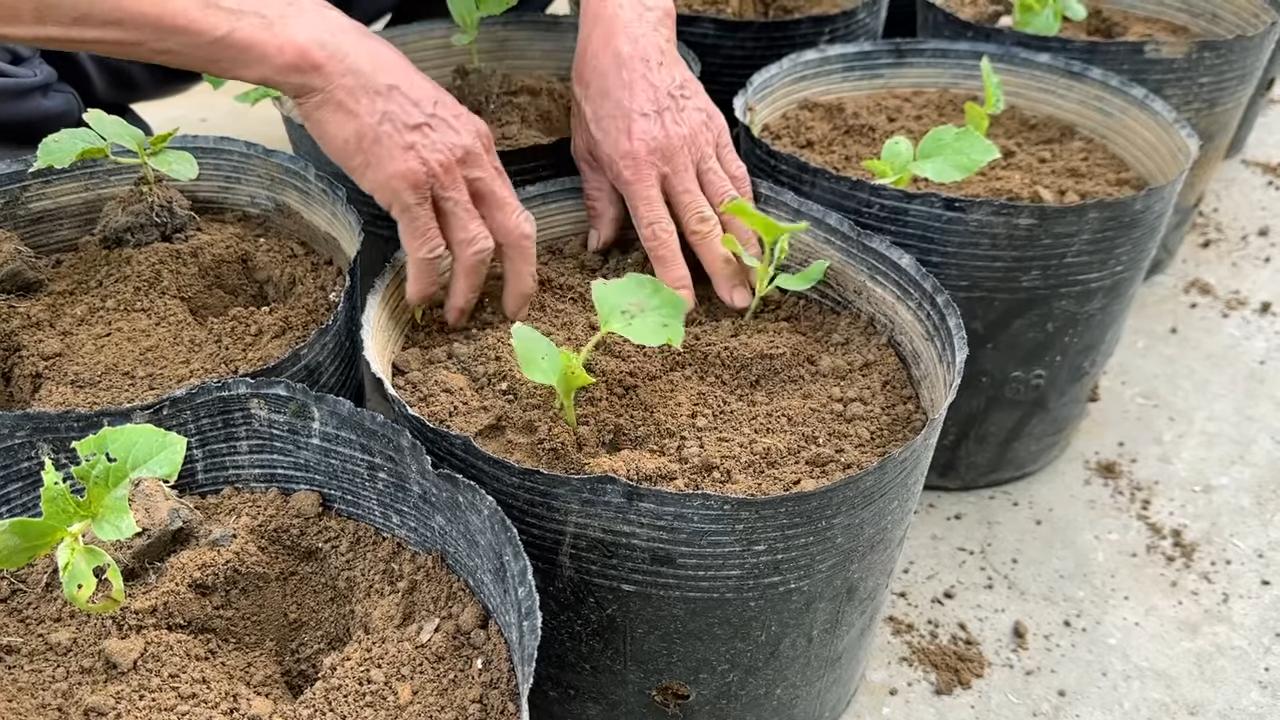
Unique Melon Variety Harvest: Ever dream of strolling through your backyard, basket in hand, ready to pluck a juicy, never-before-seen melon straight from the vine? I know I have! There’s something incredibly satisfying about nurturing a plant from seed to table, especially when that plant yields something truly special.
For centuries, home gardeners have been experimenting, cross-pollinating, and carefully cultivating unique melon varieties. Think back to the heirloom watermelons passed down through generations, each with a story etched into its sweet flesh. Or consider the vibrant cantaloupes that graced royal tables, symbols of abundance and luxury. This tradition of horticultural exploration continues today, and I’m here to help you join the ranks of melon maestros!
Why bother with a unique melon variety harvest? Because life’s too short for boring fruit! Beyond the bragging rights (and trust me, your friends will be impressed), growing unusual melons opens up a world of flavor profiles you won’t find in your local grocery store. Plus, it’s a fantastic way to connect with nature, learn about plant biology, and enjoy the fruits (pun intended!) of your labor. This DIY guide will equip you with the knowledge and simple tricks you need to successfully cultivate and harvest your own extraordinary melons, transforming your garden into a source of delicious discovery.
Harvesting Unique Melon Varieties: Here’s How to Do It Right!
Hello dear gardening friends! I’m really excited to guide you through the exciting process of harvesting melons today. There’s nothing better than harvesting and enjoying a melon you grew yourself. But when is the right time? And how can I tell if my melon is ripe? Don’t worry, I’ll show you everything step by step!
The Preparation: What You Need
Before we get started, let’s make sure we have everything ready. Here’s a little checklist:
- Garden scissors or a sharp knife: For cutting the melon off the stem cleanly.
- Garden gloves: To protect your hands from thorns or rough surfaces.
- Soft surface: A blanket or cushion to avoid damaging the melon during transport.
- Patience and a keen eye: The most important things of all!
Recognizing Ripe Melons: When is My Melon Ready?
This is the million-dollar question! There are several signs that will tell us when a melon is ripe. Here are the most important ones:
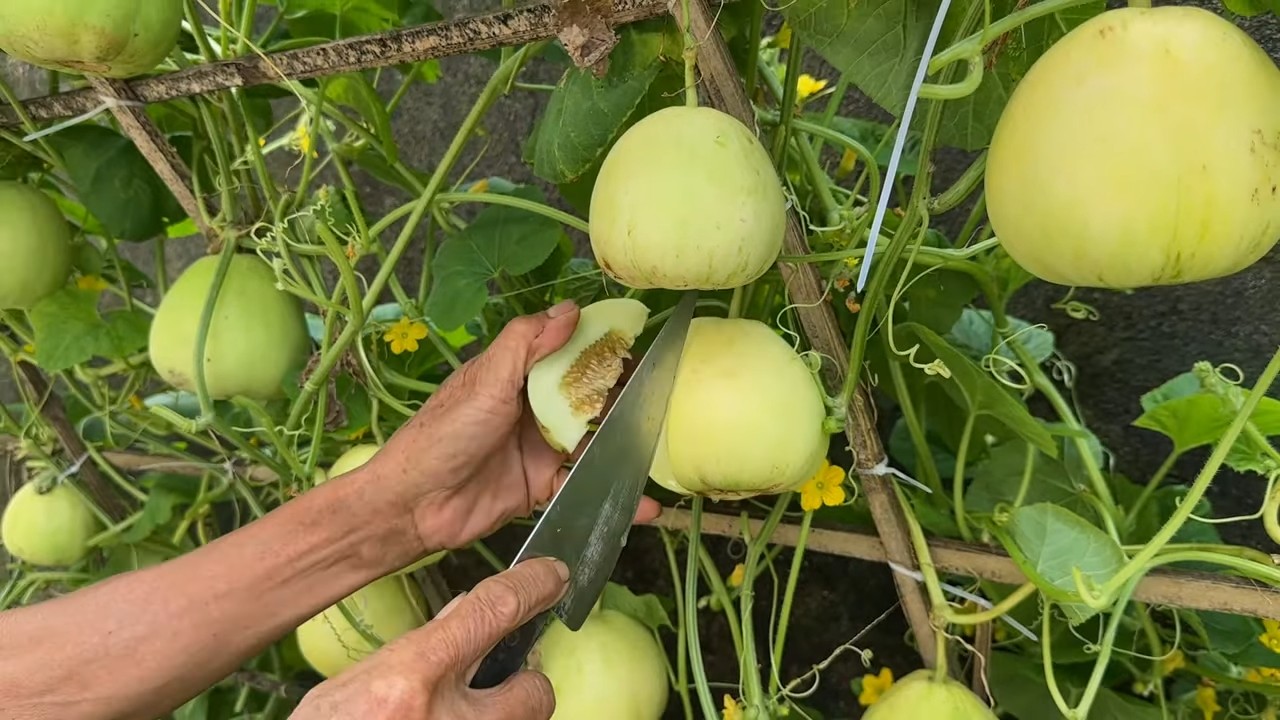
- The Knock Test: Gently tap the melon. A ripe melon will sound dull and hollow. An unripe melon will sound bright and metallic.
- Check the Stem: The stem should be slightly dried out and begin to detach from the fruit. In some varieties, a small crack may form around the stem attachment.
- The Bottom Color: The spot where the melon rests on the ground should change from white to yellow or even orange.
- The Pressure Test: Gently press on the spot where the melon rested on the ground. It should give slightly but not be too soft.
- The Smell: Some melon varieties (like honeydew melons) develop a sweet fragrance when ripe.
Important: These signs can vary depending on the melon variety. It’s best to research the specific ripening signs for your variety.
The Harvest: Step by Step
Now that we know how to recognize a ripe melon, let’s begin the harvest!
- The Right Time of Day: Harvest your melons in the morning when they are still cool. This helps them stay fresh for longer.
- Be Gentle: Handle the melons carefully to avoid damaging the fruit and surrounding plants.
- Cutting the Stem: Use garden scissors or a sharp knife to cut the stem about 5-10 cm from the fruit. Be sure not to tear the stem, as this can damage the melon.
- Gentle Transport: Place the melon carefully on the soft surface and transport it to a cool, dry location.
- Storage: Depending on the variety and ripeness, melons can be stored for a few days to weeks. Store them at a temperature between 10 and 15 degrees Celsius.
Special Melon Varieties: Special Notes
Each melon variety is unique and has its own little quirks. Here are some tips for popular varieties:
- Watermelon: Pay special attention to the knock test and the color of the bottom. A ripe watermelon sounds dull and has a yellowish bottom.
- Honeydew Melon: The sweet scent is a good indicator of ripeness. The skin color should also change from greenish to yellowish.
- Cantaloupe Melon: The skin should peel slightly away from the flesh. The fragrance is also a good indicator.
- Galia Melon: The skin changes from green to yellow and develops a fine net pattern.
Avoiding Common Mistakes: Tips and Tricks
To ensure nothing goes wrong during your melon harvest, here are a few tips I’ve learned over the years:
- Harvesting Too Early: Patience is key! Only harvest the melon when all the ripeness signs are met. A melon harvested too early will not taste as good and won’t ripen further.
- Damaging the Melon: Be gentle to avoid damaging the melon. Pressure spots can lead to rot.
- Incorrect Storage: Don’t store melons in the fridge, as it can affect the taste. A cool, dry spot is ideal.
- Overlooking Pests: Regularly check your melons for pests like snails or aphids.
After the Harvest: What to Do with the Melons?
After the harvest comes the best part: enjoying them! Here are a few ideas on what you can do with your homegrown melons:
- Enjoy Pure: Simply slice and enjoy!
- Melon Salad: A refreshing salad with melon, feta, and mint.
- Melon Smoothie: A healthy and delicious smoothie with melon, yogurt, and honey.
- Melon Sorbet: A refreshing sorbet for hot days.
- Melon Soup: A cold melon soup with ginger and lime.
My personal tip: Try grilled watermelon! Simply slice, brush with a little oil, and grill for a short time. It tastes surprisingly delicious!
Melon Seeds: For Next Season
Don’t forget to save the seeds from your best melons for the next season! Here’s how:
- Remove the Seeds: Remove the seeds from the melon and rinse them under running water.
- Drying: Place the seeds on a paper towel and let them dry in a dry, airy place.
- Storage: Store the dried seeds in an airtight container in a cool, dark location.
Conclusion: The Joy of Growing Your Own Melons
I hope this article helped you successfully harvest your melons. It’s an incredibly satisfying feeling to grow and harvest something yourself. So, have fun gardening and enjoying your fresh melons! And remember: with a little patience and care, you can enjoy a bountiful melon harvest every year. Enjoy your harvest!
Conclusion
So, there you have it! Mastering the art of harvesting your unique melon variety isn’t just about picking a ripe fruit; it’s about connecting with the entire growing process and reaping the rewards of your hard work. This DIY trick, focusing on the subtle cues your melon gives you, is a game-changer for ensuring you enjoy the sweetest, most flavorful melons possible. Forget relying solely on calendar dates or generic advice – learning to read your melon’s signals is the key to unlocking its full potential.
Why is this a must-try? Because it elevates your melon-growing experience from a passive activity to an active, engaging one. You’re not just planting seeds and hoping for the best; you’re becoming a melon whisperer, attuned to the nuances of its development. This method minimizes the risk of picking underripe or overripe melons, guaranteeing a consistently delicious harvest. Imagine biting into a perfectly ripe, juicy melon, knowing that you played an integral role in achieving that perfect moment. That’s the power of this DIY trick.
But don’t stop there! Experiment with different indicators based on your specific melon variety. Some melons might exhibit more pronounced color changes, while others might rely more heavily on the stem tendril drying. Keep detailed notes on your observations each season. Record the weather conditions, the specific indicators you used, and the resulting flavor and texture of the harvested melons. This will create a personalized guide tailored to your unique growing environment and melon variety.
Consider variations on the “thump” test. Instead of just listening for a hollow sound, try feeling the vibrations. A ripe melon will often resonate with a deeper, more sustained vibration than an unripe one. You can also experiment with gently pressing on the blossom end of the melon. A slight give indicates ripeness, while a rock-hard feel suggests it needs more time.
Another variation involves observing the ground spot, the area where the melon rests on the soil. As the melon ripens, this spot often changes color, typically from a pale white or green to a creamy yellow or even orange. This can be a particularly useful indicator for varieties with thick rinds that make it difficult to assess ripeness through other methods.
We wholeheartedly encourage you to try this DIY trick for harvesting your unique melon variety. It’s a simple yet profound way to enhance your gardening skills and enjoy the fruits (or rather, melons) of your labor. Don’t be afraid to experiment, adapt, and refine the technique to suit your specific needs and preferences.
Most importantly, we want to hear about your experiences! Share your successes, your challenges, and any tips or tricks you discover along the way. Post photos of your perfectly ripe melons on social media using #UniqueMelonHarvest and tag us! Let’s build a community of melon enthusiasts who are passionate about growing and harvesting the best possible fruit. Your insights could help other gardeners unlock the secrets to a bountiful and delicious melon harvest. So go ahead, get your hands dirty, and discover the joy of harvesting your own unique melon variety!
Frequently Asked Questions (FAQ)
What if I’m still unsure about ripeness after checking all the indicators?
That’s perfectly understandable! Sometimes, even with careful observation, it can be tricky to determine ripeness with absolute certainty. If you’re still on the fence, it’s generally better to err on the side of caution and leave the melon on the vine for another day or two. Overripe melons are often mushy and less flavorful, while slightly underripe melons can still ripen a bit further off the vine. You can also try harvesting one melon that you suspect is ripe and cutting it open. If it’s not quite ready, you’ll know what to look for in the remaining melons. Remember, practice makes perfect, and with each harvest, you’ll become more confident in your ability to assess ripeness.
How do I prevent my melons from rotting on the vine before they ripen?
Melon rot can be a frustrating problem, often caused by excessive moisture or fungal diseases. To prevent this, ensure your melon plants have good air circulation by spacing them adequately and pruning away any excess foliage that might be blocking sunlight or trapping moisture. Consider placing a barrier, such as a piece of cardboard or straw, between the melon and the soil to prevent direct contact with damp ground. Regularly inspect your melons for any signs of rot, such as soft spots or discoloration. If you spot any affected melons, remove them promptly to prevent the disease from spreading. Applying a fungicide specifically formulated for melons can also help prevent rot, but be sure to follow the instructions carefully and choose a product that is safe for edible crops.
What are some common mistakes people make when harvesting melons?
One of the most common mistakes is relying solely on the calendar or the seed packet’s estimated days to maturity. These are just guidelines, and the actual ripening time can vary depending on weather conditions, soil fertility, and other factors. Another mistake is pulling the melon off the vine without checking for ripeness indicators. This can result in harvesting unripe melons that lack flavor and sweetness. Overwatering can also be detrimental, as it can lead to diluted flavors and increased susceptibility to rot. Finally, neglecting to protect melons from pests and diseases can significantly impact their quality and yield.
Can I ripen a melon after it’s been picked?
While you can’t significantly improve the sweetness of a melon after it’s been picked, you can allow it to soften and become juicier. Underripe melons will continue to ripen slightly off the vine, but they won’t develop the same level of flavor as melons that ripen fully on the plant. To ripen a melon after harvesting, store it at room temperature in a well-ventilated area. Avoid placing it in direct sunlight, as this can cause it to overheat and spoil. Check the melon daily for signs of softening and ripeness. Once it reaches your desired level of ripeness, you can refrigerate it to slow down the ripening process.
What if the stem tendril dries up prematurely?
Sometimes, the stem tendril near the melon will dry up prematurely due to stress, disease, or other factors. In this case, you’ll need to rely on other indicators to assess ripeness. Check for changes in the melon’s color, the firmness of the rind, and the sound it makes when thumped. You can also gently press on the blossom end of the melon to see if it gives slightly. If you’re still unsure, consider harvesting one melon and cutting it open to check for ripeness.
How does weather affect melon ripening?
Weather plays a significant role in melon ripening. Warm, sunny weather promotes rapid growth and sugar development, while cool, cloudy weather can slow down the ripening process. Excessive rainfall can lead to diluted flavors and increased susceptibility to rot, while drought conditions can stress the plants and affect fruit quality. Pay close attention to the weather forecast and adjust your harvesting schedule accordingly. If you’re expecting a period of cool or rainy weather, it’s best to harvest your melons before they become overripe or susceptible to rot.
What are some good companion plants for melons?
Companion planting can help improve melon growth and deter pests. Some good companion plants for melons include marigolds, which repel nematodes and other pests; basil, which repels aphids and whiteflies; and nasturtiums, which attract beneficial insects. Avoid planting melons near members of the cabbage family, such as broccoli and cabbage, as they can compete for nutrients and attract pests.
How do I store harvested melons properly?
Proper storage is essential for preserving the quality of your harvested melons. Whole melons can be stored at room temperature for several days, but they will ripen more quickly. To slow down the ripening process, store them in the refrigerator. Cut melons should be stored in an airtight container in the refrigerator and consumed within a few days. Avoid storing melons near ethylene-producing fruits, such as apples and bananas, as this can accelerate ripening and spoilage.


Leave a Comment