

Vinegar Vaseline DIY: A Gardener’s Secret Weapon
Have you ever wished for a simple, all-natural solution to common gardening woes? I know I have! That’s why I’m so excited to share my favorite Vinegar Vaseline DIY trick – a surprisingly effective and affordable method for tackling everything from pesky pests to stubborn weeds. For years, I’ve relied on this simple combination, and I’m confident it will become a staple in your gardening arsenal too.
While the precise origins of using vinegar and petroleum jelly in gardening are hard to pinpoint, the individual components have a rich history. Vinegar, a product of fermentation dating back millennia, has long been recognized for its acidic properties, useful in various household applications. Similarly, petroleum jelly, or Vaseline, has been a household staple for its moisturizing and protective qualities. Combining these two readily available ingredients creates a powerful, yet surprisingly gentle, solution for a variety of gardening challenges.
This Vinegar Vaseline DIY isn’t just about convenience; it’s about sustainability. In a world increasingly focused on eco-friendly practices, this method offers a natural alternative to harsh chemical pesticides and herbicides. You’ll find yourself saving money, reducing your environmental impact, and enjoying healthier plants – all without sacrificing effectiveness. Whether you’re a seasoned gardener or just starting out, this simple trick will empower you to take control of your garden’s health and well-being. So, let’s dive in and discover the amazing things you can achieve with this incredible Vinegar Vaseline DIY solution!
Cleaning Your Grimy Vaseline Jars with Vinegar
I’ve always loved using Vaseline, but let’s be honest, those jars get unbelievably grimy. That thick, petroleum jelly clings to the sides, making them look perpetually greasy. I tried everything – hot water, soap, even harsh chemicals – but nothing seemed to truly cut through the stubborn residue. Then, I discovered the magic of vinegar! This method is cheap, effective, and environmentally friendly. Here’s how I do it:
Gathering Your Supplies
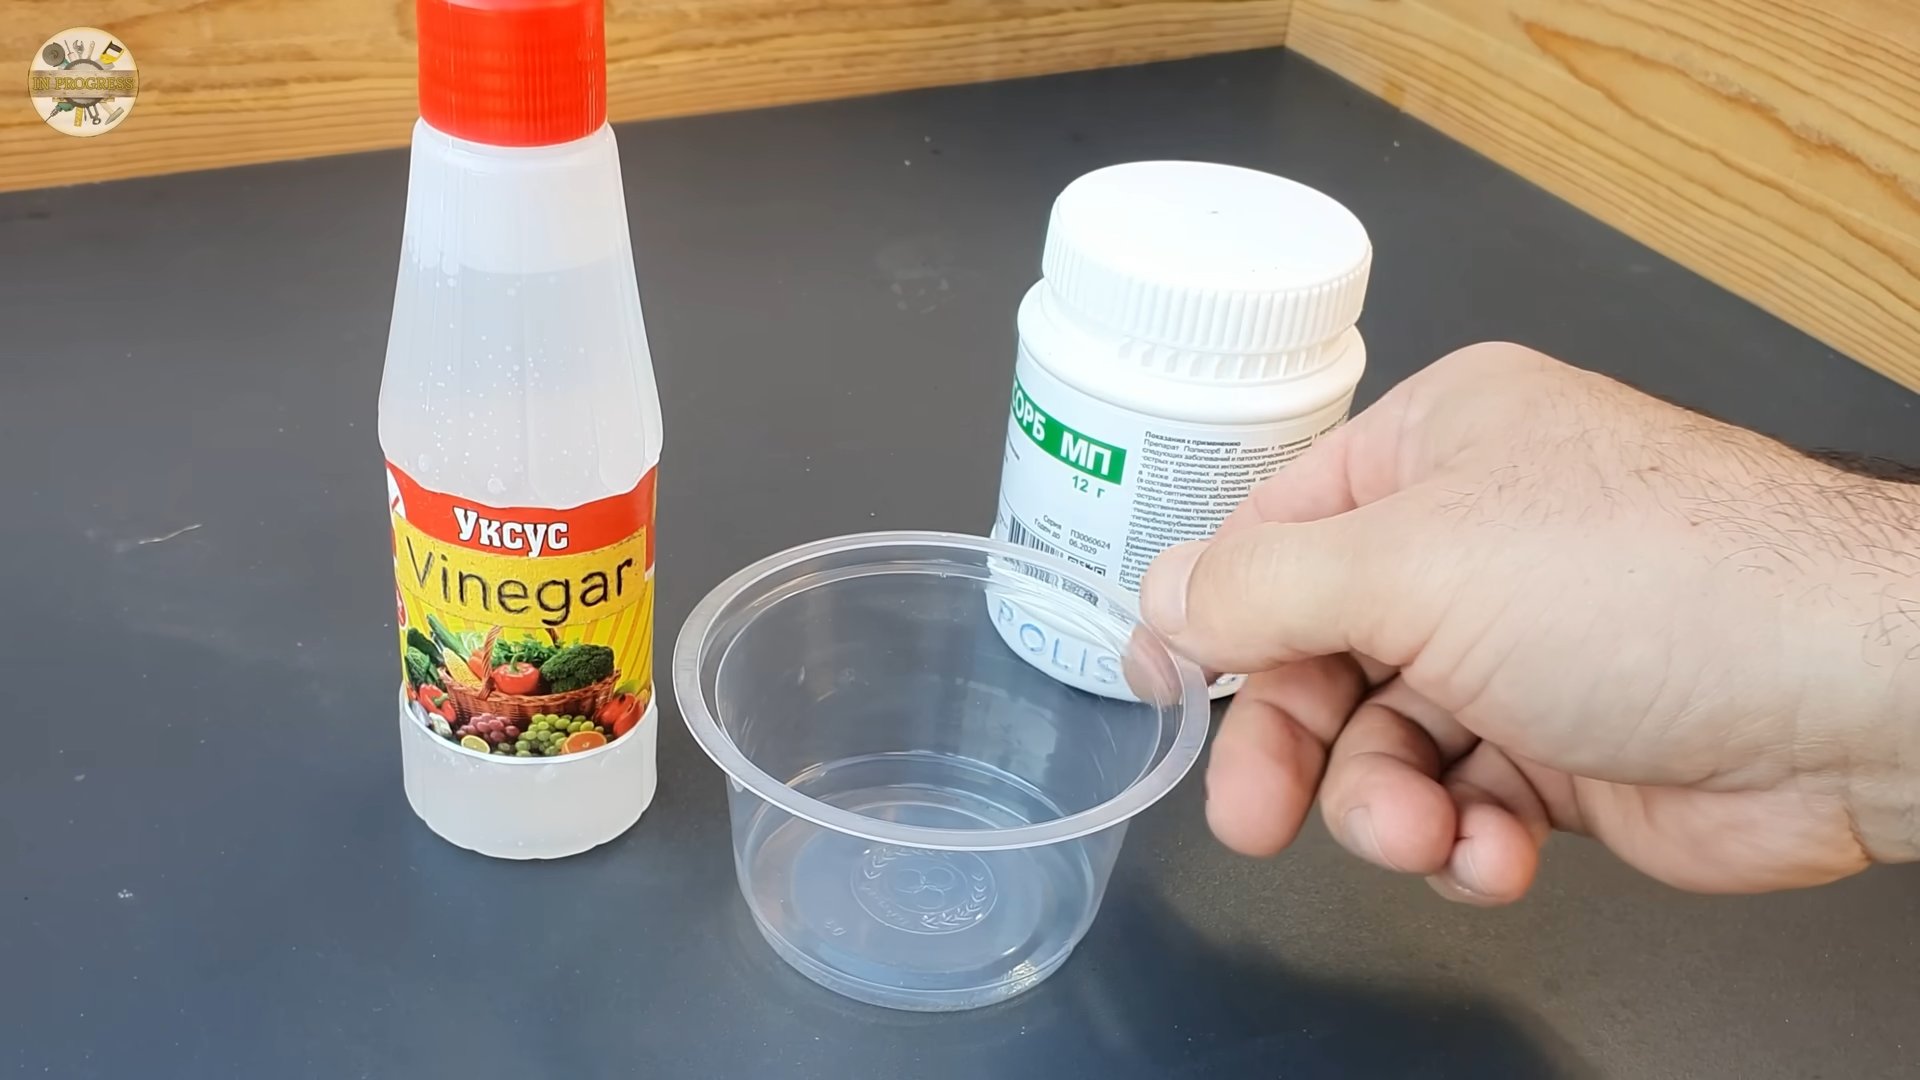
Before we begin, let’s make sure you have everything you need. This is a super simple project, so you probably already have most of these items in your home.
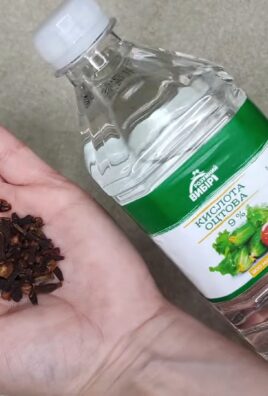
- White distilled vinegar
- Hot water
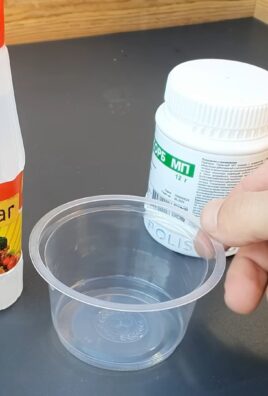
- A bowl or container large enough to hold your Vaseline jar
- A soft sponge or cloth
- Optional: Baking soda (for extra stubborn residue)
- Optional: Rubber gloves (vinegar can be a little harsh on the skin for some people)
Step-by-Step Cleaning Process
Now, let’s get those jars sparkling clean!
1. Prepare the Cleaning Solution: Fill your bowl with hot water. The hotter the better! Then, add enough white distilled vinegar to create a roughly 50/50 solution. I usually eyeball it, but a good starting point is equal parts water and vinegar.
2. Submerge the Jar: Carefully place your grimy Vaseline jar into the hot water and vinegar mixture. Make sure the jar is fully submerged. If it’s a particularly large jar, you might need to use a larger container.
3. Soak the Jar: Let the jar soak for at least 30 minutes. For really stubborn residue, I often let it soak for an hour or even longer. The longer it soaks, the easier it will be to clean. The vinegar will work its magic, loosening the Vaseline from the glass.
4. Scrub-a-dub-dub: After the soaking period, remove the jar from the solution. Use your soft sponge or cloth to gently scrub away the loosened Vaseline. Pay close attention to the areas where the Vaseline has accumulated the most. You’ll be amazed at how easily it comes off!
5. Baking Soda Boost (Optional): If you encounter any particularly stubborn spots that refuse to budge, sprinkle a small amount of baking soda onto the affected area. Then, gently scrub with your sponge or cloth. The baking soda acts as a mild abrasive, helping to lift the remaining residue.
6. Rinse Thoroughly: Once you’ve removed all the Vaseline, rinse the jar thoroughly under hot running water. Make sure to get rid of all traces of vinegar and baking soda.
7. Dry Completely: Dry the jar completely with a clean towel. I like to let it air dry upside down for a while to ensure there’s no lingering moisture.
Dealing with Extra Stubborn Residue
Sometimes, even after soaking and scrubbing, you might find some stubborn Vaseline clinging to the jar. Don’t despair! Here are a few extra tips to tackle those persistent spots:
- Increase Soaking Time: Try letting the jar soak for a longer period, perhaps overnight. The extended soaking time will give the vinegar more time to work its magic.
- Use a Toothbrush: For hard-to-reach areas or small crevices, a soft-bristled toothbrush can be incredibly effective. The small bristles can get into tight spots that a sponge might miss.
- Try a Different Cleaning Agent: If vinegar and baking soda aren’t cutting it, you can try a commercial glass cleaner as a last resort. However, I always prefer the natural and environmentally friendly approach first.
Safety Precautions
While this method is generally safe, it’s always a good idea to take some precautions:
- Handle with Care: Hot water and glass jars don’t mix well. Always handle the jar carefully to avoid burns or breakage.
- Ventilation: Work in a well-ventilated area, as vinegar can have a strong odor.
- Gloves (Optional): If you have sensitive skin, consider wearing rubber gloves to protect your hands from the vinegar.
Reusing Your Clean Jars
Once your jars are sparkling clean, you can reuse them for a variety of purposes! They’re perfect for storing small items, crafting supplies, or even as cute little vases. The possibilities are endless! I personally love reusing them to store homemade bath salts or other DIY beauty products. It’s a great way to reduce waste and add a touch of upcycled charm to your home.
Troubleshooting
My jar is still greasy after following these steps.
This is unusual. Try increasing the soaking time, using a toothbrush on stubborn spots, or trying a commercial glass cleaner as a last resort. Make sure the water is very hot.
The vinegar smell is lingering.
Thoroughly rinse the jar and allow it to air dry completely. The smell should dissipate.
I broke my jar!
Always handle hot glass with care. If you broke your jar, dispose of the broken pieces safely and carefully.
Remember to always prioritize safety when working with hot water and glass.
Conclusion
So there you have it – a simple, effective, and surprisingly versatile Vinegar Vaseline DIY solution for a multitude of household problems. From tackling stubborn grime to soothing dry skin, this inexpensive and readily available combination offers a powerful punch far exceeding the sum of its parts. This isn’t just another cleaning hack; it’s a testament to the power of resourceful problem-solving and sustainable living. The beauty of this Vinegar Vaseline DIY lies in its adaptability. You’re not limited to the specific applications we’ve outlined; the possibilities are truly endless. Experiment with different ratios of vinegar and Vaseline to find what works best for your needs and the specific task at hand. Perhaps you’ll discover a new and innovative use for this dynamic duo!
We strongly encourage you to try this Vinegar Vaseline DIY and experience the remarkable results firsthand. It’s a fantastic way to reduce your reliance on harsh chemical cleaners and expensive commercial products, while simultaneously embracing a more eco-friendly approach to household maintenance and personal care. Share your experiences with us! Let us know what you used it for, what your results were, and any creative variations you discovered. Your feedback will not only inspire others but also help us continue to expand the potential applications of this amazing DIY trick. Join the conversation and let’s build a community of resourceful DIY enthusiasts together!
Remember, the key to success with this Vinegar Vaseline DIY lies in understanding the properties of each ingredient. Vinegar’s acidity cuts through grease and grime, while Vaseline’s emollient properties provide lubrication and moisturization. The combination of these two creates a powerful yet gentle solution for a wide array of applications. Don’t be afraid to experiment and tailor the recipe to your specific needs. The possibilities are truly limitless, and the rewards are well worth the effort. So, grab your vinegar and Vaseline, and get ready to unleash the power of this simple yet effective DIY solution!
This Vinegar Vaseline DIY is more than just a recipe; it’s a gateway to a more sustainable and resourceful lifestyle. It’s a reminder that sometimes the simplest solutions are the most effective, and that a little creativity can go a long way. We hope this guide has inspired you to embrace the power of DIY and to explore the many possibilities that await you in the world of homemade solutions. Happy crafting!
Frequently Asked Questions
Q: What type of vinegar should I use for this DIY?
A: White distilled vinegar is generally recommended for its high acidity and lack of strong color or scent that might interfere with other applications. However, apple cider vinegar can also be used, though it may leave a slightly different scent.
Q: Can I use this Vinegar Vaseline DIY on all surfaces?
A: While this mixture is generally safe for many surfaces, it’s crucial to test it on an inconspicuous area first. Avoid using it on delicate materials like polished wood or certain fabrics. Always exercise caution and prioritize the safety of your belongings.
Q: How long does the Vinegar Vaseline DIY mixture last?
A: The shelf life depends on storage conditions. Store it in a cool, dry place, away from direct sunlight. It should remain effective for several months, but it’s always a good idea to check for any changes in consistency or smell before each use. If you notice any unusual changes, it’s best to discard it.
Q: Are there any safety precautions I should take when using this DIY?
A: Always wear gloves when handling vinegar, especially if you have sensitive skin. Avoid contact with eyes. Keep the mixture out of reach of children and pets. In case of accidental ingestion, contact a medical professional immediately. Proper ventilation is also recommended when using vinegar.
Q: Can I adjust the ratio of vinegar to Vaseline?
A: Yes, absolutely! The ratio can be adjusted depending on the desired consistency and application. For cleaning purposes, a higher proportion of vinegar might be preferred. For moisturizing purposes, a higher proportion of Vaseline might be more suitable. Experiment to find the perfect balance for your needs.
Q: What are some other uses for this Vinegar Vaseline DIY besides the ones mentioned in the article?
A: The possibilities are endless! Some users have reported success using it to lubricate squeaky hinges, condition leather goods, or even remove sticky residue from surfaces. Feel free to experiment and discover new applications based on your own needs and creativity. Remember to always test on a small, inconspicuous area first.
Q: Where can I find the ingredients for this Vinegar Vaseline DIY?
A: Both white distilled vinegar and Vaseline petroleum jelly are widely available at most grocery stores, pharmacies, and online retailers. They are inexpensive and readily accessible, making this DIY solution both practical and cost-effective.
Q: Is this Vinegar Vaseline DIY environmentally friendly?
A: Yes, compared to many commercial cleaning products, this DIY is a much more environmentally friendly option. Vinegar is a natural and biodegradable substance, and while Vaseline is a petroleum product, using this DIY reduces the need for harsher chemical cleaners that can harm the environment.
Leave a Comment