

Water saving gardening tips are more crucial than ever, aren’t they? I’ve noticed my water bill creeping up lately, and I know I’m not alone! We all want lush, thriving gardens, but not at the expense of our wallets or the planet. For centuries, gardeners have been innovating ways to cultivate beautiful spaces while conserving precious water resources. Think of the ancient Egyptians, who mastered irrigation techniques to nourish their crops along the Nile, or the ingenious terraced farming of the Incas, designed to maximize water retention. These historical examples show us that water-wise gardening isn’t just a modern trend; it’s a time-tested practice.
But why is it so important now? Well, with increasing droughts and growing environmental awareness, understanding and implementing effective water saving gardening tips is essential for sustainable living. This DIY article is packed with simple yet effective hacks that will help you reduce your water consumption without sacrificing the beauty and bounty of your garden. From smart watering techniques to choosing drought-tolerant plants, I’ll guide you through practical steps you can take today to create a thriving, eco-friendly oasis. Get ready to transform your garden into a water-wise paradise!
DIY Water-Saving Gardening: A Guide to Thriving Plants and a Happy Planet
Hey there, fellow garden enthusiasts! I’m so excited to share some of my favorite DIY water-saving gardening hacks with you. We all love a lush, vibrant garden, but let’s face it, watering can be a real drain – both on our wallets and on our precious water resources. So, let’s dive into some simple, effective ways to keep your plants happy and healthy while being kind to the environment.
Understanding Your Soil: The Foundation of Water Conservation
Before we get our hands dirty with specific projects, it’s crucial to understand your soil. The type of soil you have significantly impacts how well it retains water.
* Sandy Soil: Drains quickly, requiring more frequent watering.
* Clay Soil: Retains water well but can become compacted, hindering root growth.
* Loamy Soil: The ideal balance of sand, silt, and clay, offering good drainage and water retention.
The Squeeze Test: Grab a handful of moist soil and squeeze it. If it crumbles easily, it’s likely sandy. If it forms a tight ball that’s hard to break apart, it’s probably clay. Loamy soil will form a ball that crumbles with gentle pressure.
Amending Your Soil: No matter your soil type, adding organic matter is key! Compost, aged manure, and leaf mold improve water retention in sandy soils and drainage in clay soils.
DIY Drip Irrigation System: Targeted Watering for Happy Plants
Drip irrigation is a game-changer! It delivers water directly to the plant’s roots, minimizing water loss through evaporation and runoff. You can buy pre-made systems, but building your own is surprisingly easy and much more affordable.
Materials You’ll Need:
* Soaker hose (length depends on your garden size)
* Garden hose
* Hose connector
* End caps for the soaker hose
* Scissors or utility knife
* Optional: Pressure regulator (especially if you have high water pressure)
* Optional: Timer (for automated watering)
Step-by-Step Instructions:
1. Plan Your Layout: Before you start cutting anything, map out where you want your soaker hose to run. Consider the placement of your plants and the areas that need the most water.
2. Connect the Soaker Hose to Your Garden Hose: Attach a hose connector to one end of the soaker hose. Then, connect the garden hose to the other end of the connector. This will allow you to connect the soaker hose to your water source.
3. Lay Out the Soaker Hose: Carefully lay the soaker hose along your planned route, weaving it between your plants. Make sure the hose is close to the base of the plants so the water can reach the roots effectively.
4. Cut the Soaker Hose (If Necessary): If your garden layout requires it, you may need to cut the soaker hose into smaller sections. Use scissors or a utility knife to make clean cuts.
5. Cap the Ends: Place end caps on the open ends of the soaker hose to prevent water from escaping. Secure them tightly to ensure a good seal.
6. Test Your System: Turn on the water and check for leaks. Adjust the pressure regulator (if you’re using one) to ensure a slow, steady drip. You want the soil to be moist, not soaked.
7. Add a Timer (Optional): For even more convenience and water conservation, install a timer to automate your watering schedule. Set it to water early in the morning or late in the evening to minimize evaporation.
DIY Ollas: Ancient Watering Technology for Modern Gardens
Ollas (pronounced “oy-yahs”) are unglazed clay pots buried in the ground that slowly release water directly to the plant roots. This ancient watering method is incredibly efficient and easy to implement.
Materials You’ll Need:
* Unglazed clay pot (terracotta pots work great)
* Clay saucer or lid (slightly larger than the pot’s opening)
* Drill with a masonry bit (optional, for adding drainage holes)
* Gravel or small stones
* Water
Step-by-Step Instructions:
1. Prepare the Pot: If your pot doesn’t have drainage holes, you can drill a few small holes in the bottom using a masonry bit. This will help with water distribution.
2. Choose Your Location: Select a spot in your garden where you want to place the olla. It should be close to the plants you want to water.
3. Dig a Hole: Dig a hole that’s slightly larger than the pot.
4. Bury the Pot: Place a layer of gravel or small stones at the bottom of the hole to improve drainage. Then, carefully lower the pot into the hole, leaving the neck of the pot exposed.
5. Backfill with Soil: Fill the space around the pot with soil, packing it gently to secure the olla in place.
6. Fill with Water: Pour water into the olla until it’s full.
7. Cover with a Lid: Place the clay saucer or lid on top of the pot to prevent evaporation and keep out debris.
8. Refill as Needed: Check the olla regularly and refill it when the water level is low. The frequency of refilling will depend on the weather and the needs of your plants.
DIY Rain Barrel System: Harvesting Nature’s Gift
Collecting rainwater is a fantastic way to reduce your reliance on municipal water and provide your plants with naturally soft, chemical-free water.
Materials You’ll Need:
* Large plastic barrel (food-grade is best)
* Downspout diverter
* Spigot
* Hose connector
* Screen or mesh (to keep out debris)
* Drill with appropriate drill bits
* Optional: Stand or platform for the barrel
Step-by-Step Instructions:
1. Choose a Location: Select a location near a downspout for your rain barrel. Make sure the ground is level and can support the weight of a full barrel.
2. Install the Downspout Diverter: Cut a section of your downspout and install the downspout diverter according to the manufacturer’s instructions. This will redirect rainwater into the barrel.
3. Prepare the Barrel: Drill a hole near the bottom of the barrel for the spigot. Drill another hole near the top of the barrel for the overflow.
4. Install the Spigot and Hose Connector: Attach the spigot to the hole near the bottom of the barrel. Attach the hose connector to the overflow hole.
5. Add a Screen: Place a screen or mesh over the opening of the barrel to prevent leaves, insects, and other debris from entering.
6. Connect to the Downspout Diverter: Connect the downspout diverter to the opening of the barrel.
7. Elevate the Barrel (Optional): Place the barrel on a stand or platform to increase water pressure and make it easier to fill watering cans.
8. Let it Rain! Wait for the rain to fill your barrel. Use the water to irrigate your garden, wash your car, or for other non-potable purposes.
DIY Mulch Magic: Retaining Moisture and Suppressing Weeds
Mulch is your garden’s best friend! It helps retain moisture in the soil, suppresses weeds, and regulates soil temperature. You can buy mulch, but making your own is a great way to recycle yard waste and save money.
Materials You Can Use:
* Shredded leaves
* Grass clippings (untreated with herbicides)
* Wood chips
* Pine needles
* Straw
Step-by-Step Instructions:
1. Collect Your Materials: Gather your chosen mulching materials. Shred leaves with a lawnmower or leaf shredder. Allow grass clippings to dry slightly before using them as mulch.
2. Prepare the Area: Remove any weeds or debris from the area you want to mulch.
3. Apply the Mulch: Spread a 2-4 inch layer of mulch around your plants, keeping it a few inches away from the stems to prevent rot.
4. Replenish as Needed: Check the mulch layer periodically and replenish it as it decomposes.
DIY Swales: Redirecting Water for Maximum Benefit
Swales are shallow ditches that follow the contour of the land, slowing down and redirecting rainwater to allow it to soak into the soil. This is especially helpful on sloped properties.
Planning and Considerations:
* Contour Lines: Understanding the contour of your land is crucial. You can use a level and stakes to determine the contour lines.
* Placement: Place swales strategically to capture runoff from roofs, driveways, or other impervious surfaces.
* Size: The size of the swale will depend on the amount
Conclusion
So, there you have it! Embracing these simple yet effective DIY water-saving gardening tricks isn’t just about being eco-conscious; it’s about creating a thriving, vibrant garden that practically takes care of itself. Imagine spending less time wrestling with the hose and more time actually enjoying the fruits (and vegetables!) of your labor. The beauty of these methods lies in their adaptability. Whether you have a sprawling backyard or a cozy balcony garden, you can tailor these techniques to fit your specific needs and space.
Think about it: a well-mulched garden bed not only retains moisture but also suppresses weeds, saving you time and energy on weeding. A DIY drip irrigation system, crafted from recycled materials, delivers water directly to the roots, minimizing evaporation and maximizing efficiency. And rainwater harvesting? It’s like having your own personal reservoir of free, nutrient-rich water, ready to nourish your plants whenever they need it.
But don’t just take our word for it. We encourage you to experiment with these water-saving gardening tips and discover what works best for your unique garden environment. Try different types of mulch – straw, wood chips, shredded leaves – and see which one your plants prefer. Play around with the placement of your DIY drip irrigation system to ensure even water distribution. And don’t be afraid to get creative with your rainwater harvesting setup – even a simple rain barrel can make a significant difference.
Consider these variations to further enhance your water conservation efforts:
* Greywater Recycling: Explore the possibility of safely reusing greywater (water from showers, sinks, and washing machines) for irrigation. Be sure to research local regulations and implement appropriate filtration systems to ensure the water is safe for your plants and the environment.
* Xeriscaping: If you’re looking for a more drastic approach, consider xeriscaping – designing your garden with drought-tolerant plants that require minimal watering. This is a fantastic option for arid climates or for gardeners who want to significantly reduce their water consumption.
* Hugelkultur Beds: Build raised garden beds filled with decaying wood and organic matter. These beds act like sponges, retaining moisture and nutrients for extended periods, reducing the need for frequent watering.
* Companion Planting: Strategically plant different species together to benefit each other. Some plants can provide shade, act as living mulch, or even attract beneficial insects that help control pests, reducing the need for watering and other interventions.
The key is to start small, experiment, and learn from your experiences. Every little bit helps, and even implementing just one or two of these water-saving gardening tips can make a noticeable difference in your water bill and the health of your garden.
We’re confident that you’ll find these DIY tricks to be both effective and rewarding. So, grab your gardening gloves, gather your supplies, and get ready to transform your garden into a water-wise oasis. And most importantly, we want to hear about your experiences! Share your successes, your challenges, and your creative adaptations in the comments below. Let’s build a community of water-conscious gardeners who are passionate about creating beautiful, sustainable landscapes. Let us know which of these **water saving gardening tips** worked best for you!
FAQ
Q: How much water can I realistically save by implementing these DIY tricks?
A: The amount of water you can save depends on several factors, including your climate, the size of your garden, the types of plants you grow, and the specific techniques you implement. However, even small changes can add up to significant savings over time. For example, mulching can reduce water evaporation by as much as 50%, while a well-designed drip irrigation system can use up to 60% less water than traditional sprinklers. Rainwater harvesting can provide a free and sustainable source of water for your garden, reducing your reliance on municipal water supplies. By combining several of these techniques, you could potentially reduce your water consumption by 30-70% or even more.
Q: Are these water-saving gardening tips suitable for all climates?
A: Yes, these tips can be adapted for various climates, although some techniques may be more effective in certain regions than others. For example, rainwater harvesting is particularly beneficial in areas with regular rainfall, while xeriscaping is ideal for arid climates. Mulching is beneficial in almost all climates, as it helps retain moisture in dry areas and insulates the soil in cold regions. The key is to choose the techniques that are most appropriate for your specific climate and growing conditions.
Q: What are the best materials to use for DIY drip irrigation systems?
A: You can use a variety of materials to create a DIY drip irrigation system, including recycled plastic bottles, old garden hoses, and PVC pipes. Plastic bottles can be punctured with small holes and buried near plants to slowly release water. Old garden hoses can be fitted with drip emitters or soaker hoses to deliver water directly to the roots. PVC pipes can be used to create a more elaborate system with multiple outlets. When choosing materials, consider their durability, cost-effectiveness, and environmental impact.
Q: How do I safely reuse greywater for irrigation?
A: Reusing greywater for irrigation can be a great way to conserve water, but it’s important to do it safely to protect your plants, your health, and the environment. Only use greywater from showers, sinks, and washing machines (excluding water that contains fecal matter). Avoid using greywater that contains harsh chemicals, such as bleach or strong detergents. Filter the greywater to remove any solid particles. Apply the greywater directly to the soil, avoiding contact with the edible parts of plants. Do not use greywater on root vegetables or plants that will be eaten raw. Check your local regulations regarding greywater reuse, as some areas have specific requirements.
Q: What are some drought-tolerant plants that I can use in my garden?
A: There are many beautiful and resilient drought-tolerant plants that can thrive in water-wise gardens. Some popular options include succulents (such as sedum and echeveria), ornamental grasses (such as blue fescue and feather reed grass), native wildflowers (such as coneflowers and black-eyed Susans), and drought-tolerant shrubs (such as lavender and rosemary). When choosing drought-tolerant plants, consider their hardiness zone, soil requirements, and sun exposure.
Q: How often should I water my garden when using these water-saving techniques?
A: The frequency of watering will depend on several factors, including the type of plants you’re growing, the climate, and the soil conditions. However, in general, you should water deeply and less frequently, rather than shallowly and more often. This encourages plants to develop deep roots, which makes them more drought-tolerant. Use a soil moisture meter to check the moisture level before watering, and only water when the soil is dry to the touch.
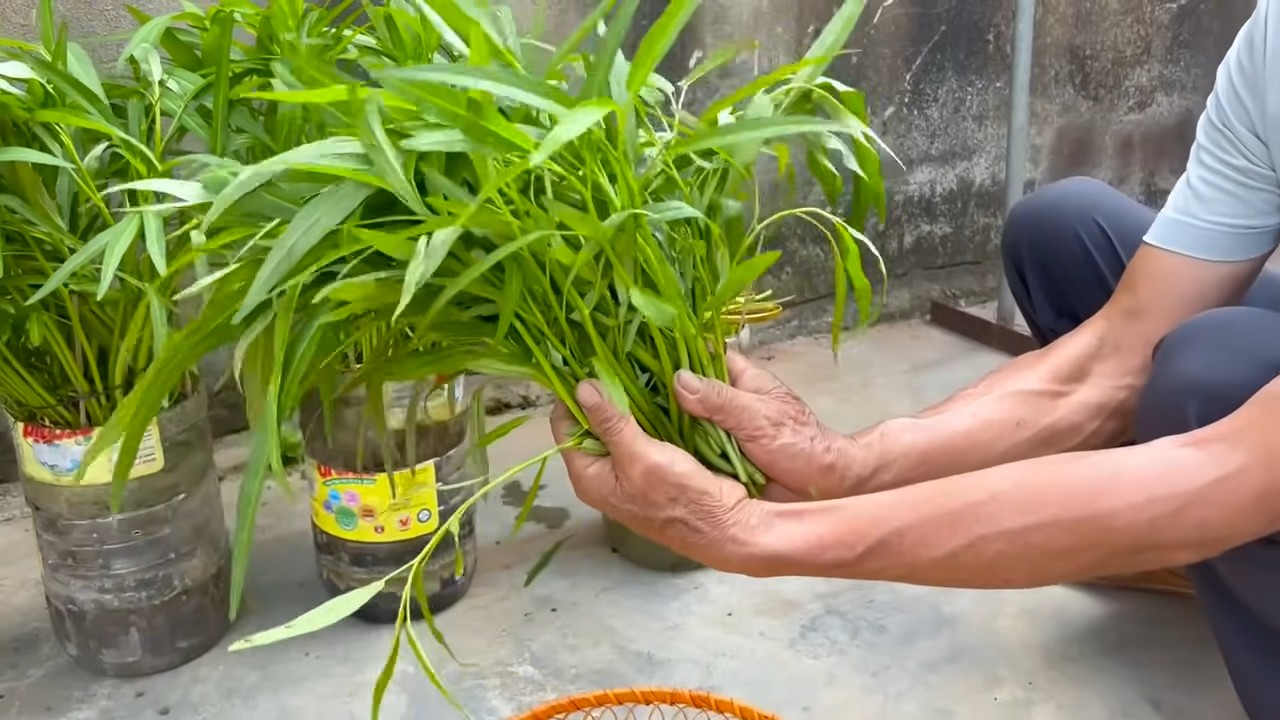
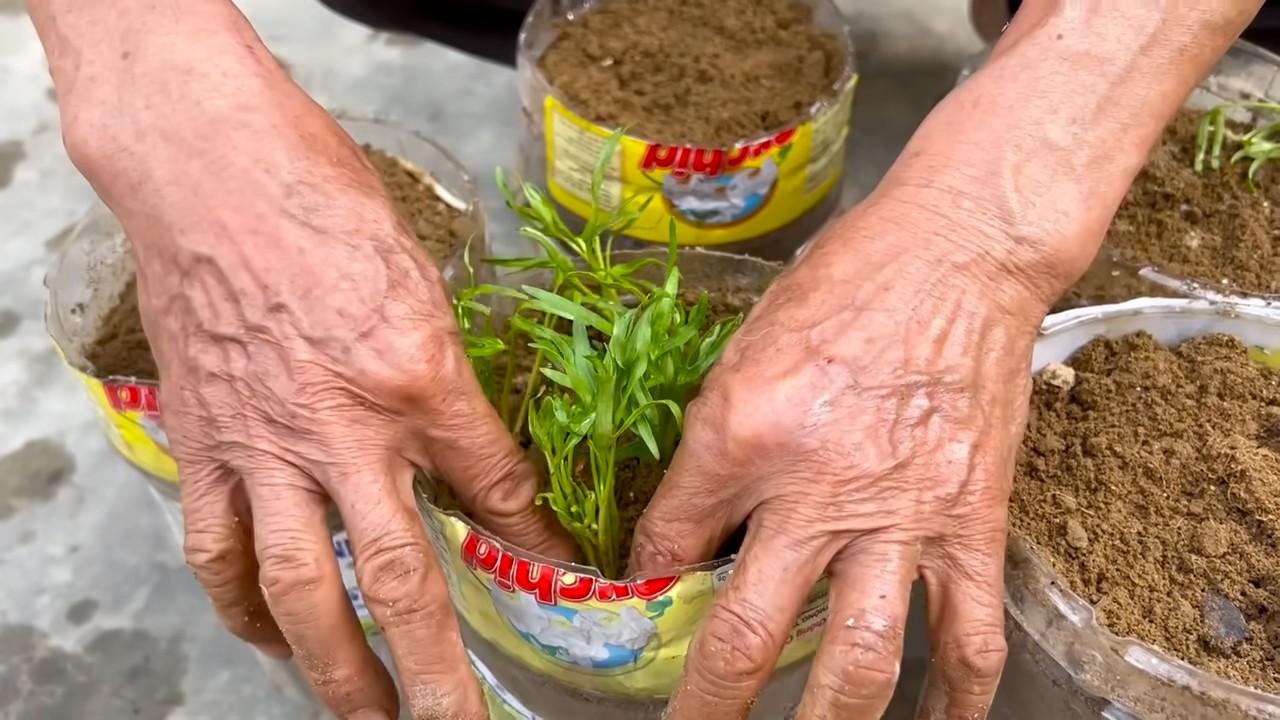
Q: Can I use these water-saving tips in a container garden?
A: Absolutely! These tips are just as effective in container gardens as they are in traditional gardens. Use self-watering containers, which have a reservoir that slowly releases water to the plants. Add mulch to the surface of the soil to retain moisture. Group containers together to create a microclimate that reduces evaporation. And consider using drought-tolerant plants that are well-suited for container gardening.
Q: How do I know if I’m overwatering or underwatering my plants?
A: Overwatering and underwatering can both cause problems for plants. Signs of overwatering include yellowing leaves, wilting, and root rot. Signs of underwatering include dry, brittle leaves, stunted growth, and wilting. The best way to determine if your plants need water is to check the soil moisture level. If the soil is dry to the touch, it’s time to water. If the soil is still moist, wait a day or two and check again.
Q: Where can I find more information about water-saving gardening techniques?
A: There are many resources available online and in print that can provide more information about water-saving gardening techniques. Check with your local extension office, garden center, or library for books, articles, and workshops. You can also find a wealth of information online from reputable sources such as university extension websites, gardening blogs, and environmental organizations. Remember to always verify the information you find online and consult with local experts to ensure that the techniques you’re using are appropriate for your specific climate and growing conditions.
Leave a Comment