

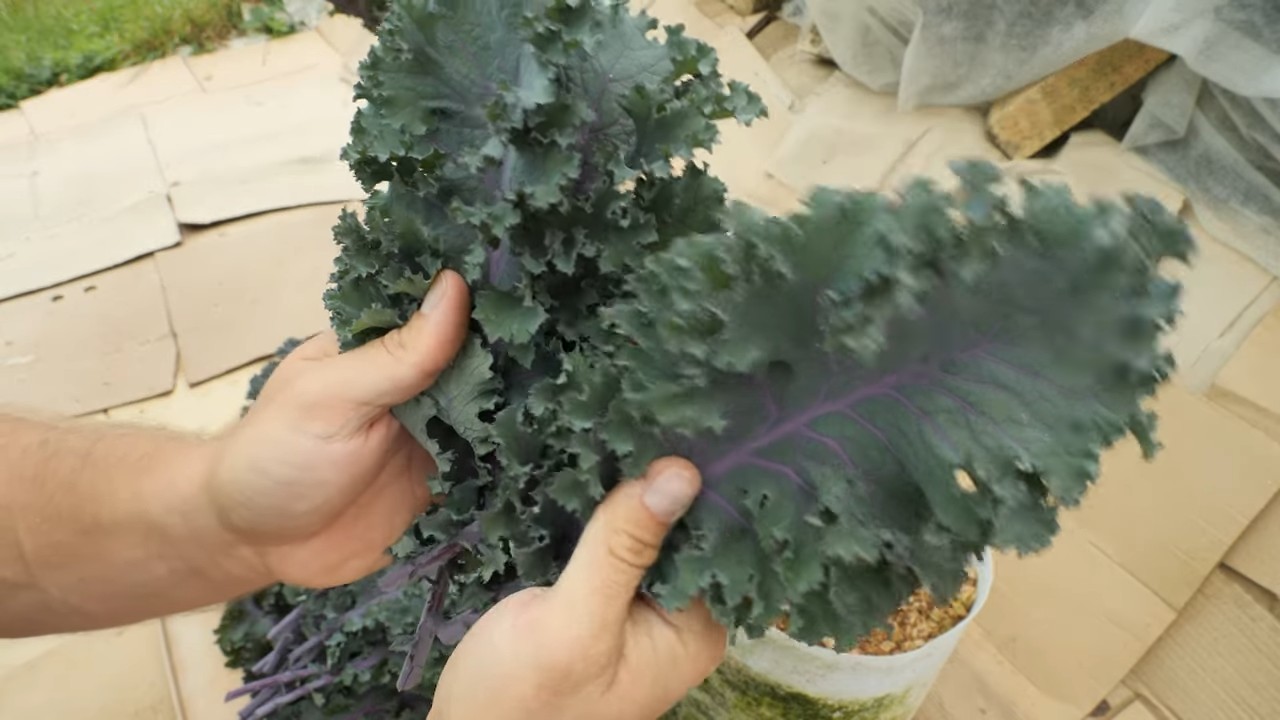
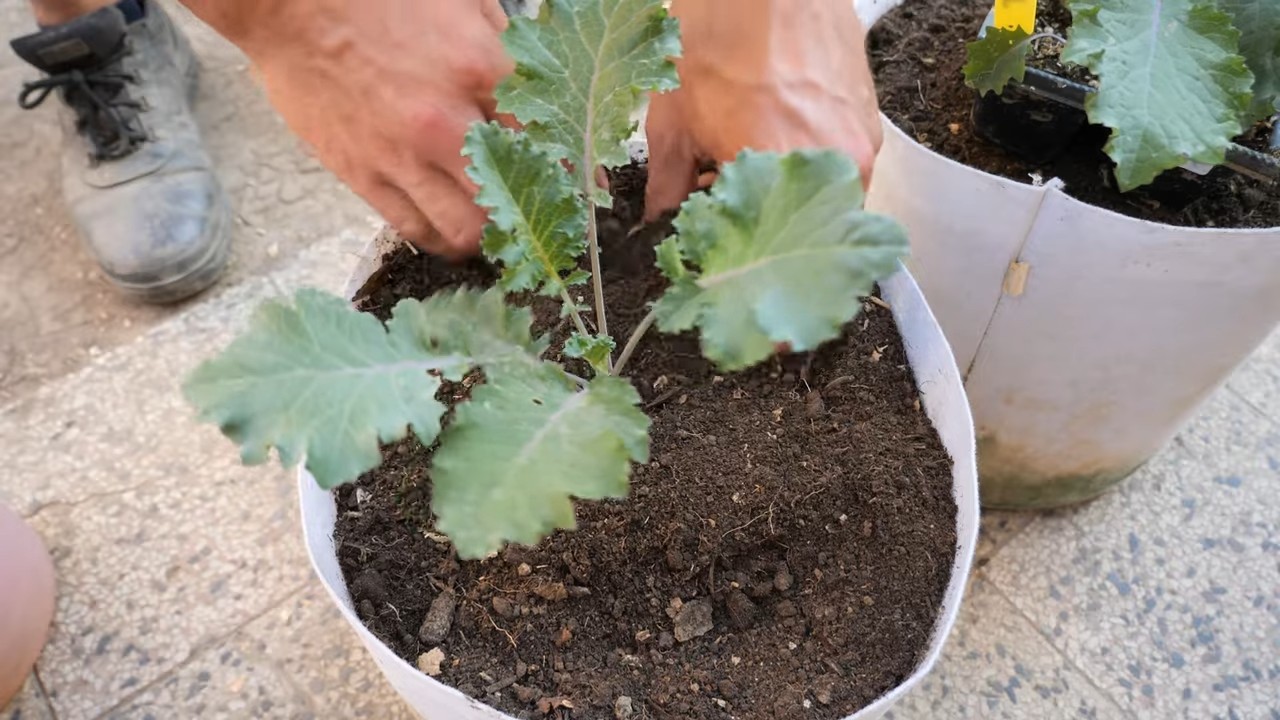
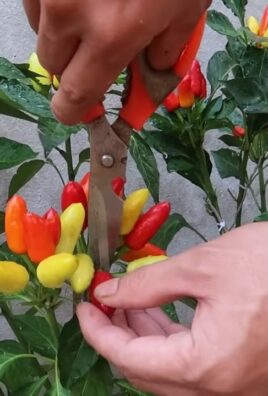
Weekly Kale Harvest: Imagine stepping into your backyard, not to mow the lawn, but to gather a vibrant, leafy bounty for your dinner table. That’s the magic of growing your own kale! For centuries, kale has been a nutritional powerhouse, gracing the tables of everyone from Roman emperors to humble farmers. Its resilience and adaptability have made it a staple crop across cultures, and now, you can easily cultivate it in your own home garden.
But let’s be honest, sometimes getting a consistent and abundant weekly kale harvest can feel like a challenge. Pests, unpredictable weather, and even just knowing when and how to harvest properly can leave you feeling a little overwhelmed. That’s where these DIY tricks and hacks come in! I’m going to share my tried-and-true methods for maximizing your kale yield, ensuring you have a steady supply of this superfood throughout the growing season.
Why do you need these tricks? Because store-bought kale simply can’t compare to the flavor and freshness of homegrown. Plus, knowing you’re providing your family with healthy, organic greens that you nurtured yourself is incredibly rewarding. So, let’s dive in and unlock the secrets to a thriving kale patch and a bountiful weekly harvest!
DIY: Turning Your Weekly Kale Harvest into Delicious & Nutritious Kale Chips
Okay, kale lovers! Let’s face it, a weekly kale harvest can feel overwhelming. You’re staring down a mountain of leafy greens, wondering what to do besides the same old salad. Fear not! I’m here to show you how to transform that bounty into crispy, crunchy, and utterly addictive kale chips. This is my go-to method, and trust me, once you try it, you’ll be hooked.
What You’ll Need: The Essential Kale Chip Arsenal
Before we dive in, let’s gather our supplies. This isn’t a complicated process, but having everything ready will make it smooth sailing.
* Fresh Kale: Obviously! Any variety works – curly, lacinato (dinosaur), or even red kale. Just make sure it’s fresh and vibrant.
* Olive Oil: Extra virgin is my preference for its flavor and health benefits, but any cooking oil will do in a pinch.
* Salt: Sea salt or kosher salt are great choices.
* Large Bowl: Big enough to toss all your kale without making a mess.
* Baking Sheets: You’ll likely need more than one, depending on how much kale you’re working with.
* Parchment Paper (Optional but Recommended): Makes cleanup a breeze and prevents sticking.
* Optional Seasonings: This is where you can get creative! Garlic powder, onion powder, paprika, chili powder, nutritional yeast (for a cheesy flavor), lemon pepper, or even a sprinkle of parmesan cheese are all fantastic options.
Prepping Your Kale: The Foundation for Crispy Goodness
This is arguably the most important step. Properly prepping your kale ensures even cooking and prevents soggy chips.
1. Wash the Kale Thoroughly: Fill a large bowl or your sink with cold water. Submerge the kale leaves and swish them around to remove any dirt or debris. I usually do this a couple of times, changing the water each time, until the water runs clear.
2. Dry the Kale Completely: This is crucial! Excess moisture is the enemy of crispy kale chips. You have a few options here:
* Salad Spinner: If you have one, this is the fastest and easiest method. Spin the kale in batches until it’s mostly dry.
* Paper Towels: Lay the kale leaves out on a clean kitchen towel or several layers of paper towels. Gently pat them dry. You might need to repeat this process a few times.
* Air Dry: Spread the kale leaves out on a clean surface and let them air dry for a few hours. This takes the longest, but it’s a good option if you’re not in a hurry.
3. Remove the Stems: Kale stems are tough and bitter, so we want to remove them. The easiest way to do this is to hold the stem in one hand and strip the leaves off with the other. You can also use a knife to cut the leaves away from the stem.
4. Tear the Kale into Bite-Sized Pieces: Don’t leave the leaves whole! Tear them into pieces that are about 2-3 inches in size. They will shrink a bit during baking.
Seasoning and Oiling: Flavor Infusion Time!
Now for the fun part – adding flavor!
1. Place the Kale in a Large Bowl: Make sure the bowl is big enough to comfortably toss the kale without spilling.
2. Drizzle with Olive Oil: Don’t overdo it! You want the kale to be lightly coated, not swimming in oil. I usually start with about 1-2 tablespoons of olive oil for a large bunch of kale and add more if needed.
3. Massage the Oil into the Kale: This is key! Use your hands to gently massage the oil into the kale leaves. This helps to evenly distribute the oil and break down the fibers, resulting in crispier chips. You’ll notice the kale leaves start to darken and soften slightly as you massage them.
4. Add Salt and Other Seasonings: Sprinkle salt and any other seasonings you’re using over the kale. Again, don’t overdo it! You can always add more after baking if needed.
5. Toss Everything Together: Give the kale a final toss to ensure that the seasonings are evenly distributed.
Baking to Perfection: Achieving Crispy Bliss
This is where the magic happens!
1. Preheat Your Oven to 300°F (150°C): This low temperature is crucial for preventing the kale from burning. We want to dehydrate the kale, not char it.
2. Line Your Baking Sheets with Parchment Paper (Optional): This makes cleanup a breeze and prevents the kale from sticking to the baking sheets.
3. Spread the Kale in a Single Layer on the Baking Sheets: This is important! Overcrowding the baking sheets will result in steamed, soggy kale chips. Make sure the kale leaves are spread out in a single layer, with plenty of space between them. You’ll likely need to use multiple baking sheets.
4. Bake for 20-30 Minutes: Keep a close eye on the kale! The baking time will vary depending on your oven and the thickness of the kale leaves. You’ll know the kale chips are done when they are crispy around the edges and slightly browned. They should also be brittle and easily break when you touch them.
5. Rotate the Baking Sheets Halfway Through: This helps to ensure even cooking.
6. Let the Kale Chips Cool Completely on the Baking Sheets: This is important! The kale chips will continue to crisp up as they cool. Don’t be tempted to eat them straight out of the oven – they’ll be soft and chewy.
Troubleshooting: Common Kale Chip Catastrophes (and How to Avoid Them)
Even with the best instructions, things can sometimes go awry. Here are some common problems and how to fix them:
* Soggy Kale Chips: This is usually caused by not drying the kale thoroughly enough or overcrowding the baking sheets. Make sure to dry the kale completely and spread it out in a single layer.
* Burnt Kale Chips: This is usually caused by baking the kale at too high of a temperature or for too long. Make sure to preheat your oven to 300°F (150°C) and keep a close eye on the kale while it’s baking.
* Unevenly Cooked Kale Chips: This is usually caused by not rotating the baking sheets halfway through or by having unevenly sized kale pieces. Make sure to rotate the baking sheets and try to tear the kale into roughly the same size pieces.
* Bland Kale Chips: This is usually caused by not using enough salt or seasonings. Don’t be afraid to experiment with different flavors!
Flavor Variations: Spice Up Your Kale Chip Game
Once you’ve mastered the basic kale chip recipe, the possibilities are endless! Here are a few of my favorite flavor variations:
* Garlic Parmesan: Add garlic powder and grated parmesan cheese to the kale before baking.
* Spicy Chili: Add chili powder, cumin, and a pinch of cayenne pepper to the kale before baking.
* Lemon Pepper: Add lemon pepper seasoning to the kale before baking.
* Nutritional Yeast: Add nutritional yeast for a cheesy, savory flavor.
* Everything Bagel: Sprinkle everything bagel seasoning on the kale before baking.
* Sweet & Spicy: Add a drizzle of maple syrup and a pinch of chili flakes to the kale before baking.
Storage: Keeping Your Kale Chips Crispy
Kale chips are best enjoyed fresh, but they can be stored in an airtight container at room temperature for up to a few days. However, they will lose their crispness over time. To help keep them crispy, you can add a silica gel packet to the container.
Enjoy your delicious and nutritious homemade kale chips! I hope this guide helps you make the most of your weekly kale harvest. Happy snacking!
Conclusion
After weeks of nurturing your kale plants and eagerly anticipating the harvest, the moment has arrived to reap the rewards of your labor. But what if I told you there’s a simple, cost-effective way to extend the life of your freshly harvested kale, keeping it crisp and vibrant for days longer than traditional storage methods? That’s where our DIY kale preservation trick comes in, and trust me, it’s a game-changer.
This isn’t just about saving a few dollars; it’s about reducing food waste, maximizing the nutritional value of your homegrown kale, and enjoying the fruits (or rather, the leafy greens) of your hard work for an extended period. Imagine having fresh, ready-to-use kale at your fingertips whenever you need it, whether it’s for a quick smoothie, a hearty salad, or a flavorful stir-fry. No more wilted, sad-looking kale lurking in the back of your refrigerator.
The beauty of this DIY method lies in its simplicity. It requires minimal effort and utilizes materials you likely already have on hand. By understanding the science behind why kale wilts – primarily moisture loss – we can create an environment that combats this process, keeping your kale hydrated and happy.
But don’t just take my word for it. The real magic happens when you try it yourself. Experiment with different variations to find what works best for your specific environment and kale variety. For instance, if you live in a particularly humid climate, you might want to use a slightly drier paper towel to avoid excess moisture. Alternatively, if your refrigerator tends to be very dry, you could lightly mist the kale leaves before wrapping them.
Consider adding a sprig of rosemary or thyme to the storage container for an extra layer of flavor. These herbs not only impart a subtle aroma to the kale but also possess natural antimicrobial properties that can further extend its shelf life. You could also try storing different types of kale separately, as some varieties may have different moisture content and storage needs. Curly kale, for example, might benefit from a slightly more humid environment than Tuscan kale.
Ultimately, the goal is to find a system that works seamlessly with your lifestyle and allows you to enjoy the abundance of your weekly kale harvest to the fullest. So, ditch the store-bought kale (at least for a while!) and embrace the satisfaction of using your own homegrown greens.
We are confident that this DIY kale preservation trick will become an indispensable part of your post-harvest routine. It’s a small investment of time that yields significant returns in terms of freshness, flavor, and reduced waste.
We encourage you to give it a try and share your experiences with us. Let us know what variations you’ve discovered, what challenges you’ve encountered, and what successes you’ve celebrated. Your feedback will not only help us refine this method but also inspire other gardeners to embrace the joys of sustainable kale harvesting. Share your photos and tips on social media using #DIYKaleHarvest and let’s build a community of kale-loving enthusiasts!
Frequently Asked Questions (FAQ)
What is the main benefit of using this DIY kale preservation trick?
The primary benefit is extending the shelf life of your freshly harvested kale. Instead of wilting and becoming unusable within a few days, this method can keep your kale crisp and vibrant for up to a week or even longer, depending on the variety and storage conditions. This reduces food waste, saves you money, and ensures you always have fresh kale on hand.
What kind of container should I use to store the kale?
Airtight containers are ideal, such as reusable plastic containers with tight-fitting lids or large zip-top bags. The key is to minimize air circulation, which can contribute to moisture loss and wilting. Glass containers also work well and are a more sustainable option. Make sure the container is large enough to accommodate the kale without overcrowding it.
How often should I change the paper towels?
Check the paper towels every couple of days. If they become noticeably damp, replace them with fresh, dry paper towels. This helps to maintain the optimal humidity level and prevent the kale from becoming soggy. The frequency of changing the paper towels will depend on the humidity level in your refrigerator.
Can I use this method for other leafy greens besides kale?
Yes, this method can be adapted for other leafy greens like spinach, lettuce, and chard. The principle is the same: maintaining the right humidity level to prevent wilting. However, some greens may require slightly different adjustments. For example, more delicate greens like spinach might benefit from a slightly less humid environment.
My kale is already a little wilted. Can this method revive it?
While this method is primarily for preserving fresh kale, it can help to revive slightly wilted kale. Before storing, soak the kale in a bowl of ice water for about 15-30 minutes. This will help to rehydrate the leaves. Then, follow the steps outlined in the DIY trick. Keep in mind that severely wilted kale may not fully recover.
What if I don’t have paper towels? Are there any alternatives?
If you don’t have paper towels, you can use clean cloth towels or even a clean kitchen sponge. Just make sure they are thoroughly wrung out to avoid excess moisture. You can also use a reusable produce bag designed to absorb moisture.
Does the type of kale affect how long it will last using this method?
Yes, different varieties of kale can have varying storage needs. Curly kale, for example, tends to be more robust and may last longer than Tuscan kale. Experiment with different varieties to see what works best for you.
Is it necessary to wash the kale before storing it?
It’s generally recommended to wash the kale before storing it, but make sure it’s completely dry before placing it in the container. Excess moisture can promote spoilage. You can use a salad spinner to remove excess water or gently pat the leaves dry with a clean towel.
Can I freeze kale using this method?
This method is not designed for freezing kale. For freezing, it’s best to blanch the kale first to preserve its color and texture. After blanching, cool the kale in ice water, drain it thoroughly, and then freeze it in airtight bags or containers.
What are some creative ways to use my preserved kale?
The possibilities are endless! Use it in smoothies, salads, soups, stews, stir-fries, omelets, or even as a topping for pizza. You can also massage it with olive oil and lemon juice for a delicious and healthy kale salad. Don’t be afraid to experiment and find your favorite ways to enjoy your fresh, homegrown kale.
Leave a Comment