

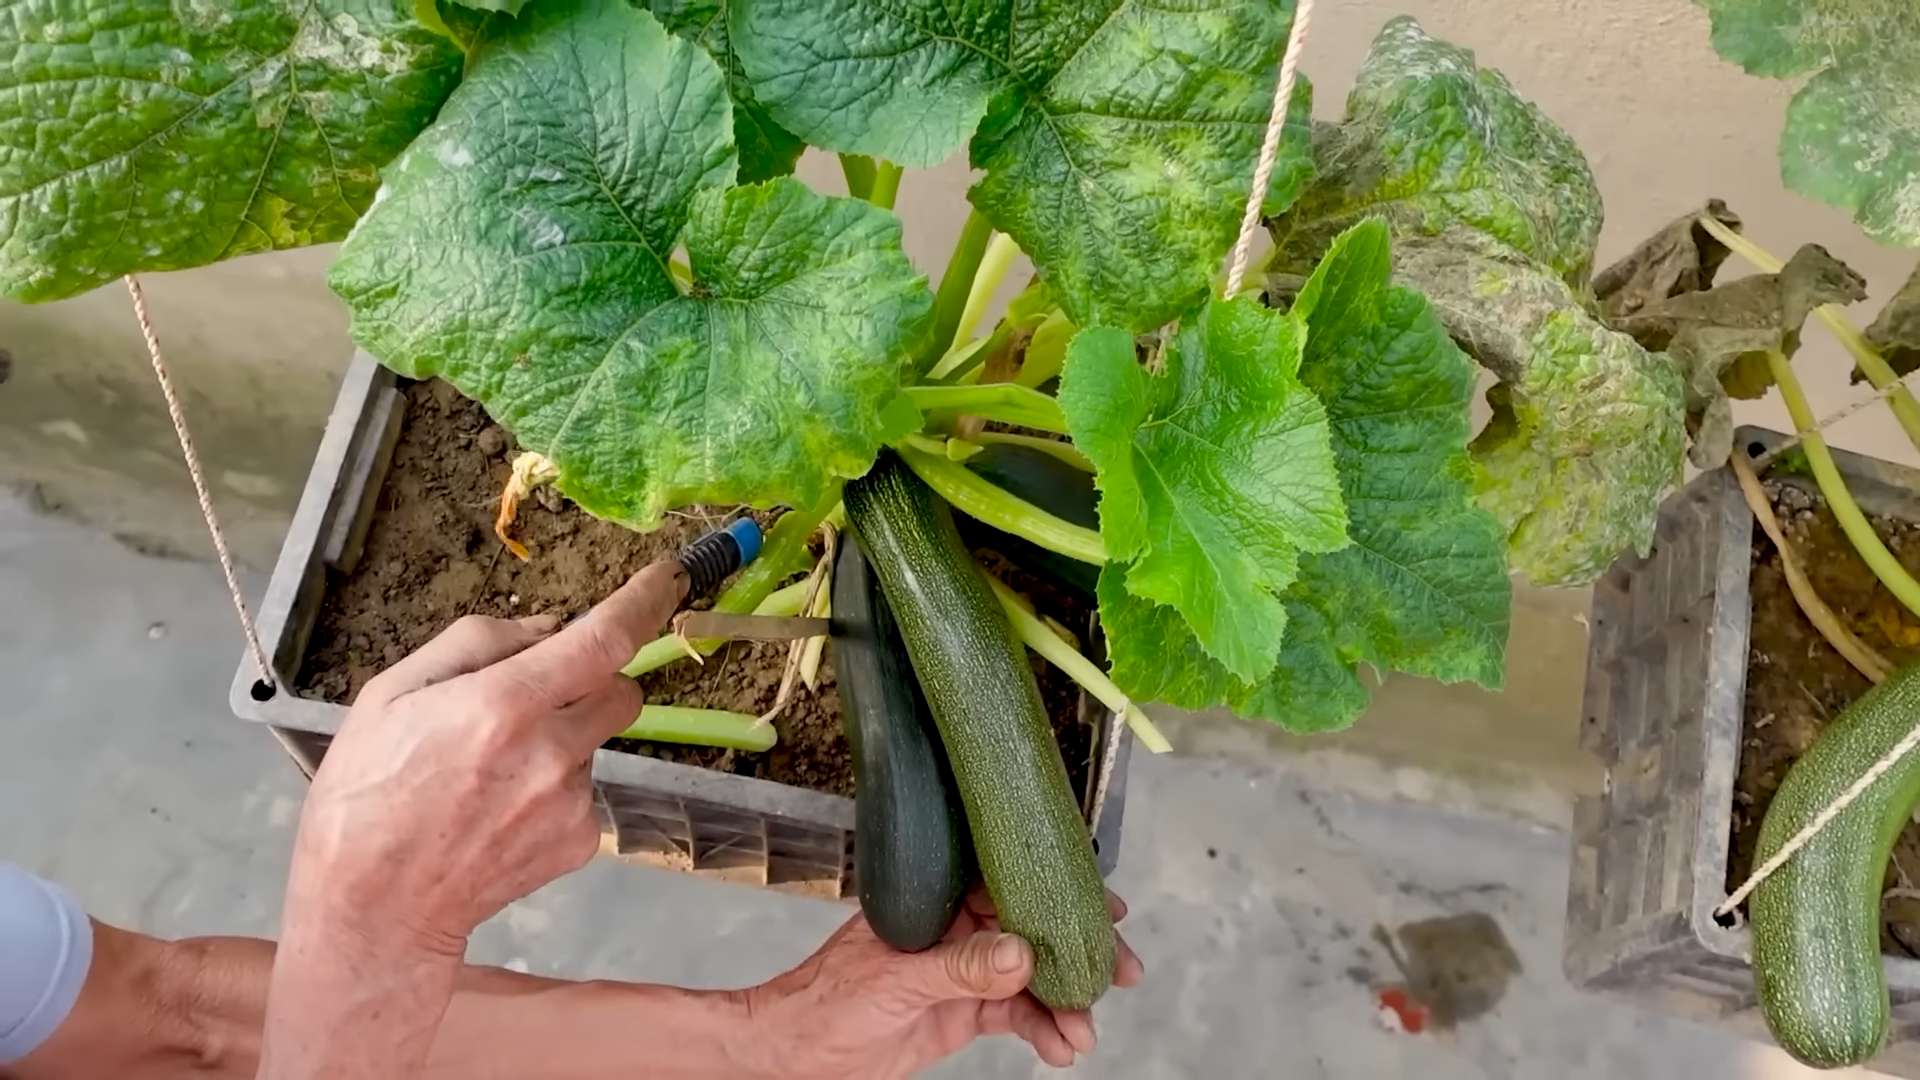
Zucchini Planting Hacks: Ever dreamt of a garden overflowing with vibrant, green zucchini, ready to be transformed into delicious dishes? I know I have! But let’s be honest, sometimes zucchini plants can be a bit… temperamental. They either explode with abundance or stubbornly refuse to produce. That’s where these clever DIY zucchini planting hacks come in!
For centuries, zucchini, a member of the squash family, has been a staple in cuisines around the world. Originating in the Americas, it made its way to Europe and beyond, becoming a beloved vegetable in countless cultures. From Italian zucchini fritters to Middle Eastern stuffed zucchini, its versatility is undeniable. But even with its rich history, getting a bountiful harvest can still be a challenge.
That’s why I’m so excited to share these simple yet effective zucchini planting hacks with you. Whether you’re a seasoned gardener or just starting out, these tips will help you maximize your yield and minimize common problems like powdery mildew and blossom end rot. Imagine, no more grocery store zucchini – just fresh, homegrown goodness right at your fingertips! These DIY tricks are not just about growing more zucchini; they’re about creating a thriving garden and enjoying the satisfaction of harvesting your own food. So, let’s dive in and unlock the secrets to successful zucchini planting hacks!
DIY Home Automation: Transforming Your Lamps with Smart Plugs
Hey there, fellow DIY enthusiasts! Ever wished you could control your lamps with your voice or from your phone, even when you’re not home? Well, you can! And it’s surprisingly easy and affordable. This guide will walk you through how to transform your ordinary lamps into smart, automated lighting using smart plugs. Trust me, it’s a game-changer!
What You’ll Need
Before we dive in, let’s gather our supplies. This is a pretty straightforward project, so the list is short and sweet:
* Smart Plugs: These are the heart of our project. I recommend getting a brand that’s compatible with your existing smart home ecosystem (like Amazon Alexa, Google Assistant, or Apple HomeKit). Read reviews and compare features before you buy. Some offer energy monitoring, which is a nice bonus!
* Lamps: Any lamp with a standard plug will work. Table lamps, floor lamps, even string lights!
* Smartphone or Tablet: You’ll need this to set up the smart plugs and control them.
* Wi-Fi Network: Your smart plugs will need to connect to your home Wi-Fi.
* Optional: A power strip if you want to control multiple lamps with one smart plug (make sure the power strip is rated for the combined wattage of all the lamps).
Choosing the Right Smart Plug
This is a crucial step! Not all smart plugs are created equal. Here’s what I look for:
* Compatibility: Does it work with my preferred voice assistant (Alexa, Google Assistant, Siri)?
* Features: Does it offer scheduling, timers, energy monitoring, or other features I might want?
* Reliability: Read reviews! See what other users are saying about its performance and connectivity.
* Size: Some smart plugs are bulky and can block other outlets. Consider the size and shape.
* Price: Smart plug prices vary. Find one that fits your budget without sacrificing quality.
Step-by-Step Guide: Making Your Lamps Smart
Okay, let’s get to the fun part! Here’s how to turn your regular lamps into smart, controllable lights:
1. Unbox and Inspect Your Smart Plug: Carefully remove the smart plug from its packaging. Make sure there are no visible signs of damage. Read the included instructions – they often contain specific setup tips for that particular model.
2. Download the Smart Plug’s App: Most smart plugs require you to download a companion app to your smartphone or tablet. The app name is usually printed on the packaging or in the instructions. Search for it in your app store (Google Play Store for Android, Apple App Store for iOS) and download it.
3. Create an Account (If Required): Some apps require you to create an account. This allows you to control your devices remotely and save your settings. Follow the app’s instructions to create an account.
4. Connect the Smart Plug to Your Wi-Fi Network: This is the most important step! Open the app and follow the on-screen instructions to connect the smart plug to your home Wi-Fi network. This usually involves putting the smart plug into pairing mode (often by pressing a button on the plug) and then entering your Wi-Fi password in the app. Make sure you’re connecting to a 2.4 GHz Wi-Fi network, as many smart plugs don’t support 5 GHz.
5. Name Your Smart Plug: Once the smart plug is connected to your Wi-Fi, the app will usually prompt you to give it a name. Choose a descriptive name that you’ll easily remember, like “Living Room Lamp” or “Bedroom Reading Light.” This will make it easier to control the lamp with your voice assistant.
6. Plug the Smart Plug into an Outlet: Now that the smart plug is configured, plug it into a standard electrical outlet. Make sure the outlet is easily accessible and not blocked by furniture.
7. Plug Your Lamp into the Smart Plug: Plug your lamp’s power cord into the smart plug. Ensure the connection is secure.
8. Test the Connection: Use the app to turn the smart plug on and off. If the lamp turns on and off as expected, congratulations! You’ve successfully connected your lamp to the smart plug.
9. Connect to Your Voice Assistant (Optional): If you want to control your lamp with your voice, you’ll need to connect the smart plug to your voice assistant (Alexa, Google Assistant, or Siri). The app usually has instructions on how to do this. You’ll typically need to enable a skill or service in your voice assistant’s app and link it to your smart plug account.
10. Set Up Schedules and Timers (Optional): One of the coolest features of smart plugs is the ability to set up schedules and timers. Use the app to create schedules that automatically turn your lamp on and off at specific times. This is great for security (making it look like someone’s home when you’re away) or for convenience (automatically turning on your bedside lamp before you wake up).
Troubleshooting Common Issues
Sometimes things don’t go exactly as planned. Here are some common issues and how to fix them:
* Smart Plug Won’t Connect to Wi-Fi:
* Check your Wi-Fi password: Make sure you’re entering the correct password.
* Check your Wi-Fi signal strength: The smart plug might be too far from your router. Try moving it closer or using a Wi-Fi extender.
* Make sure you’re on a 2.4 GHz network: Many smart plugs don’t support 5 GHz networks.
* Restart your router: Sometimes a simple restart can fix connectivity issues.
* Reset the smart plug: Most smart plugs have a reset button. Consult the instructions for how to reset it.
* Smart Plug Keeps Disconnecting:
* Check your Wi-Fi signal strength: A weak signal can cause intermittent disconnections.
* Interference: Other electronic devices can interfere with the Wi-Fi signal. Try moving the smart plug away from other devices.
* Firmware updates: Make sure your smart plug’s firmware is up to date. The app will usually notify you if there’s an update available.
* Voice Assistant Can’t Control the Smart Plug:
* Check the connection between the smart plug and your voice assistant: Make sure the skill or service is enabled and linked correctly.
* Make sure the smart plug is online: If the smart plug is disconnected from Wi-Fi, your voice assistant won’t be able to control it.
* Use the correct name: Make sure you’re using the name you assigned to the smart plug when you’re giving voice commands.
Creative Uses for Smart Plugs Beyond Lamps
While this guide focuses on lamps, smart plugs are incredibly versatile! Here are some other ways you can use them to automate your home:
* Coffee Maker: Program your coffee maker to start brewing automatically in the morning.
* Space Heater: Preheat your bathroom before you get out of bed on cold mornings.
* Fans: Control your fans remotely to keep your home comfortable.
* Holiday Lights: Automate your holiday lights to turn on and off at specific times.
* Slow Cooker: Start your slow cooker remotely so dinner is ready when you get home.
* Aquarium Lights: Automate the lighting for your aquarium to create a natural environment for your fish.
Safety First!
Before I wrap up, let’s talk about safety. While smart plugs are generally safe, it’s important to use them responsibly:
* Don’t overload the outlet: Make sure the total wattage of all the devices plugged into the outlet (including the smart plug) doesn’t exceed the outlet’s rating.
* Use surge protectors: Protect your devices from power surges by using a surge protector.
* Don’t use smart plugs in wet environments: Smart plugs are not designed for use in bathrooms or outdoors unless they are specifically rated for those environments.
* Inspect the smart plug regularly: Check for any signs of damage, such as frayed cords or cracked casings.
* Unplug the smart plug during thunderstorms: Power surges from lightning can damage electronic devices.
Final Thoughts
So there you have it! Transforming your lamps into smart, automated lighting is a simple and rewarding DIY project. With a few smart plugs and a little bit of setup, you can enjoy the convenience and energy savings of a smart home. I hope this guide has been helpful. Happy automating!
Conclusion
So, there you have it! These zucchini planting hacks are more than just tips and tricks; they’re a pathway to a bountiful harvest and a more rewarding gardening experience. We’ve covered everything from optimizing soil conditions and companion planting to clever pest control and maximizing sunlight exposure. Implementing these strategies will not only increase your yield but also contribute to healthier, more resilient zucchini plants.
Why is this a must-try? Because growing zucchini shouldn’t be a gamble. It should be a predictable, enjoyable process that results in an abundance of delicious, versatile vegetables. Imagine the satisfaction of harvesting basket after basket of zucchini, knowing that you’ve nurtured them from tiny seedlings to thriving plants using simple, effective techniques. Think of the zucchini bread, the grilled zucchini skewers, the zucchini noodles – all made possible by your own green thumb and a little bit of know-how.
But the beauty of gardening lies in its adaptability. Feel free to experiment with these hacks to find what works best for your specific climate, soil type, and gardening style. For instance, if you live in a particularly hot climate, consider providing your zucchini plants with afternoon shade to prevent sunscald. If you’re dealing with a heavy clay soil, amend it generously with compost and other organic matter to improve drainage.
Variations and Suggestions:
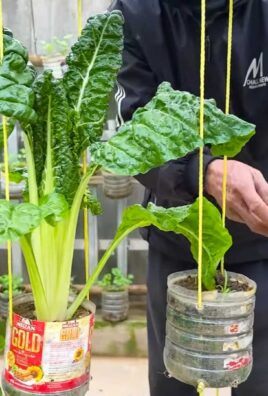
* Vertical Gardening: If you’re short on space, try growing your zucchini vertically on a trellis or fence. This not only saves space but also improves air circulation, reducing the risk of fungal diseases. Choose a bush variety for easier management.
* Succession Planting: Plant zucchini seeds every few weeks to ensure a continuous harvest throughout the growing season. This is especially helpful if you want to avoid a glut of zucchini all at once.
* Companion Planting with Flowers: While we mentioned specific companion plants, don’t underestimate the power of flowers! Marigolds, nasturtiums, and other brightly colored flowers attract beneficial insects that can help pollinate your zucchini plants and keep pests at bay.
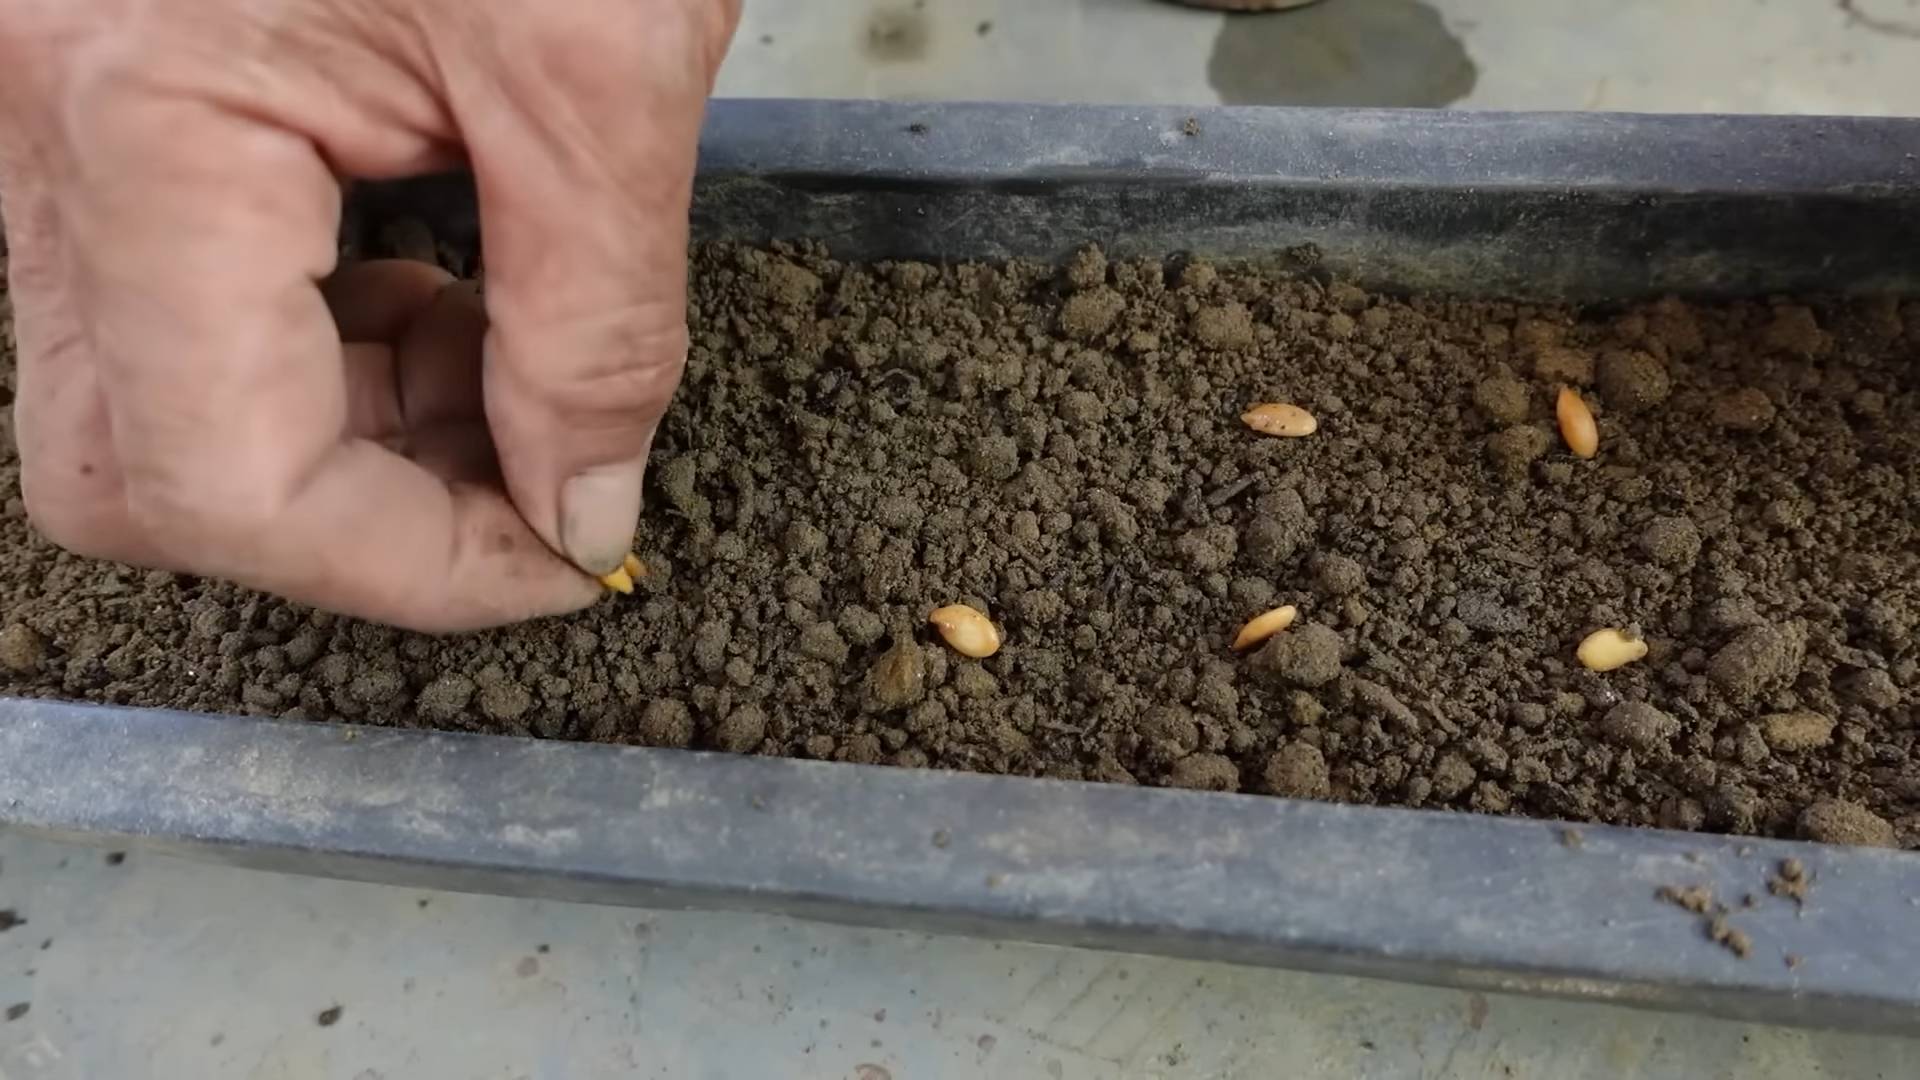
* Seed Starting Indoors: In colder climates, start your zucchini seeds indoors a few weeks before the last expected frost. This will give your plants a head start and allow you to harvest earlier in the season.
* Zucchini Varieties: Don’t limit yourself to just one type of zucchini! Explore different varieties, such as ‘Black Beauty,’ ‘Golden Zucchini,’ or ‘Costata Romanesco,’ to add variety to your garden and your plate.
We are confident that these zucchini planting hacks will transform your gardening efforts. But the real magic happens when you put them into practice. So, grab your gardening gloves, prepare your soil, and get ready to experience the joy of growing your own zucchini.
We encourage you to try these DIY tricks and share your experiences with us! Let us know which hacks worked best for you, any variations you tried, and any challenges you encountered. Your feedback will not only help us improve this guide but also inspire other gardeners to embark on their own zucchini-growing adventures. Share your photos and stories on social media using #ZucchiniHacks and let’s create a community of thriving zucchini growers! Happy gardening!
FAQ
Frequently Asked Questions About Zucchini Planting
Q: When is the best time to plant zucchini?
A: Zucchini thrives in warm weather, so the best time to plant is after the last frost when the soil temperature reaches at least 60°F (15°C). You can start seeds indoors 3-4 weeks before the last frost to get a head start, but be sure to harden them off before transplanting them outdoors. In warmer climates, you can plant zucchini directly in the ground in late spring or early summer.
Q: How much sunlight do zucchini plants need?
A: Zucchini plants need at least 6-8 hours of direct sunlight per day to thrive. Choose a sunny location in your garden where they will receive ample sunlight throughout the day. If you live in a particularly hot climate, consider providing them with some afternoon shade to prevent sunscald.
Q: What kind of soil is best for growing zucchini?
A: Zucchini plants prefer well-drained, fertile soil that is rich in organic matter. Amend your soil with compost, aged manure, or other organic materials to improve its drainage, fertility, and water-holding capacity. A slightly acidic to neutral soil pH (6.0-7.5) is ideal.
Q: How often should I water my zucchini plants?
A: Zucchini plants need consistent moisture, especially during hot, dry weather. Water deeply and regularly, aiming to keep the soil consistently moist but not waterlogged. Water at the base of the plants to avoid wetting the foliage, which can increase the risk of fungal diseases. Mulching around the plants can help retain moisture and suppress weeds.
Q: What are some common pests and diseases that affect zucchini plants?
A: Common pests that affect zucchini plants include squash bugs, squash vine borers, aphids, and cucumber beetles. Common diseases include powdery mildew, squash mosaic virus, and blossom-end rot. Implement preventative measures such as companion planting, crop rotation, and regular monitoring to minimize pest and disease problems. Use organic pest control methods such as insecticidal soap or neem oil to treat infestations. Ensure good air circulation to prevent fungal diseases.
Q: How do I prevent blossom-end rot in zucchini?
A: Blossom-end rot is caused by a calcium deficiency, which is often due to inconsistent watering or poor soil drainage. Ensure that your zucchini plants receive consistent moisture and that the soil is well-drained. Amend the soil with calcium-rich materials such as bone meal or crushed eggshells. You can also use a calcium foliar spray to provide a quick boost of calcium to the plants.
Q: When should I harvest my zucchini?
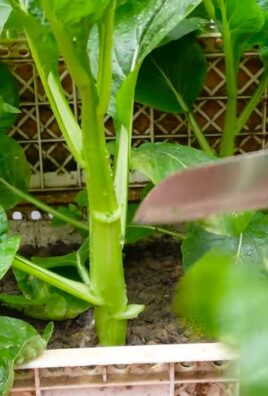
A: Zucchini is best harvested when it is young and tender, typically when it is 6-8 inches long. Use a sharp knife to cut the zucchini from the plant, leaving a short stem attached. Regular harvesting encourages the plant to produce more fruit. Overripe zucchini can become tough and seedy.
Q: Can I eat zucchini blossoms?
A: Yes, zucchini blossoms are edible and can be a delicious addition to your culinary repertoire. Harvest the male blossoms (those without a small zucchini attached) in the morning when they are fully open. Rinse them gently and remove the pistil. You can stuff them with cheese, batter them and fry them, or add them to salads or soups.
Q: How do I deal with powdery mildew on my zucchini plants?
A: Powdery mildew is a common fungal disease that affects zucchini plants, especially in humid conditions. Improve air circulation around the plants by spacing them properly and pruning away crowded foliage. Water at the base of the plants to avoid wetting the leaves. You can also use a fungicide specifically formulated for powdery mildew, such as neem oil or copper fungicide.
Q: What are some good companion plants for zucchini?
A: Good companion plants for zucchini include beans, corn, marigolds, nasturtiums, oregano, and thyme. These plants can help deter pests, attract beneficial insects, and improve soil health. Avoid planting zucchini near potatoes or fennel, as they can inhibit its growth.
Q: My zucchini plant is producing lots of flowers but no fruit. What could be the problem?
A: This could be due to a lack of pollination. Zucchini plants have separate male and female flowers, and pollination is required for fruit to develop. Attract pollinators to your garden by planting flowers that attract bees and other beneficial insects. You can also hand-pollinate the flowers by transferring pollen from the male flower to the female flower using a small brush.
Q: Can I save seeds from my zucchini plants?
A: Yes, you can save seeds from your zucchini plants, but keep in mind that zucchini is a cross-pollinating vegetable, so the seeds may not produce plants that are true to type. To save seeds, allow a zucchini to mature fully on the plant until it is very large and the skin is hard. Remove the seeds, rinse them, and dry them thoroughly before storing them in a cool, dry place.
Q: How can I prevent squash vine borers from attacking my zucchini plants?
A: Squash vine borers are a common pest that can kill zucchini plants by tunneling into the stems. Wrap the base of the stems with aluminum foil or nylon stockings to prevent the borers from laying their eggs. You can also use row covers to protect the plants from the borers. Inspect the stems regularly for signs of borer damage and remove any borers that you find.
Q: Are there any zucchini varieties that are more resistant to pests and diseases?
A: Some zucchini varieties are more resistant to pests and diseases than others. ‘Black Beauty’ is a popular variety that is known for its disease resistance. ‘Costata Romanesco’ is another variety that is relatively resistant to powdery mildew. Research different varieties to find one that is well-suited to your local climate and growing conditions.

Leave a Comment